How To Tighten Leather Straps On Sandals: Easy Fit Guide
Introduction
To tighten leather straps on sandals, adjust the buckle, move the strap to a smaller hole, or shorten the strap if the sandal has a fixed design. Make small changes until the strap holds your foot in place without pressing hard on your skin.
This guide applies to common sandals sold and worn in the United States, including buckle sandals, slide sandals, ankle-strap sandals, and leather sport sandals. The right method depends on the strap hardware, the type of leather, and where the sandal feels loose.

Identify the Type of Leather Strap
Start by checking how the strap fastens. Most leather sandals use one of four systems.
| Strap type | How it tightens | Best fix for a loose fit |
|---|---|---|
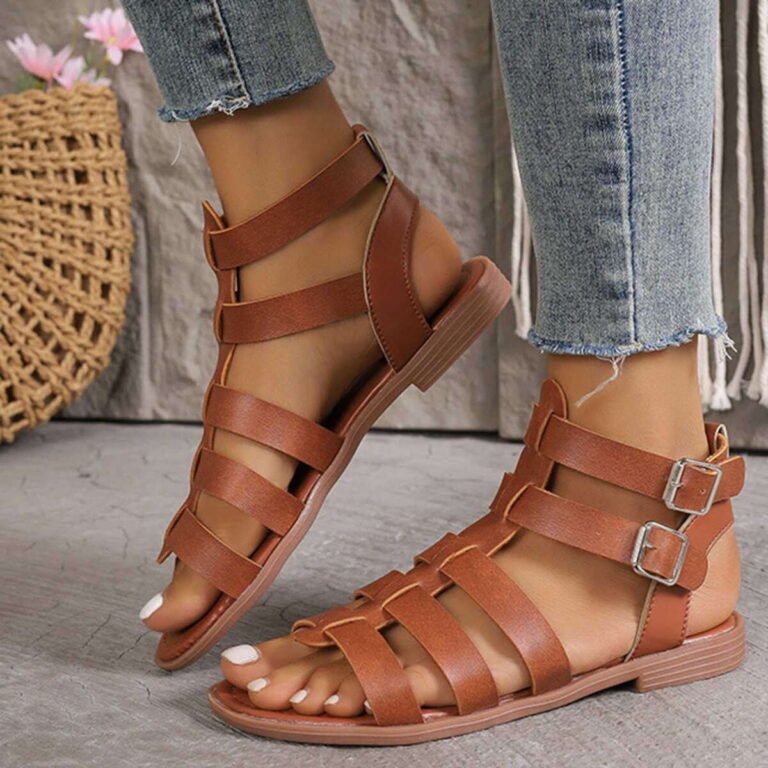
| Buckle strap | A metal buckle and holes | Use a smaller hole or add a new hole |
| Sliding strap | A strap passes through a loop or slider | Pull the free end and reposition the loop |
| Velcro-backed leather strap | Hook-and-loop fastening | Pull the strap tighter before pressing it closed |
| Fixed or stitched strap | No buckle or adjustment point | Use a cobbler or add an approved insert |
A buckle strap is usually the easiest to adjust. A sliding strap may need to be pulled through a metal or leather loop. A fixed strap cannot always be tightened without changing the sandal.
Leather can also loosen as it warms, flexes, and absorbs moisture. This does not mean every loose sandal needs a new hole. First, test the existing adjustment points.
Check where the looseness occurs
Put on both sandals and stand normally. Notice whether the movement comes from:
- The heel lifting away from the foot
- The toes sliding forward
- The top strap moving from side to side
- The ankle strap feeling loose
- The entire sandal bending under the foot
The location matters. A loose ankle strap needs a different adjustment from a loose toe strap. Tightening the wrong strap can create pressure in one area while leaving the sandal unstable in another.
How to Tighten Buckle Leather Straps
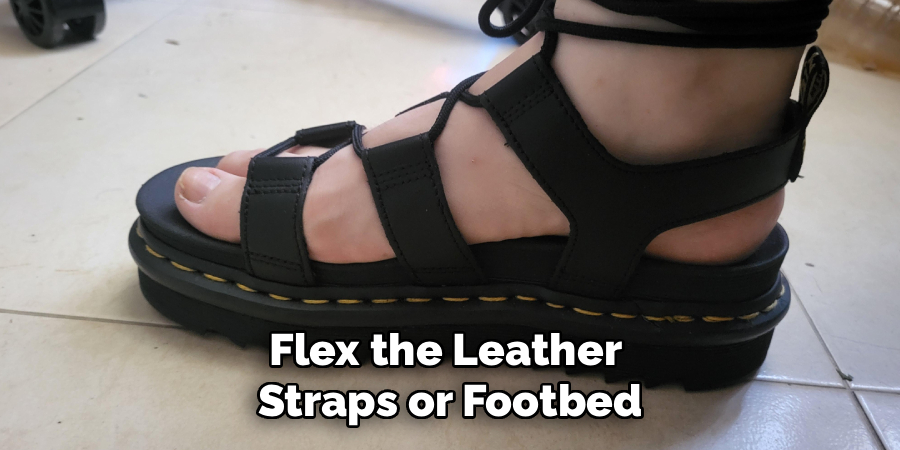
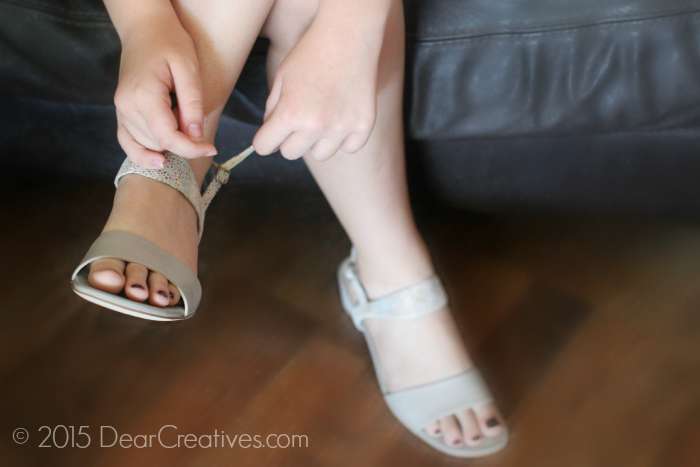
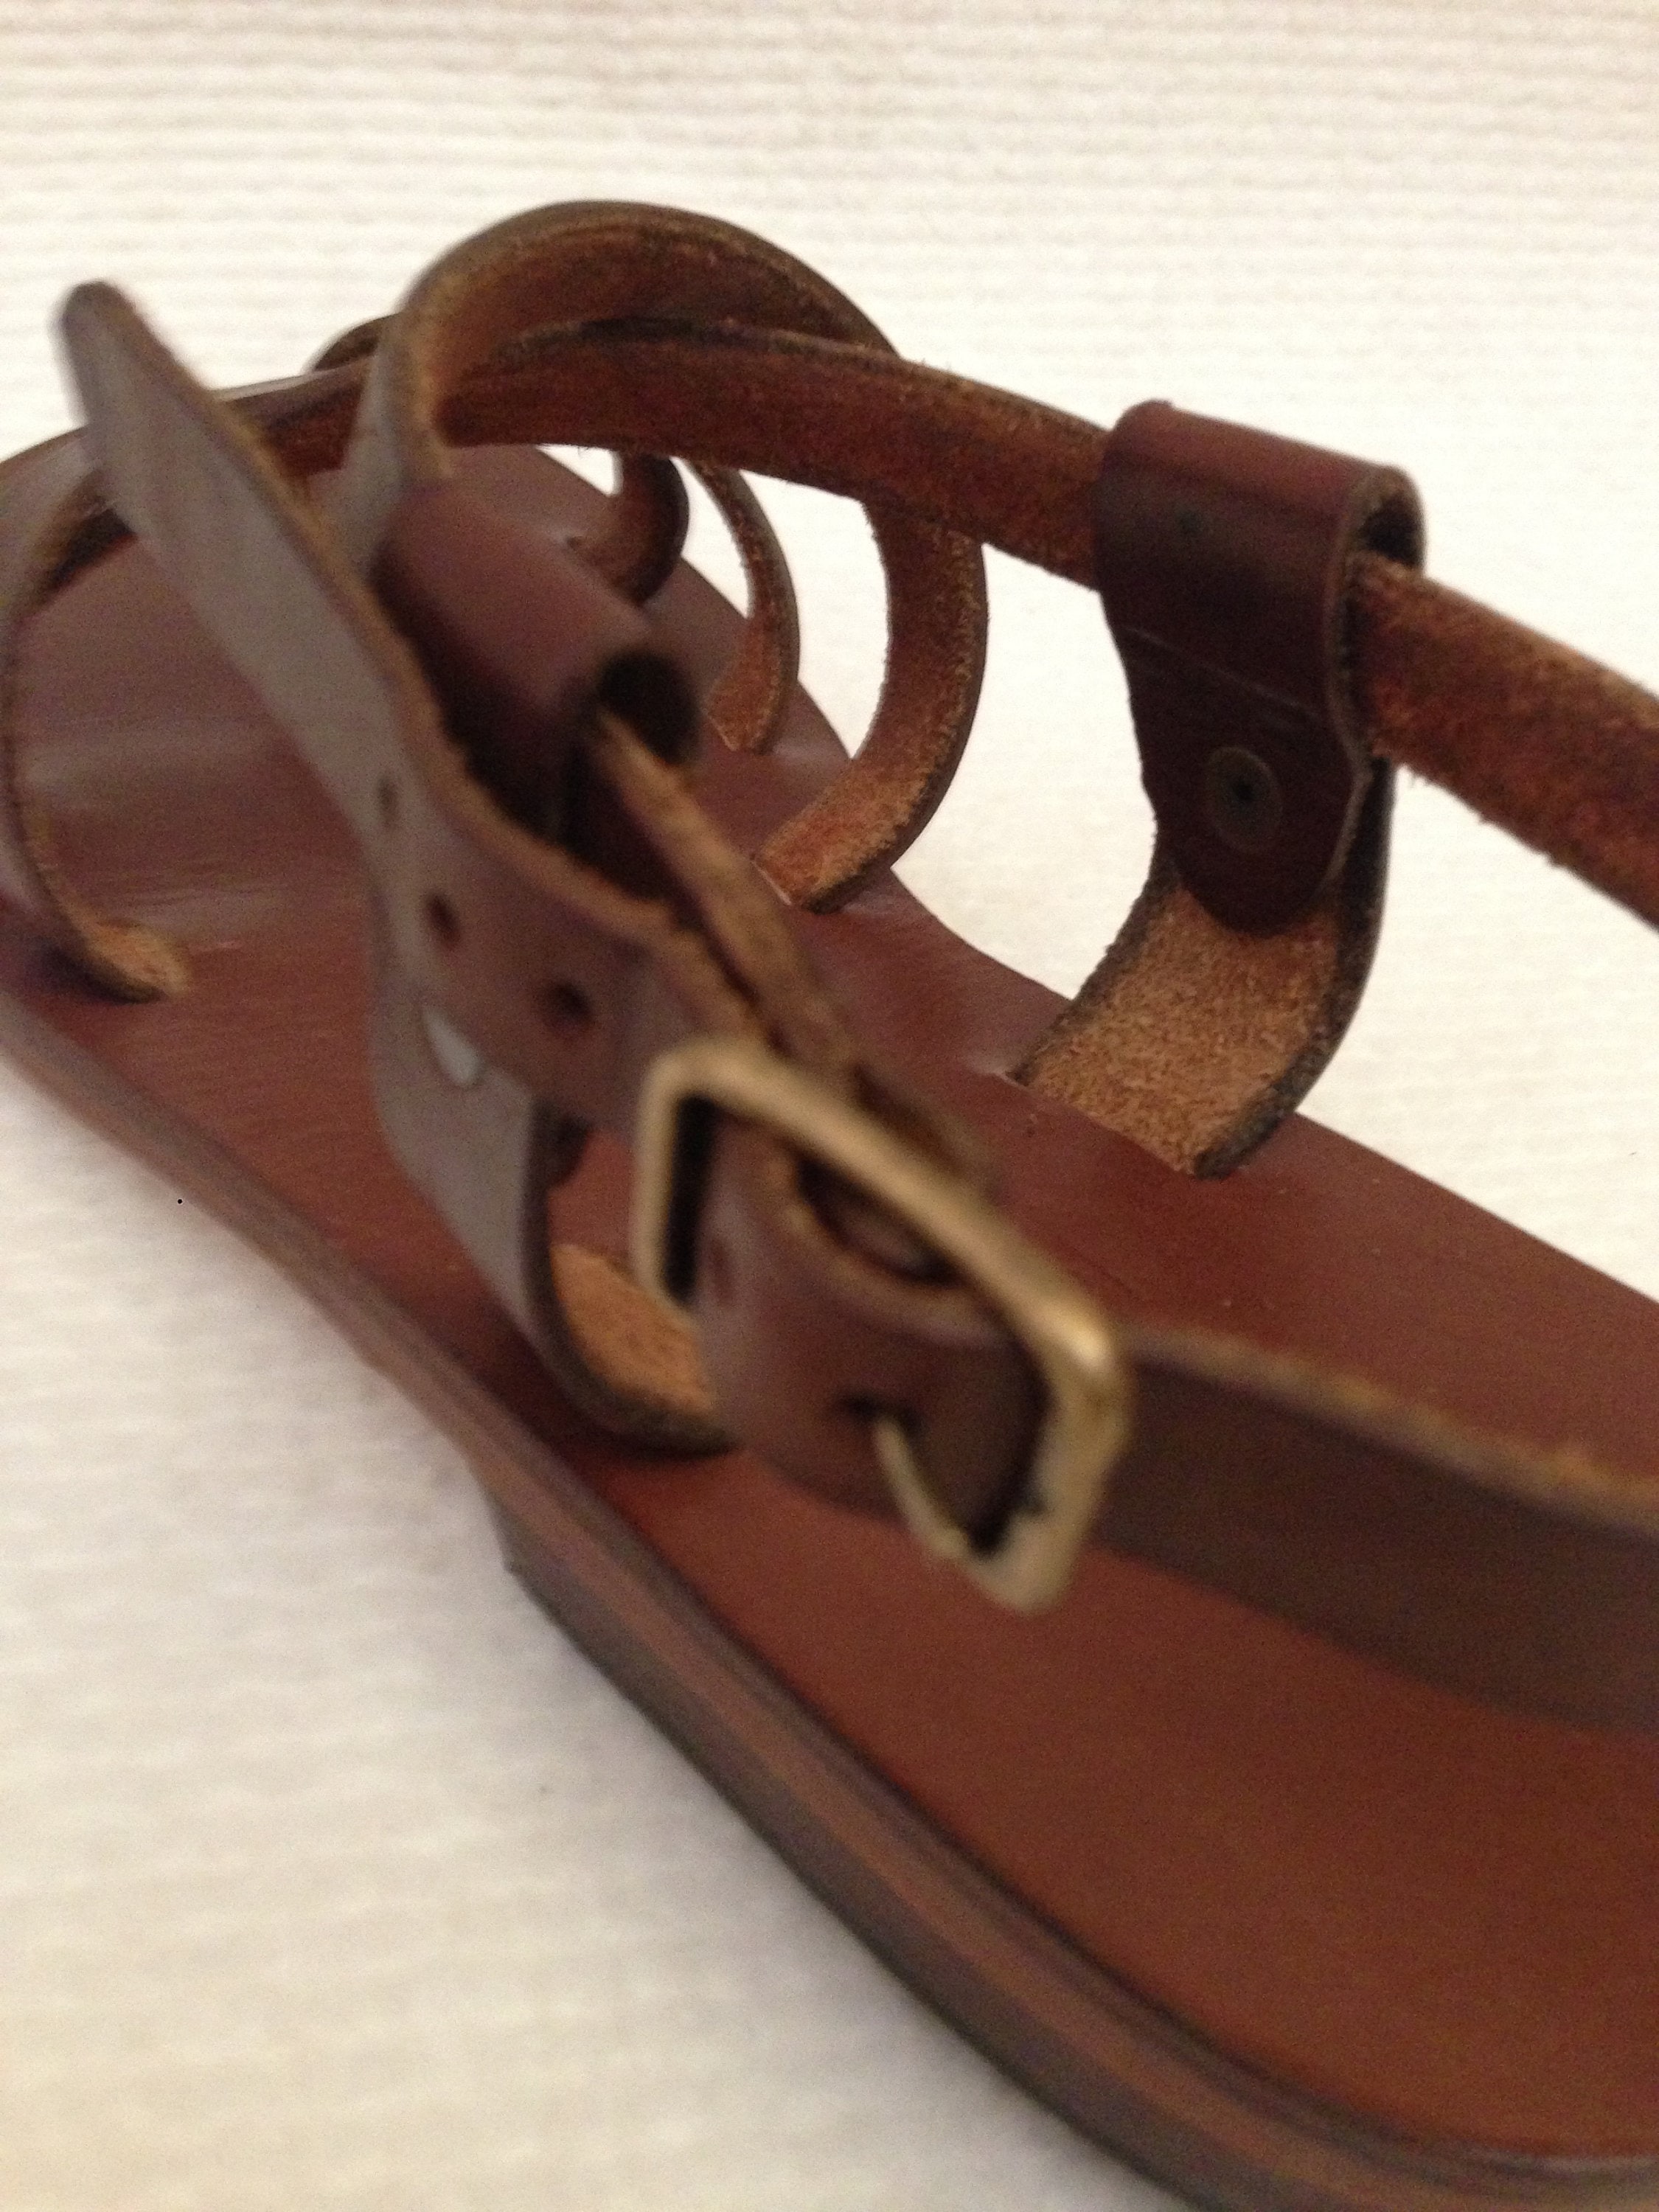
A buckle strap usually needs only a small adjustment. Work one hole at a time rather than pulling the strap as tight as possible.
-
Put on the sandal while seated.
Your foot spreads when you stand, so check the final fit while standing too. -
Unbuckle the strap.
Pull the strap free without twisting it. -
Move the buckle tongue to the next tighter hole.
Start with one hole. A change of about one hole is often enough for a small fit adjustment. -
Thread the strap through the buckle loop.
Keep the smooth side of the leather facing outward if the design has a finished side. -
Stand and walk a few steps.
Your heel should stay in place, and your toes should not grip the footbed to keep the sandal on. -
Adjust again only if needed.
If the strap still slides, use the next hole. Do not skip several holes unless the sandal is clearly much too loose.
The strap should hold the foot against the sandal, not clamp it down. You should be able to slide the tip of a finger under most upper straps. This is a practical fit check, not a universal measurement for every sandal design.
How to tell when the buckle is too tight
Loosen the strap if you see deep marks, redness that does not fade soon after removal, numbness, tingling, or a cold feeling in the toes. Also loosen it if the leather edge digs into the ankle or the top of the foot.
A sandal can still feel loose even when the strap is tight if the footbed is too wide or the sandal shape does not match your foot. In that case, more tension may add pain without improving stability.
How to Add a New Hole to a Leather Sandal Strap
If the tightest existing hole does not hold your foot, you can add a new hole. This works best on a flat leather strap with enough length beyond the buckle.
What you need
- A leather hole punch
- A ruler or measuring tape
- A pencil or fine marking tool
- A cutting board or scrap wood
- The sandal’s existing buckle
A leather hole punch gives a cleaner result than a household drill or nail. A clean, round hole is less likely to tear than a rough opening.
Step-by-step method
-
Try the tightest existing hole first.
Confirm that the strap truly needs another hole. -
Mark the new hole.
Place the mark in line with the other holes. Match their spacing and size as closely as possible. -
Measure twice.
A hole that is too close to the old hole can weaken the leather. Leave enough leather between holes for the strap to hold its shape. -
Support the strap on scrap wood.
Do not punch directly on a tile, table, or finished floor. -
Punch straight through the leather.
Use firm, even pressure. Avoid twisting the tool, which can make an uneven opening. -
Test the strap carefully.
Buckle it at the new hole and walk indoors first.
How far from the old hole should the new hole be?
Match the spacing of the original holes whenever possible. The correct distance varies by sandal design, strap width, and hole size. The new hole should not touch the old hole or sit so close that the leather forms a thin bridge.
If the strap is narrow, cracked, soft, or already stretched around the holes, do not add another hole at home. A cobbler can inspect the leather and place the hole in a stronger area.
Avoid using a nail or heated metal
A nail may make a hole, but it often stretches or splits the leather. Heated metal can burn the finish and leave a weak, rough edge. These methods may work in an emergency, but they are poor choices for a lasting repair.
How to Tighten Sliding and Loop-Style Leather Straps
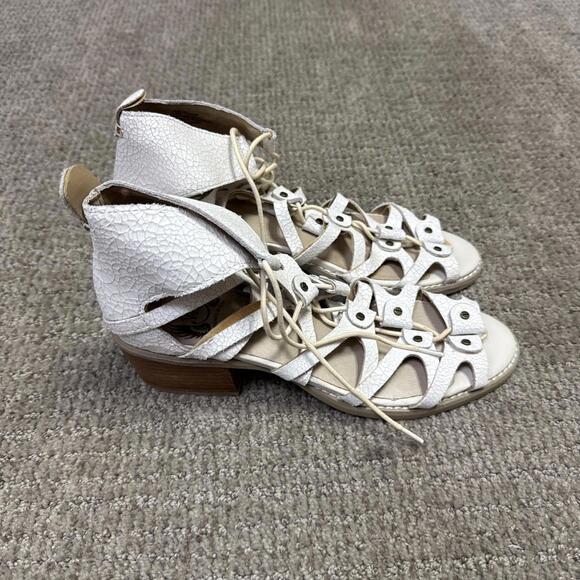
Some sandals do not use holes. Instead, the strap passes through a leather loop, metal slider, or sewn channel.
To tighten this type of sandal:
- Find the strap’s free end.
- Pull the free end slowly.
- Move the slider or loop toward the foot.
- Center the strap over the foot.
- Stand and test the fit.
- Tuck away extra strap if the design allows it.
The slider must hold the leather by friction. If it slips back as you walk, the strap may be too smooth, too thin for the hardware, or stretched from wear.
Do not force a strap through a narrow loop. Excess force can crease the leather or pull the loop away from the sandal. If the loop is stitched, check the stitching before adjusting. Loose stitches can signal a repair issue rather than a simple fit problem.
For a leather slide with a fixed upper strap, tightening may not be possible without altering the sandal. A thin, removable sandal insert can sometimes reduce extra space, but it may change the footbed angle. Test any insert at home before wearing the sandals outdoors.

How to Make Leather Straps Fit Better Without Damaging Them
Tightening the strap is only part of the solution. Leather needs support, but too much force can stretch the holes, crease the surface, or break the stitching.
Adjust gradually
Make one change at a time. Walk for several minutes after each adjustment. A sandal may feel secure while seated but become too tight once the foot bears weight.
Keep leather dry
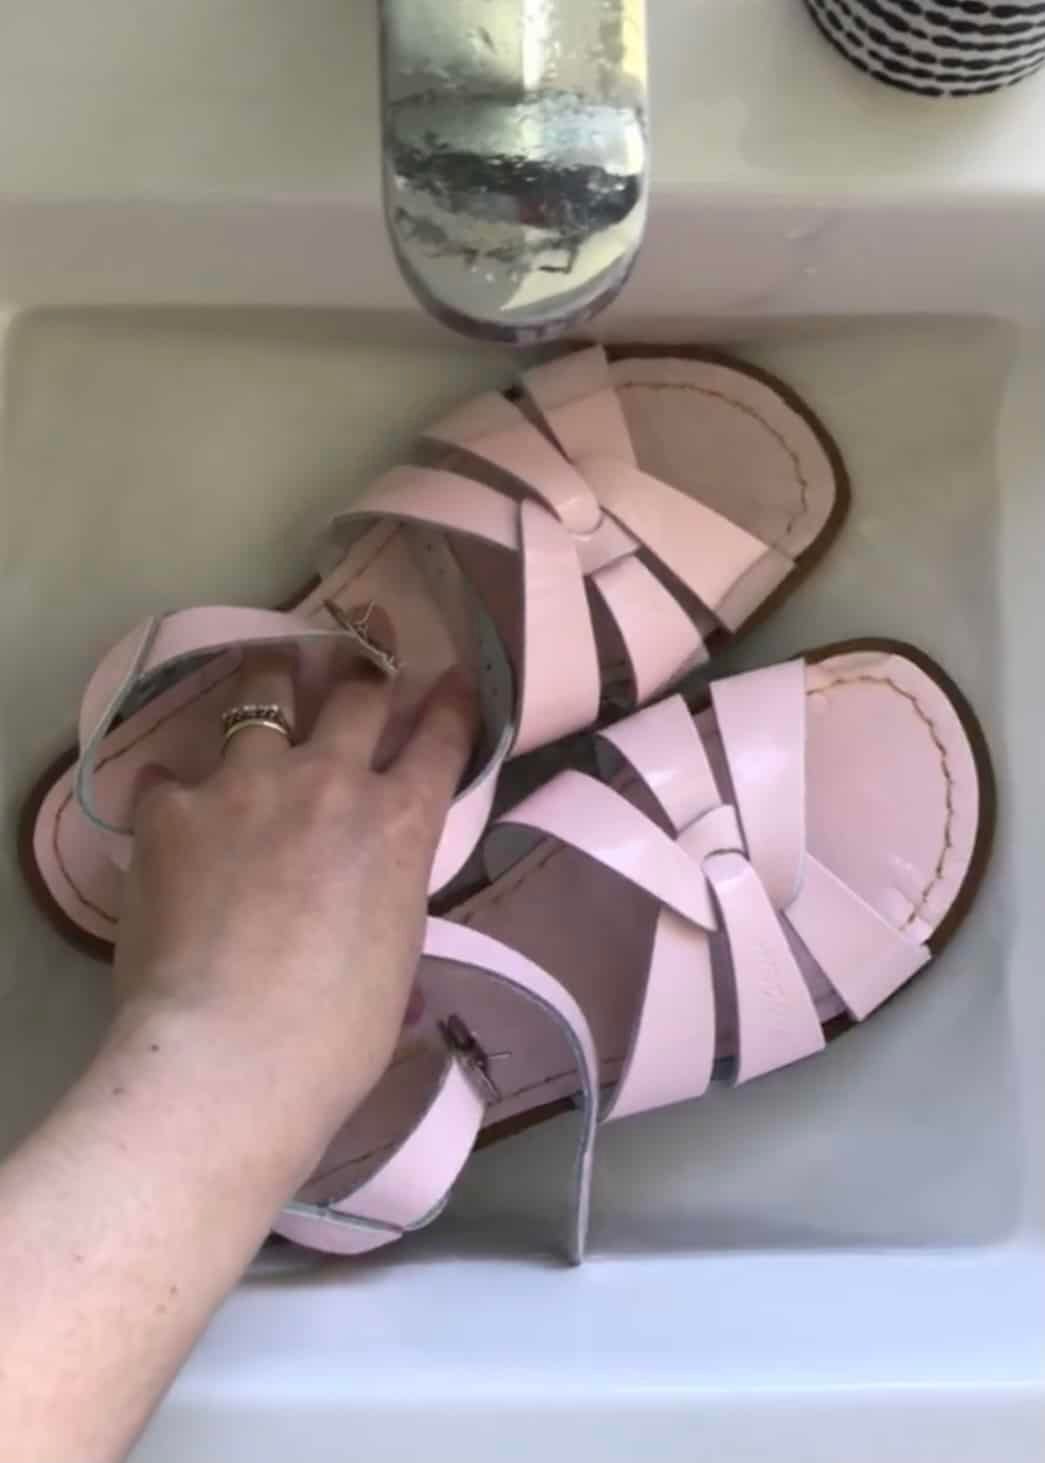
Water can change the feel and shape of leather. If the sandals become wet, let them dry at room temperature. Do not place them on a heater, use a hair dryer, or leave them in strong heat. Rapid drying can make leather stiff or cause it to shrink unevenly.
Use conditioner with care
A small amount of leather conditioner may help dry leather stay flexible, but it will not reliably shrink a loose strap. Too much conditioner can soften the leather and make a strap stretch more.
Check the sandal maker’s care instructions first. If no instructions exist, test the product on a hidden area. Some leather finishes, suede surfaces, metallic coatings, and synthetic materials can react badly to ordinary leather products.
Protect the buckle and stitching
Do not bend the strap sharply at the buckle. Avoid pulling on the stitched end when the buckle is difficult to open. If the buckle tongue, rivet, or stitch line is loose, stop tightening until the hardware is repaired.
Troubleshooting Loose Leather Sandals
Use the symptom to choose the next step. Tightening every strap is not always the best answer.
| Problem | Likely cause | What to try |
|---|---|---|
| Heel lifts while walking | Ankle strap is loose or sandal shape is wrong | Tighten the ankle strap one setting |
| Toes slide forward | Footbed slopes or front strap is loose | Tighten the front strap slightly |
| Foot moves side to side | Strap is too loose or sandal is too wide | Adjust the upper strap or consider another size |
| Strap keeps loosening | Buckle, slider, or leather is worn | Inspect the hardware and strap holes |
| Strap causes red marks | Strap is too tight or edge is rough | Loosen it and check the edge |
| New hole tears quickly | Leather is weak or hole is misplaced | Stop using it and seek cobbler repair |
| Sandal still feels loose when tight | Shape or size is wrong | Do not keep increasing pressure; reassess the fit |
When the strap will not stay tight
Check whether the buckle tongue sits fully inside the hole. Make sure the strap is not folded under the buckle. On a slider-style sandal, inspect the inside of the loop for wear.
If the hole has become stretched, a cobbler may be able to move the buckle, replace the strap, or reinforce the leather. Adhesive alone is not a dependable fix for a strap that bears body weight.
When only one sandal is loose
Feet are not always the same size or shape. One sandal may also have stretched more than the other. Adjust each sandal separately if the design allows it.
Do not assume both straps need the same hole. Fit each foot while standing, then compare comfort and stability.
When to Take Leather Sandals to a Cobbler
A professional repair is the safer choice when the strap is cracked, torn, badly stretched, or attached with damaged stitching. A cobbler can add a hole, replace a buckle, shorten a strap, reinforce an attachment point, or rebuild a worn loop.
Take the sandals for repair if:
- The strap pulls away from the sole
- The leather is split near a hole
- The buckle is bent or missing a pin
- Rivets are loose
- The strap rubs even after proper adjustment
- The sandal becomes unstable when tightened
- The repair would require cutting a shaped or decorative strap
A cobbler can also help when the sandal is technically adjustable but never feels secure. The issue may be the last, footbed, or placement of the strap rather than its length.

Signs of a Proper Fit
A properly tightened leather sandal should stay aligned with your foot during normal walking. Your heel should not repeatedly slide off the back, and your toes should not curl to grip the footbed.
Check for these signs:
- The strap lies flat against the foot.
- The buckle does not press into the ankle.
- The foot does not slide forward with each step.
- The sandal does not twist under the foot.
- You can move your toes freely.
- There is no numbness, tingling, or sharp pressure.
- Red marks, if any, fade soon after you remove the sandal.
Walk on a clean indoor surface before wearing the sandals outside. This gives you time to find pressure points without adding dirt or outdoor wear.
A secure fit should feel steady, not tight. If you need strong pressure to keep the sandal on, the sandal may be the wrong size or shape.