
How To Break In Salt Water Sandals: Easy Comfort Tips
Salt-Water sandals usually need a short break-in period before they feel soft and natural. For most people in the United States, the safest method is to wear them for brief periods, adjust the straps as your feet swell, and let the leather soften over time. Do not force the process by wearing them all day on your first outing.
Start with clean, dry feet and wear the sandals at home for 20 to 30 minutes. Check for rubbing after each session. If a spot feels hot, stop before it turns into a blister.

What Makes Salt-Water Sandals Hard to Break In?
Salt-Water sandals use leather uppers and firm soles. New leather may feel stiff around the straps, toe area, and heel. The sole also needs time to flex with your walking pattern.
The sandals are made to handle water, but water does not remove the need for a gradual break-in. Wet leather may feel softer for a short time, yet it can also stretch, dry unevenly, or rub if you wear the sandals too long while they are wet.
A good fit matters as much as soft leather. The strap should hold your foot in place without pressing into the skin. Your heel and toes should stay within the sandal’s edges when you walk.
Common areas that rub
- The top of the foot under the front strap
- The sides of the little toes
- The back of the heel
- The area near the ankle strap
- The skin between the toes on styles with a toe post
The exact pressure points depend on the sandal style, your foot shape, and how tightly you set the straps.

Step-by-Step: How to Break In Salt-Water Sandals
Follow this plan over several days. The goal is to give the leather time to flex while keeping friction low.
1. Check the fit before wearing them outside
Put both sandals on and stand up. Make sure your toes do not hang over the front and that your heel does not sit on the back edge.
Walk across a hard floor for a few minutes. The sandals should feel secure, but your straps should not leave deep marks. If your toes grip the sole to keep the sandal on, the fit may be wrong.
Salt-Water sandals may loosen slightly as the leather flexes. They should not feel painfully tight at the start, though. A break-in period cannot fix a sandal that is too short or too narrow.
2. Adjust each strap with care
Set the straps so they hold your foot without squeezing it. Leave enough room for normal foot movement and mild swelling during the day.
Make small changes instead of pulling the straps as tight as possible. A tight strap can create a pressure point even when the sandal length is correct.
If your sandals have buckles, move the buckle one hole at a time. Avoid forcing a buckle across stiff leather, since this can damage the strap or create a weak spot.
3. Wear them indoors for 20 to 30 minutes
wear the sandals around your home during the first session. Walk, sit, and use stairs if possible.
Afterward, inspect your skin. Mild pressure marks may fade quickly. A burning feeling, sharp pain, or red area that stays visible means you should shorten the next session or protect that spot.
Repeat this process once or twice a day. Increase the time by about 15 to 30 minutes when the previous session caused no pain.
4. Use a friction barrier on sensitive areas
A thin layer of petroleum jelly can reduce friction on intact skin. You can also use moleskin or a blister bandage on areas that often rub.
Apply a patch before the skin becomes sore. A bandage placed over a developing hot spot works better than waiting for a blister to form.
Keep adhesive products smooth. Wrinkles can create new pressure points under the strap.
5. Take a short outdoor walk
Once you can wear the sandals indoors for about an hour without pain, try a short outdoor walk. Choose a flat route close to home.
Start with 15 to 30 minutes. Avoid a full day at the beach, a long city walk, or a theme park during the first outdoor use.
Carry another pair of shoes. This simple step can prevent a small rubbing problem from becoming a painful injury.
6. Increase wear time slowly
Add time only when your feet remain comfortable. A sample schedule may look like this:
| Break-in stage | Suggested wear time | Best setting |
|---|---|---|
| First session | 20–30 minutes | Indoors |
| Early sessions | 30–60 minutes | Indoors or nearby |
| Middle stage | 1–2 hours | Short errands |
| Later stage | 2–4 hours | Normal low-impact use |
| Fully adjusted | Longer periods | Only if comfortable |
These times are estimates, not rules. Your feet, the sandal style, and the weather may change the pace.

Should You Wet Salt-Water Sandals to Break Them In?
You can use water only when the specific sandal model is designed for water exposure and the care instructions allow it. Salt-Water sandals are known for water-friendly construction, but “water-friendly” does not mean they should be soaked for hours or dried with high heat.
A cautious method is to lightly dampen the leather with clean water, put the sandals on briefly, and walk until the leather begins to follow your foot. Then remove them and let them air-dry naturally.
Do not use this method if the sandals have decorative materials, untreated components, or care instructions that prohibit soaking. When in doubt, use the dry break-in method. It is slower, but it creates less risk of uneven stretching.
If you choose to use water
- Use clean, lukewarm water.
- Dampen the leather instead of soaking the sandals for a long time.
- Wear them for a short period only.
- Remove them if rubbing begins.
- Let them air-dry away from direct heat.
- Reshape the straps gently while they dry.
Do not place wet sandals on a radiator, near a heater, or in a hot car. High heat can dry leather too quickly and may affect the sole, glue, or finish.
Salt water, chlorine, and sand can also leave residue. Rinse the sandals with fresh water after beach or pool use, then let them dry fully.
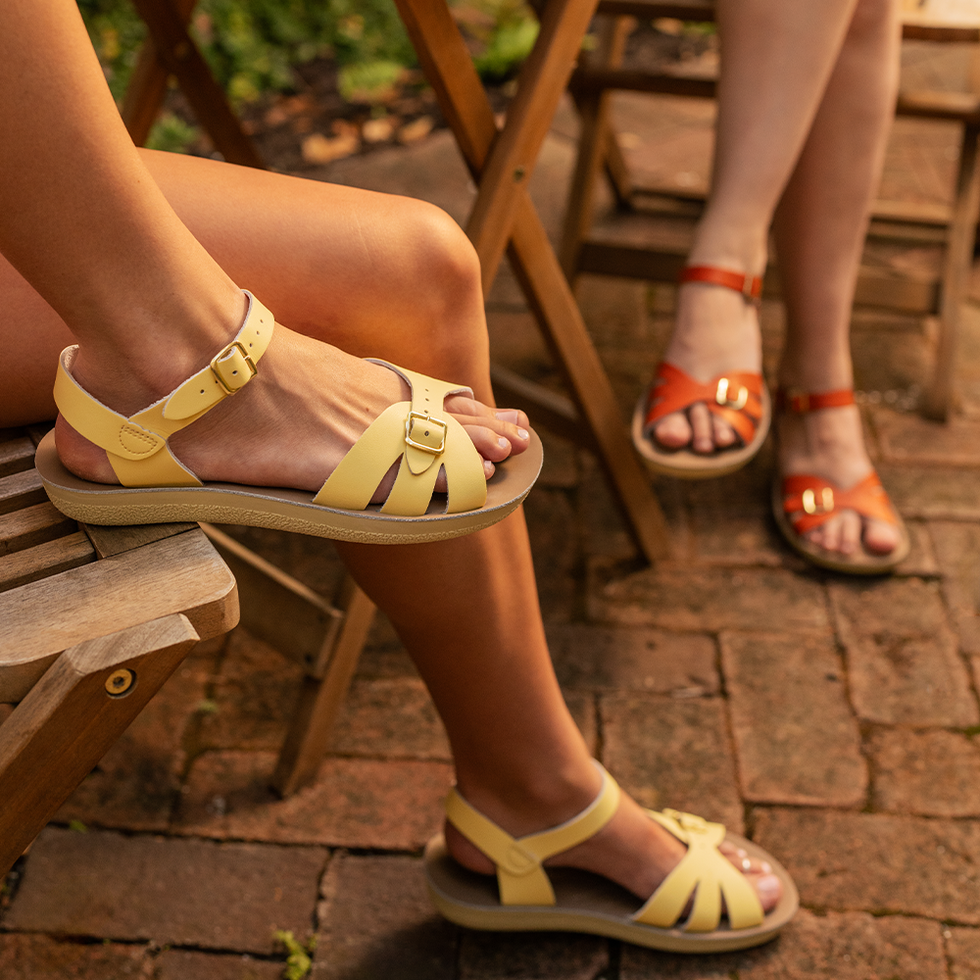
How to Stop Salt-Water Sandals From Causing Blisters
Blisters form when repeated friction damages the upper layers of skin. Moisture, sand, heat, tight straps, and long walks can increase that friction.
The best prevention is to stop at the first hot spot. Do not try to “walk through” a burning area. A short break can prevent several days of pain.
Use this quick response guide:
| Symptom | Likely cause | What to do |
|---|---|---|
| Mild pressure mark | Strap is firm or too tight | Loosen the strap slightly |
| Burning hot spot | Repeated rubbing | Stop and add a barrier |
| Red skin that lasts | Too much wear or poor fit | Stop wearing the sandals until it settles |
| Fluid-filled blister | Skin damage from friction | Protect it and avoid further rubbing |
| Numbness or tingling | Excess pressure | Remove the sandal and reassess the fit |
| Pain under the toes | Sole or strap is stressing the foot | Shorten wear time and check size |
Do not puncture a blister unless a medical professional tells you to do so. Keep the area clean and covered with a suitable dressing. Seek medical care for spreading redness, pus, worsening pain, fever, or signs of infection.
People with diabetes, reduced feeling in their feet, poor circulation, or a history of foot ulcers should use extra caution. A small blister may become a larger wound without much warning.
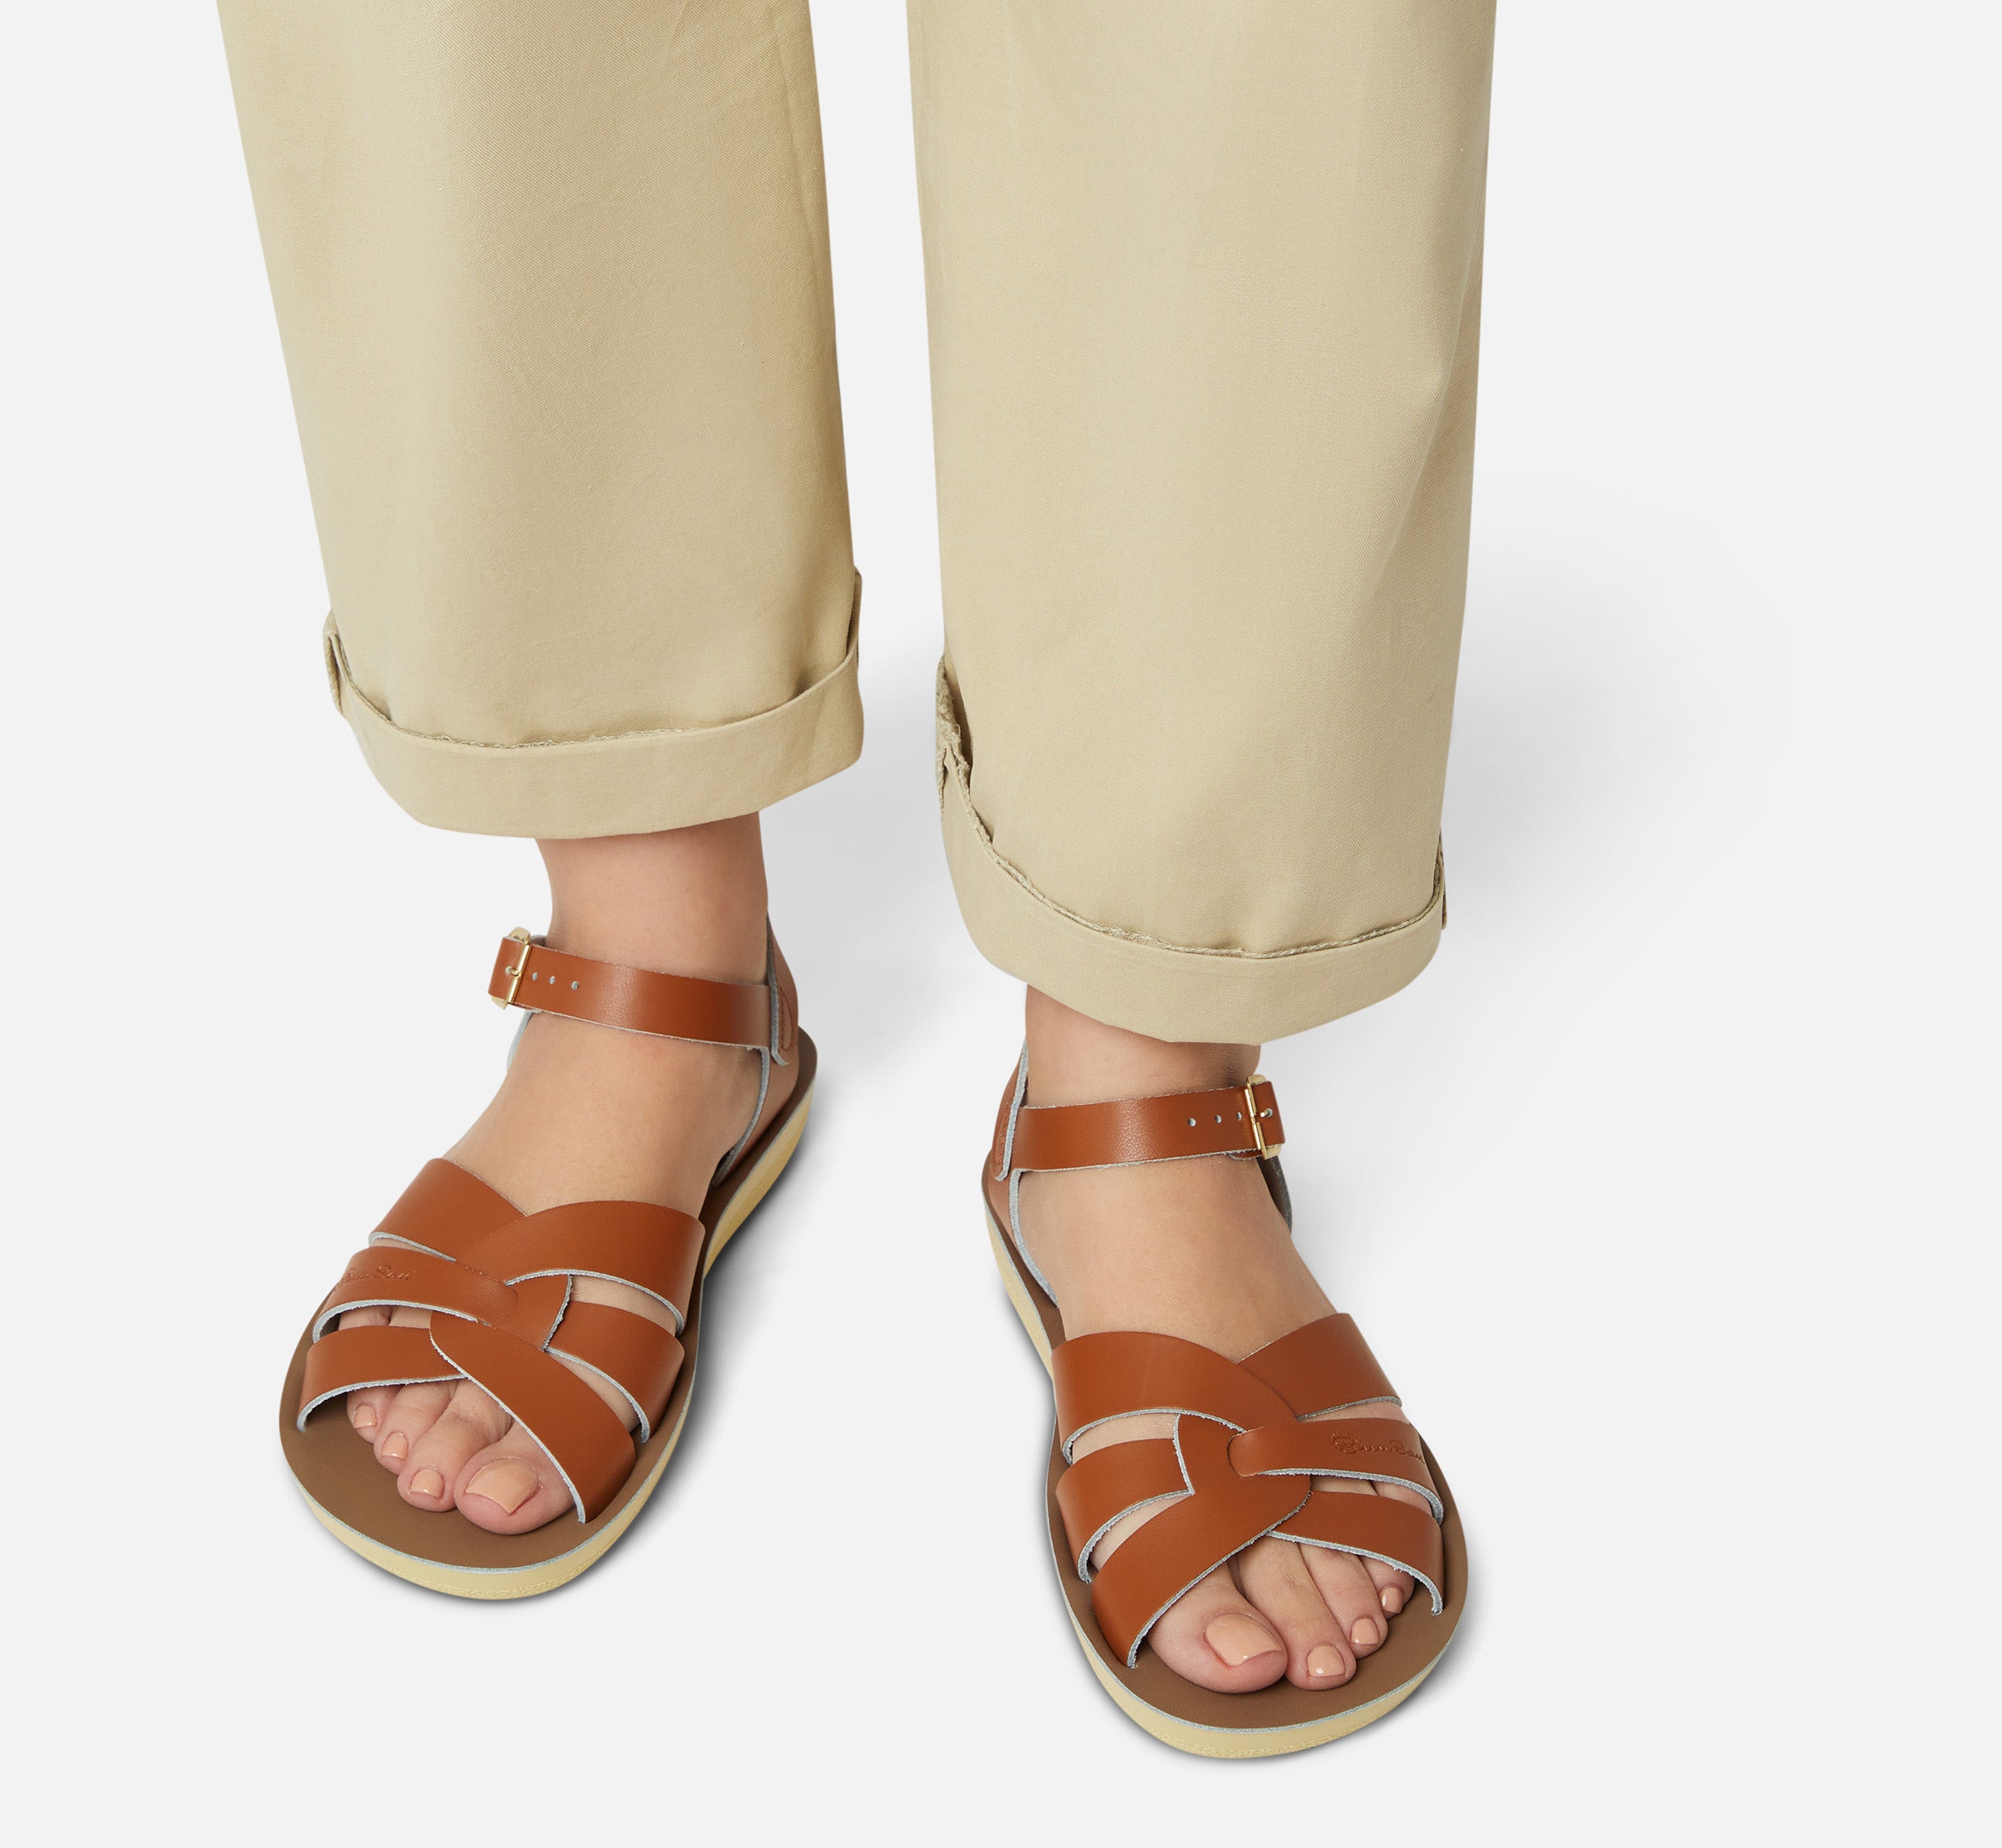
How to Soften the Leather Without Damaging the Sandals
Normal wear is the safest way to soften the leather. Flex the straps gently with your hands before wearing the sandals, but do not sharply bend or twist them.
Use only a leather product that the sandal manufacturer approves. Oils, mink oil, heavy creams, and household conditioners may darken the leather, change its finish, or make the straps too soft.
Do not apply cooking oil, hand lotion, or petroleum jelly to the sandal leather. Petroleum jelly can help reduce skin friction, but it is not a substitute for a proper leather-care product.
If the sandals become wet, blot away excess water with a soft cloth. Let them dry at room temperature. Keep them away from direct sun and artificial heat until they are fully dry.

What to Do If the Sandals Still Hurt
If the sandals still hurt after several short sessions, first find the exact source of the problem. Look for a strap edge, buckle, seam, toe post, or sole area that presses against your foot.
Then try one change at a time:
- Loosen the strap by one setting.
- Add a thin blister patch to the rubbing area.
- Wear the sandals for less time.
- Test them with clean, thin socks if the style allows it.
- Remove sand and grit after outdoor use.
- Compare the fit on both feet.
- Stop if the pain continues.
Do not keep stretching the sandals if your toes hang over the front, your heel slips off the back, or the straps sit directly on painful pressure points. Those signs may indicate the wrong size or shape rather than stiff leather.
A shoe professional can sometimes assess fit, but they cannot safely correct every sizing problem. If the sandals cause ongoing foot pain, numbness, swelling, or changes in the way you walk, stop wearing them and consult a qualified health professional.

Common Mistakes to Avoid
The fastest-looking method is not always the safest one. These mistakes often make break-in problems worse:
- Wearing the sandals all day on the first use
- Taking a long walk before testing them indoors
- Tightening every strap to keep the foot from moving
- Soaking the sandals for a long time
- Drying wet leather with a heater or hair dryer
- Ignoring a hot spot until it becomes a blister
- Using unapproved oils or leather treatments
- Assuming water will fix a poor fit
- Wearing them on hot pavement before the sole feels secure
- Failing to rinse away sand, salt, or pool chemicals
A little movement is normal. Your foot should not slide enough to create repeated rubbing, though. Proper adjustment matters more than forcing the leather to stretch quickly.

How Long Does It Take to Break In Salt-Water Sandals?
Many people can make Salt-Water sandals comfortable within several short sessions over a few days. Stiffer leather, wider feet, sensitive skin, and a new sandal style may require longer.
Use comfort as the measure, not the calendar. The sandals are ready for longer wear when you can walk indoors and outdoors without burning, pinching, or lasting red marks.
If the sandals remain painful after gradual wear and careful adjustment, more break-in time may not solve the problem. Check the size, width, strap position, and overall shape.
Can You Wear Salt-Water Sandals in the Ocean or Pool?
Salt-Water sandals are designed for water use in many styles, but you should still check the instructions for your exact model. Rinse them with fresh water after exposure to salt, chlorine, or sand.
Let them dry naturally between uses. Repeated wet-and-dry cycles may affect leather and hardware over time, especially if residue remains on the sandals.
Avoid treating water use as a break-in shortcut. A short, controlled dampening may soften leather, but long wet wear can increase rubbing and may stretch the sandals unevenly.
Can You Wear Socks With Salt-Water Sandals?
Thin socks can reduce friction during the early break-in period if the sandal design leaves enough room. They may not work well with a toe-post style or a close-fitting strap.
Choose smooth, lightweight socks without thick seams. Stop if the socks make the sandal too tight or cause your foot to slide.