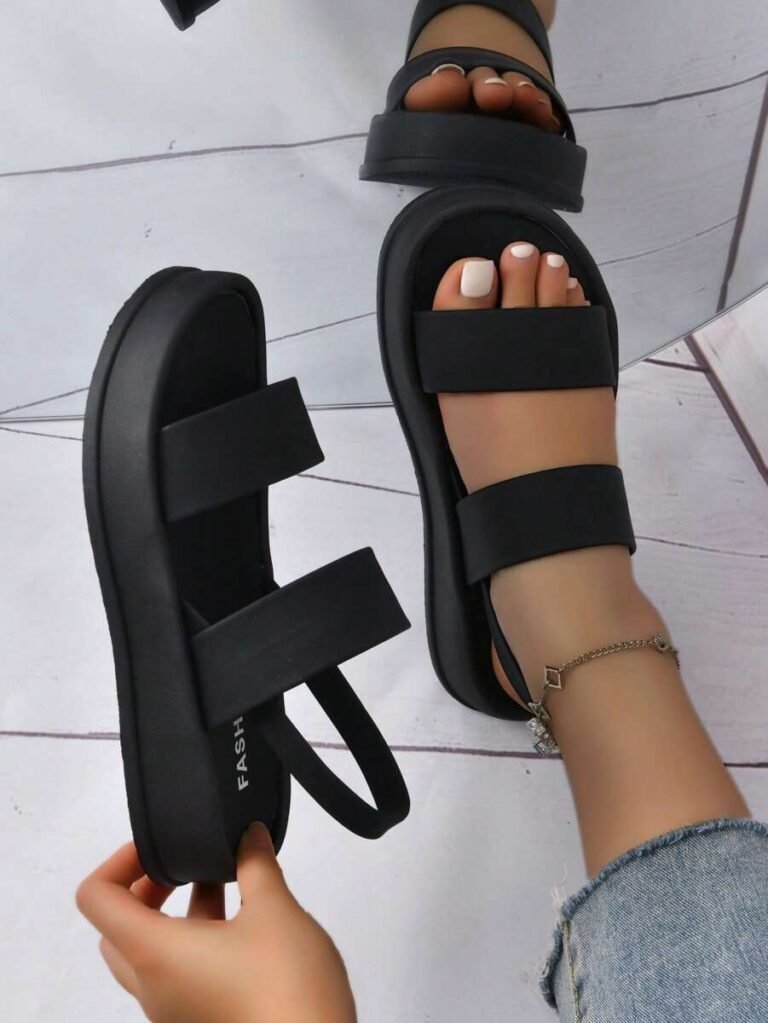

How To Make Gladiator Sandals: Easy DIY Guide
Making gladiator sandals at home is easier than it looks. You need a flat sole, strong leather straps, basic hand tools, and a pattern that matches your foot. This guide uses inches, U.S. shoe sizing, and materials that are widely available from American craft, leather, and hardware stores.
The method below creates a simple pair of leather gladiator sandals with ankle and foot straps. You can adjust the strap height, sole shape, color, and closure to suit your style. Plan for several hours of work, plus drying time for glue or finish.

What You Need to Make Gladiator Sandals
You need a firm sole, flexible upper leather, a way to secure the straps, and tools for cutting and punching. Choose materials based on how often you plan to wear the sandals.
Materials
- Sole leather, rubber sheet, or pre-cut sandal soles
- Vegetable-tanned or chrome-tanned leather for the straps
- Leather contact cement or shoe adhesive
- Waxed leather thread, if you plan to stitch the sandals
- Small Chicago screws, rivets, or leather cord
- Two buckles, snaps, or a tie closure
- Paper or thin cardboard for the pattern
- Pencil or fine marker
- Masking tape
- Sandpaper, around 80 to 220 grit
- Leather conditioner or edge finish
- Optional: thin foam, cork, or leather for an insole
For a firm sole, use leather that is about 8 to 12 ounces thick, or roughly ⅛ to 3⁄16 inch. A thinner rubber sole can work well when attached to a leather base.
For the straps, leather around 4 to 6 ounces is a useful starting point. It is thick enough to hold its shape but still flexible around the ankle.
Tools
- Ruler or measuring tape
- Scissors for paper
- Sharp utility knife or leather knife
- Cutting mat
- Leather hole punch
- Awl
- Mallet
- Edge beveler, optional
- Needles for leather stitching
- Clamps or heavy books
- Safety glasses
- Nitrile gloves when handling adhesive
A sharp knife is safer than a dull one because it needs less force. Cut away from your body and keep your free hand behind the blade path.
Choose the Sandal Style First
A gladiator sandal can be very simple or highly detailed. Pick the style before making the pattern.
| Style | Main feature | Best for |
|---|---|---|
| Minimal | One toe strap and one ankle strap | A quick first project |
| Classic | Several straps across the foot and ankle | Everyday casual wear |
| High-leg | Straps rise toward the lower calf | A bold fashion look |
| Lace-up | Long cord or leather lace | Adjustable fit |
| Buckled | Buckles secure the ankle | A neat, fixed closure |
A taller design needs more straps and more adjustment points. It may also rub the lower leg if the straps are too tight or placed over bony areas.

Step 1: Trace and Measure Your Feet
Start with an accurate foot outline. Do this late in the day if possible, since feet can swell slightly during normal activity.
- Place a sheet of cardboard on a hard floor.
- Stand on it with your full weight on the foot.
- Hold the pencil straight up and trace around the foot.
- Repeat for the other foot.
- Mark the longest toe and the widest part of each foot.
- Measure the distance from the heel to the longest toe.
- Measure the width across the ball of the foot.
Do not trace while sitting. A sitting outline may be too small because the foot does not carry body weight.
Add Sole Allowance
Add about ⅛ inch around the toe, sides, and heel. This allowance gives your foot room without making the sandal look oversized.
For a closed heel edge, add slightly more room at the back. If your feet are different sizes, make two separate patterns. Most people have a small difference between their left and right feet.
Check the Shape
Before cutting leather, place the paper pattern under your foot. Your toes should not hang over the front edge. The widest part of your foot should sit over the widest part of the sole.
A good sandal sole should not pinch the little toe or force the foot to curve inward. If the outline feels narrow, widen the pattern before cutting.

Step 2: Create the Gladiator Strap Pattern
The straps determine both the look and the fit. Make paper versions first so you can move them before cutting leather.
For a basic pair, prepare:
- One toe strap, about ½ to ¾ inch wide
- Two to four foot straps, about ½ to ¾ inch wide
- One ankle strap, about ¾ to 1 inch wide
- One closure strap for a buckle, snap, or lace
- Optional vertical straps that connect the foot to the ankle
Cut each strap from paper or cardstock. Lay the pieces over your foot while wearing the sole pattern.
Place Straps Around the Foot
Keep straps secure but not tight. You should be able to slide a fingertip under a strap after the sandal is fastened.
Avoid placing narrow straps directly over sensitive joints or sharp ankle bones. Wider straps spread pressure and often feel more comfortable.
For a classic gladiator look, try this layout:
- Place the toe strap about 1 inch behind the toe tips.
- Add two diagonal straps across the midfoot.
- Add one strap near the ankle joint.
- Connect selected foot straps to a vertical ankle strap.
- Place the final closure on the outer side of the ankle.
Check the layout while standing and while taking a few steps. A strap that looks correct while sitting may shift when the foot bends.
Plan the Fasteners
Mark the location of every screw, rivet, stitch, or lace hole on the paper pattern. Keep fasteners away from the center of the sole, where they could press against your foot.
For buckles, make the strap long enough to create at least three adjustment holes. Space holes about ¾ inch apart. Confirm this spacing with the actual buckle before punching the leather.

Step 3: Cut the Sole and Leather Straps
Transfer the paper patterns to the leather. Mark the grain side and the flesh side if the leather has a clear surface difference.
- Trace the sole pattern onto sole leather or rubber.
- Trace each strap onto upper leather.
- Add extra length to straps that will fold under the sole.
- Cut with a sharp knife and a ruler.
- Cut slowly around curves.
- Label matching left and right pieces.
Do not cut both sandal soles at once unless the material is thin and easy to control. Cutting one at a time makes it easier to correct the shape.
Add Extra Length for Anchored Straps
If a strap will sit between two sole layers, extend both ends by about ¾ to 1 inch. The exact amount depends on the sole thickness and the fold.
If the strap will be attached on top with stitching or rivets, you may not need extra length. Mark the final attachment method before cutting.
Smooth the Edges
Test-fit the sole against your foot. Trim small high spots rather than making large cuts.
Sand the sole edge in stages:
- Start with coarse sandpaper to remove uneven areas.
- Move to medium grit to smooth the shape.
- Finish with fine grit if you want a cleaner edge.
Rounded edges are less likely to catch on clothing. They may also feel better if the sandal rubs against the side of your foot.

Step 4: Punch Holes and Prepare the Straps
Punch all holes before attaching the straps. It is much easier to align leather while the pieces are flat.
Use a hole punch that matches the hardware. A hole that is too large may allow a rivet or screw to pull through. A hole that is too small can damage the leather during assembly.
For stitching, mark holes ⅛ to ¼ inch from the strap edge. Keep the spacing even. A stitch line that is too close to the edge can tear out.
Shape the Straps
Leather often needs gentle shaping before it feels comfortable.
Lightly dampen vegetable-tanned leather with clean water, then bend it around a form that resembles your foot or ankle. Let it dry fully before assembly. Do not soak the leather, since excessive moisture can change its size and surface.
Chrome-tanned leather usually remains flexible without this step. Test a scrap first because different finishes react in different ways.
Soften Strap Edges
Use an edge beveler on thick leather if you have one. You can also smooth the edge with fine sandpaper.
Apply a small amount of leather edge finish or conditioner if desired. Avoid heavy amounts near areas that will touch bare skin until the finish has dried.

Step 5: Assemble the Gladiator Sandals
The strongest home method uses both adhesive and mechanical attachment. Glue holds the layers in place, while stitching, screws, or rivets help resist pulling.
Dry-Fit Everything First
Place the straps on the sole without glue. Wear the sandal for a few minutes while standing and walking indoors.
Check for:
- Toe overhang
- Heel movement
- Pinching across the foot
- Straps that twist
- Hardware touching the skin
- Gaps between the sole and strap ends
- Difficulty tightening or releasing the closure
Fix the layout now. Once adhesive sets, moving the straps may damage the leather.
Attach the Straps
Follow these steps:
- Roughen the bonding areas lightly with sandpaper.
- Clean away dust.
- Apply adhesive according to the product label.
- Place the strap ends in their marked positions.
- Press the pieces together.
- Clamp or weight the assembly.
- Allow the adhesive to cure for the full labeled time.
- Add stitching, screws, or rivets after the glue has set.
Many contact adhesives require application to both surfaces and a short wait before joining. Other shoe adhesives work while wet. The label controls the correct process, so do not guess.
Use adhesive in a well-ventilated area. Keep it away from flames, sparks, children, and pets. Read the product’s safety data sheet if the label directs you to do so.
Add the Top Layer
If the strap ends look rough or feel raised, cover them with a thin insole layer. A second leather layer can hide the attachment points and improve comfort.
Trim the insole to match the sole. Leave a small exposed edge if you want to inspect the bond. Press the insole firmly and allow it to cure before wearing the sandals.
Install the Closure
Attach buckles, snaps, or laces only after checking the fit.
For a buckle:
- Attach the buckle to the fixed end.
- Fold the leather around the buckle bar.
- Secure the fold with stitching, screws, or rivets.
- Punch adjustment holes in the opposite strap.
- Round the end of the strap.
For a lace-up style, punch paired holes on each side of the ankle. Keep the holes aligned so the lace does not pull the sandal sideways.

Step 6: Finish and Test the Sandals
Let the sandals cure fully before wearing them outdoors. The correct curing time depends on the adhesive, leather, temperature, and humidity.
Inspect each sandal before use. Pull each strap gently. Look for lifting edges, loose hardware, cracked leather, or gaps in the sole.
Test Them Indoors
Wear the sandals with clean, dry feet for 10 to 15 minutes. Walk on a clean, hard floor.