How To Tie On Cloud Shoes: Easy Step-By-Step Guide
To tie On Cloud shoes, lace them snugly, secure the heel, and leave room for natural foot movement.
Learning how to tie On Cloud shoes is simple, but the best method depends on your foot shape, activity, and shoe model. A good knot should hold your foot steady without causing pressure, numbness, or heel slip. This guide explains the standard lacing method, runner’s loop, wide-foot adjustments, common mistakes, and practical fit tips for daily wear, walking, and running.
How to Tie On Cloud Shoes the Standard Way
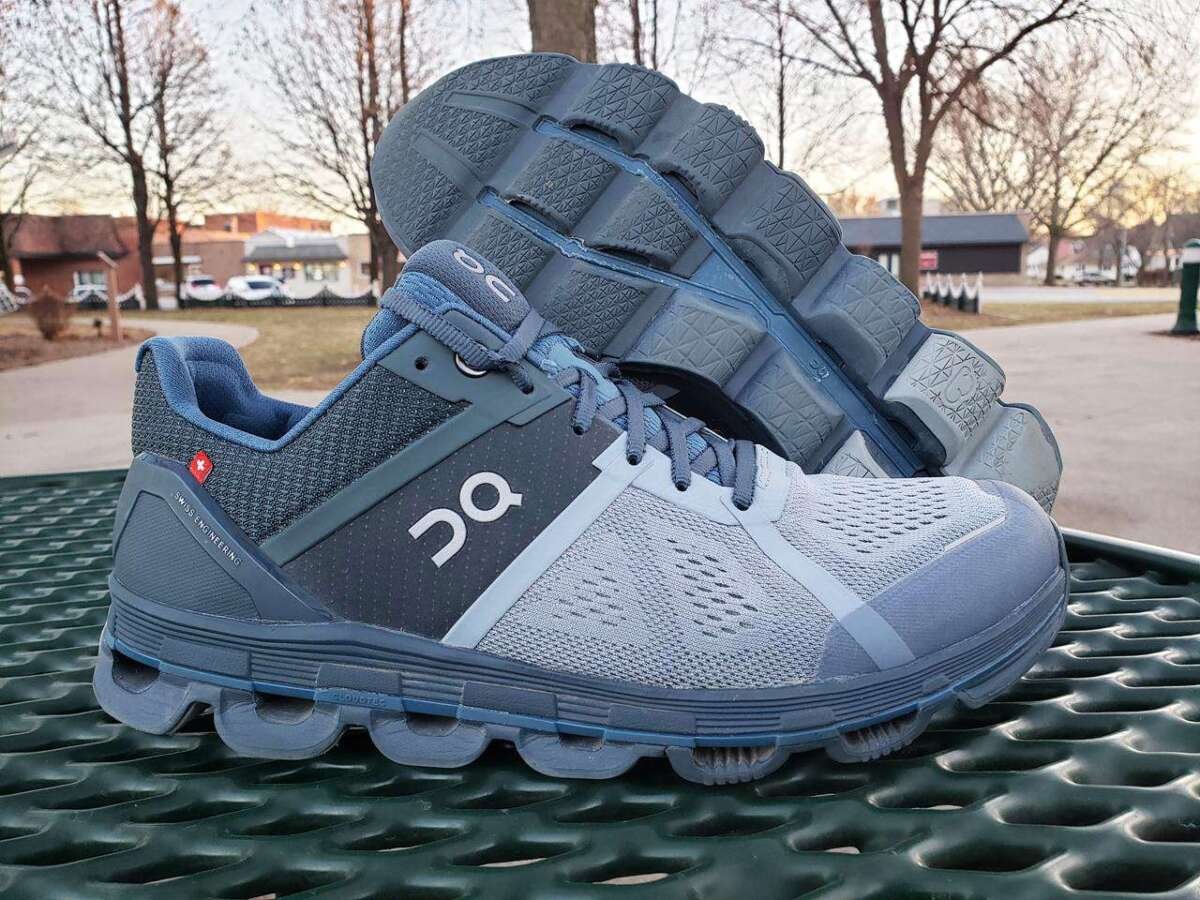
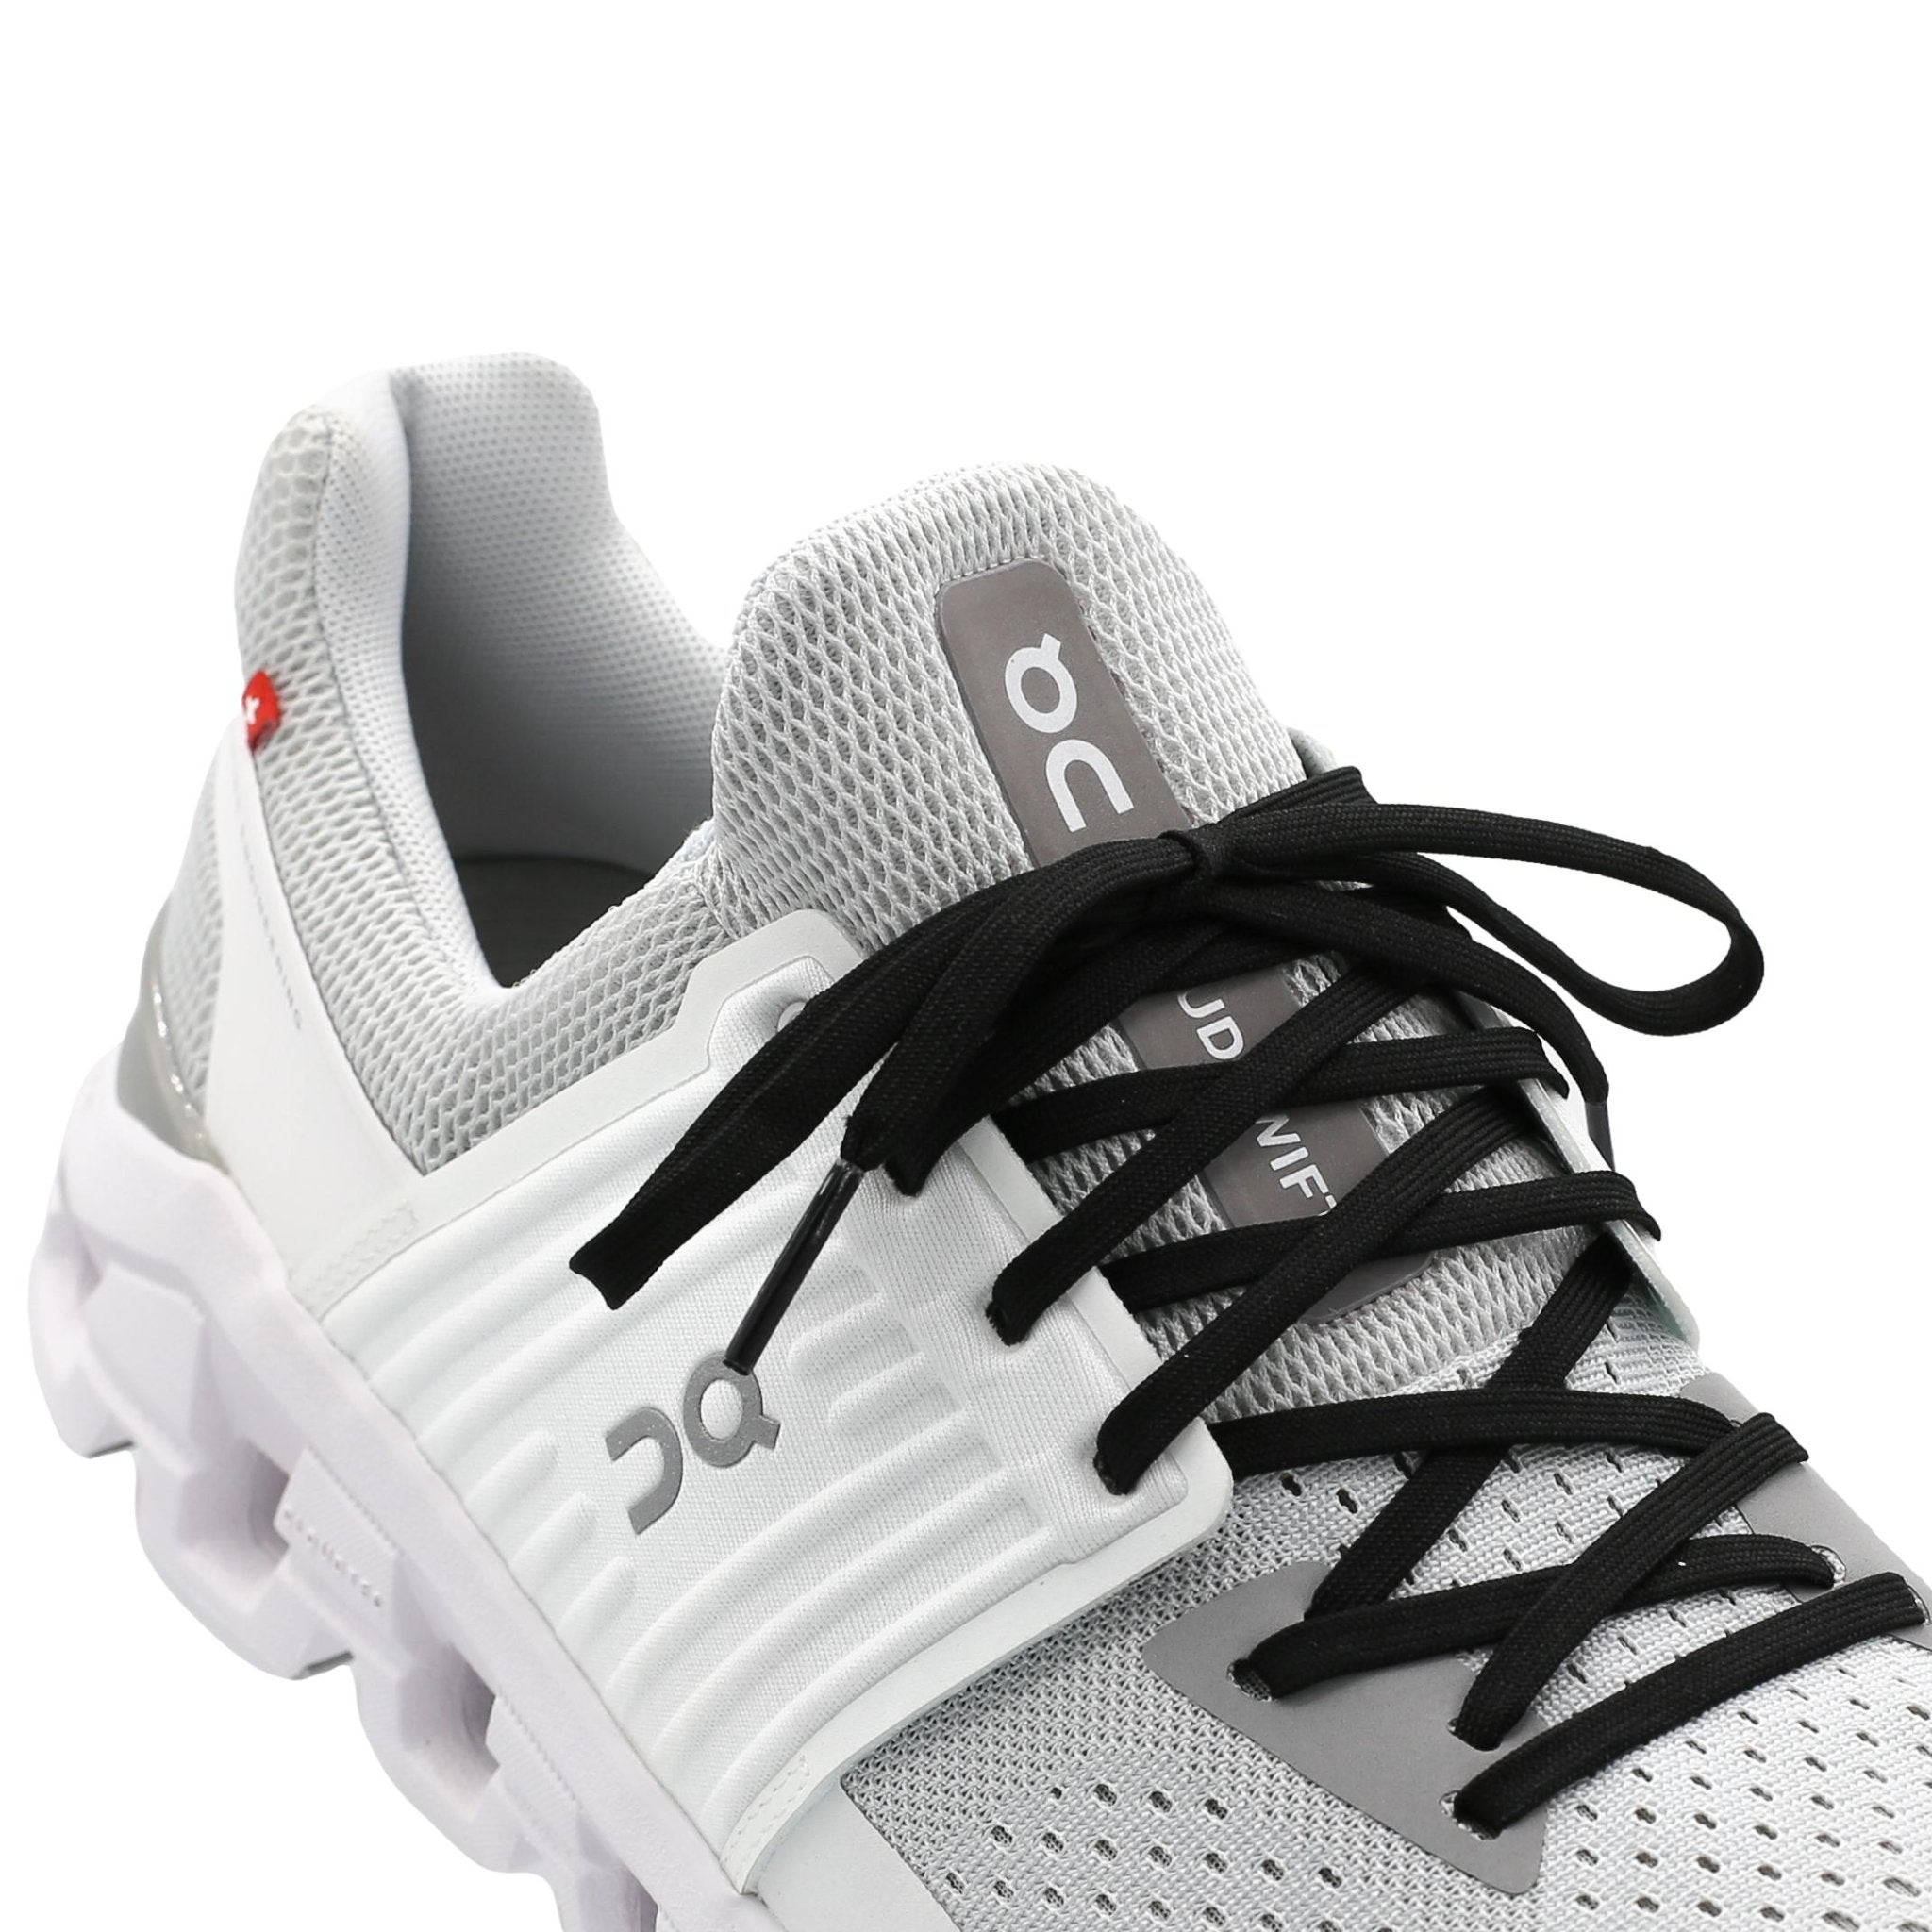
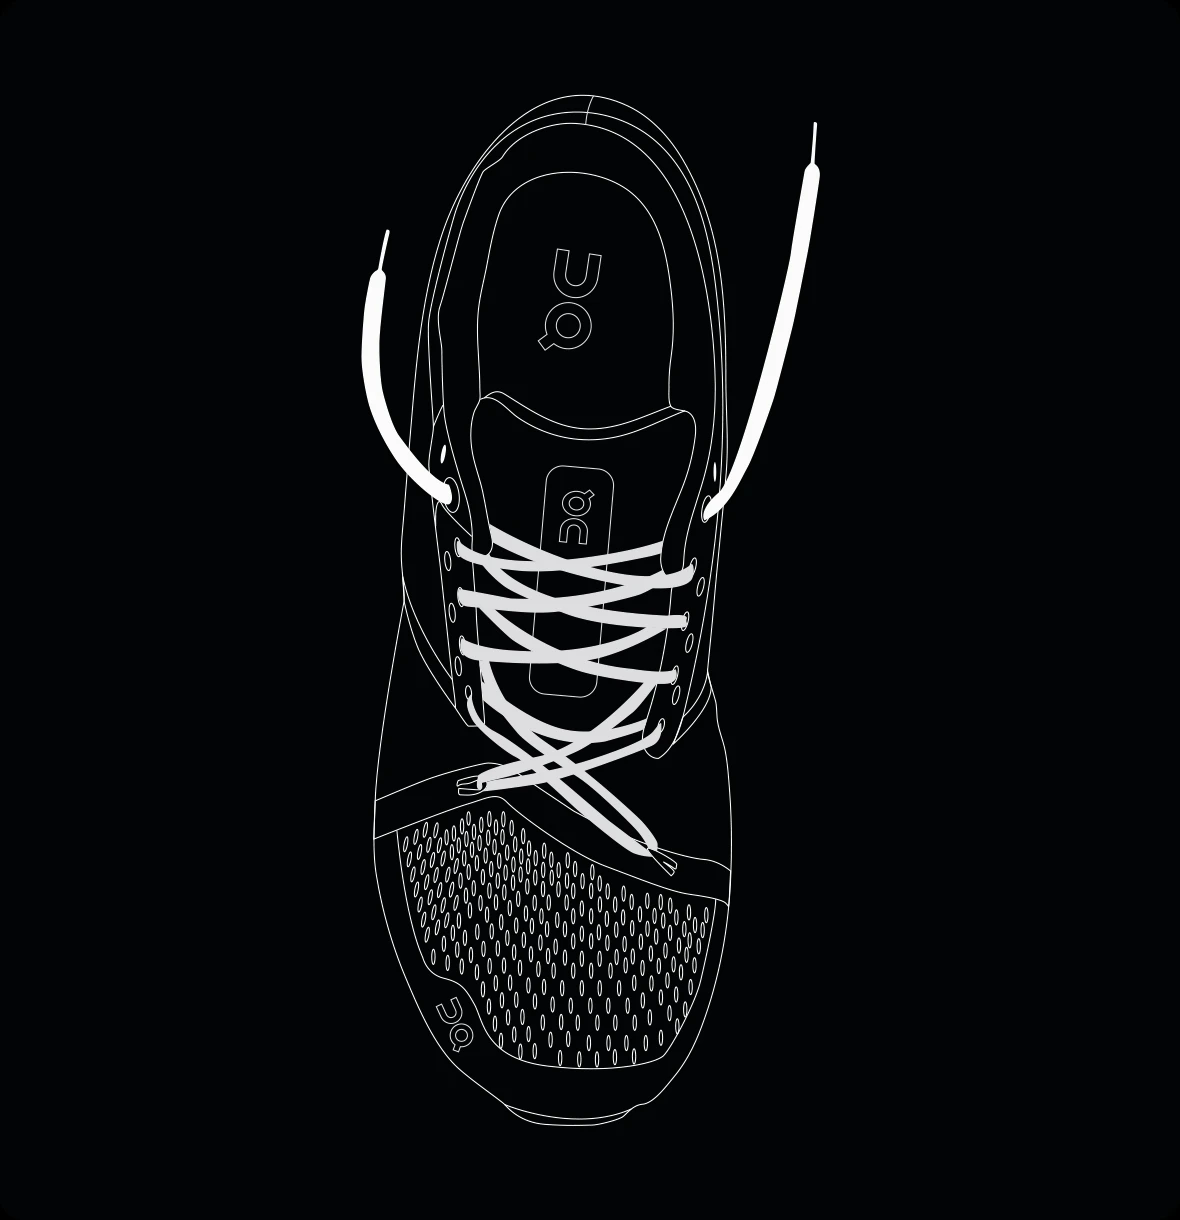
Most On Cloud shoes use traditional eyelets or a similar lace system. The standard crisscross method works well for walking, gym sessions, commuting, and casual use.
Follow these steps:
- Put on the socks you plan to wear with the shoes.
- Slide your foot into the shoe.
- Tap your heel gently against the floor to seat it in the heel cup.
- Pull the laces from the bottom eyelets upward.
- Cross the laces over each other at every set of eyelets.
- Pull each section until it feels secure, but not tight.
- Tie a regular bow near the top of the tongue.
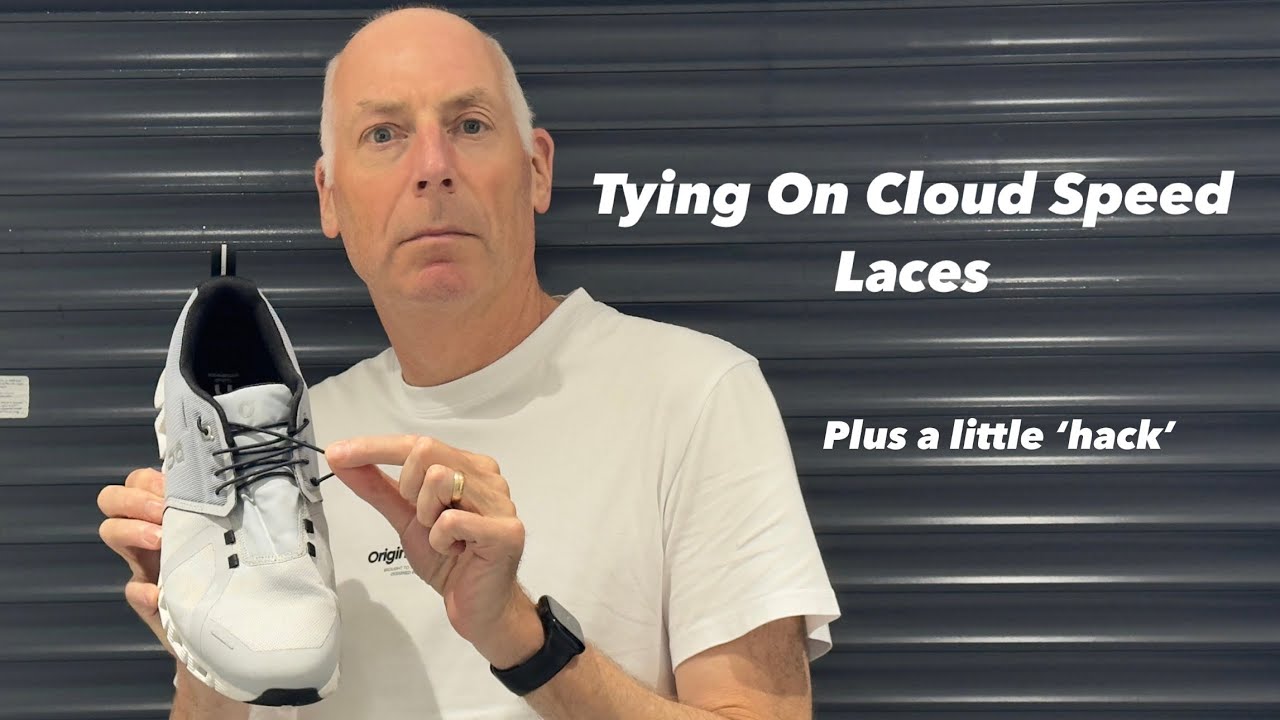
- Tuck the loops or lace ends if they touch the ground.
The key to learning how to tie On Cloud shoes is to create even pressure. Do not pull only at the top. Tighten the laces from the toe area upward so the whole foot feels supported.
Your toes should be able to move. The shoe should not squeeze the sides of your foot or press hard across the top. If you feel tingling, loosen the laces and try again.

How to Tie On Cloud Shoes With a Runner’s Loop
A runner’s loop, also called a heel-lock lacing method, can reduce heel movement. It is helpful if your heel lifts while walking or running, even when the rest of the shoe fits well.
Here is how to tie On Cloud shoes with a runner’s loop:
- Lace the shoe normally until you reach the second-to-last eyelet.
- On each side, pass the lace straight up into the final eyelet.
- Leave a small loop on both sides instead of pulling the lace fully across.
- Cross each lace end through the opposite loop.
- Pull the lace ends backward and upward.
- Tie your bow while keeping the heel comfortably locked.
The loops act like small anchors. They hold the heel in place without forcing you to tighten the middle of the shoe.
This method is especially useful for:
• Running on hills
• Fast walking
• People with narrow heels
• Shoes that feel loose around the ankle
• Preventing toe bumps on downhill paths
Do not pull the runner’s loop too tightly. A tight heel lock can create pressure around the ankle or affect circulation.
How to Tie On Cloud Shoes for a Wide Foot
Some On Cloud shoes have a roomy toe box, while others feel more fitted. If your forefoot feels tight, you can change the lacing pattern instead of immediately buying a larger size.
Try this wide-foot lacing method:
- Start with the bottom eyelets.
- Lace the shoe straight across the lower section.
- Skip one eyelet on the area that feels tight.
- Resume the crisscross pattern above that space.
- Tie the shoe with light pressure across the top.
Skipping an eyelet creates a small pressure-release zone. It can help if you feel discomfort over the ball of the foot or across the top of the foot.
Another option is to loosen the lower laces while keeping the upper laces secure. This gives your toes more room but still supports the ankle.
When learning how to tie On Cloud shoes for a wide foot, avoid compensating by tying the top too tightly. That may make the shoe feel secure at first, but it can cause hot spots during long walks.

How to Tie On Cloud Shoes for a Narrow Heel
A narrow heel may slide even when the shoe feels correct across the toes. This can lead to blisters, rubbing, and a feeling that the shoe is not stable.
Use the runner’s loop described above, or try these adjustments:
• Keep the lower laces relaxed.
• Tighten the laces gradually near the ankle.
• Use a heel-lock knot.
• Wear socks with a little grip around the heel.
• Check that your heel is seated before tying the shoe.
A simple heel-lock knot can also help. Tie a normal bow, then pass each loop through the knot one more time before pulling it tight. This creates a more secure finish.
If your heel still slips after these changes, the problem may be the shoe size or shape. Lacing can improve fit, but it cannot fully correct a shoe that is too long or too wide.
How to Tie On Cloud Shoes Without Pressure on the Top of the Foot
Pressure across the top of the foot often comes from tight laces or a high tongue. It may feel like a band pressing down when you walk or run.
A window lacing pattern can relieve this pressure:
- Lace the shoe normally from the toe.
- Stop before the painful area.
- Run the lace straight up on both sides.
- Skip the eyelets directly over the pressure point.
- Resume the crisscross pattern above the area.
- Tie the shoe as usual.
The open section works like a window. It gives the top of your foot more space while keeping the shoe secure.
This technique is useful for people with a high instep. It can also help when feet swell during long walks or warm weather. If pain, numbness, or swelling continues, stop using the shoe and consider professional advice.
How Tight Should On Cloud Shoes Be?
On Cloud shoes should feel secure, not restrictive. Your foot should not slide inside the shoe, but your toes should still spread and move naturally.
Use this quick fit check:
• Your heel stays in place when you walk.
• Your toes do not touch the front.
• The widest part of your foot does not bulge over the sole.
• You can feel light, even pressure from the laces.
• Your foot does not become numb or cold.
• There are no sharp pressure points.
A useful test is the finger check. With the shoe tied and your foot flat, you should be able to place a finger under the lace area without forcing it. This is not a strict measurement, but it can show whether the laces are excessively tight.
Feet often swell during the day and during exercise. For that reason, test the shoes at the time you plan to use them. A fit that feels perfect early in the morning may feel too tight during an afternoon run.
How to Tie On Cloud Shoes for Running
Running creates more movement than casual walking. Your laces must hold the foot steady while allowing the foot to flex.
For most runners, this method works well:
- Loosen the laces fully before putting on the shoe.
- Set your heel firmly into the heel cup.
- Tighten the laces from the bottom upward.
- Keep the forefoot comfortable.
- Use the final eyelet for a runner’s loop.
- Tie a firm bow with double knots if needed.
- Walk, jog, and check the fit before starting a long run.
When learning how to tie On Cloud shoes for running, avoid tying them while your heel is lifted. If the heel is not seated, the shoe may loosen once you begin moving.
Try a short test run first. Look for heel slip, toe pressure, lace bite, or rubbing. Small changes can make a major difference over several miles.
A double knot is useful for long runs, races, or wet conditions. However, make sure the knot is not so bulky that it presses into the top of your foot.
How to Tie On Cloud Shoes With Elastic Laces
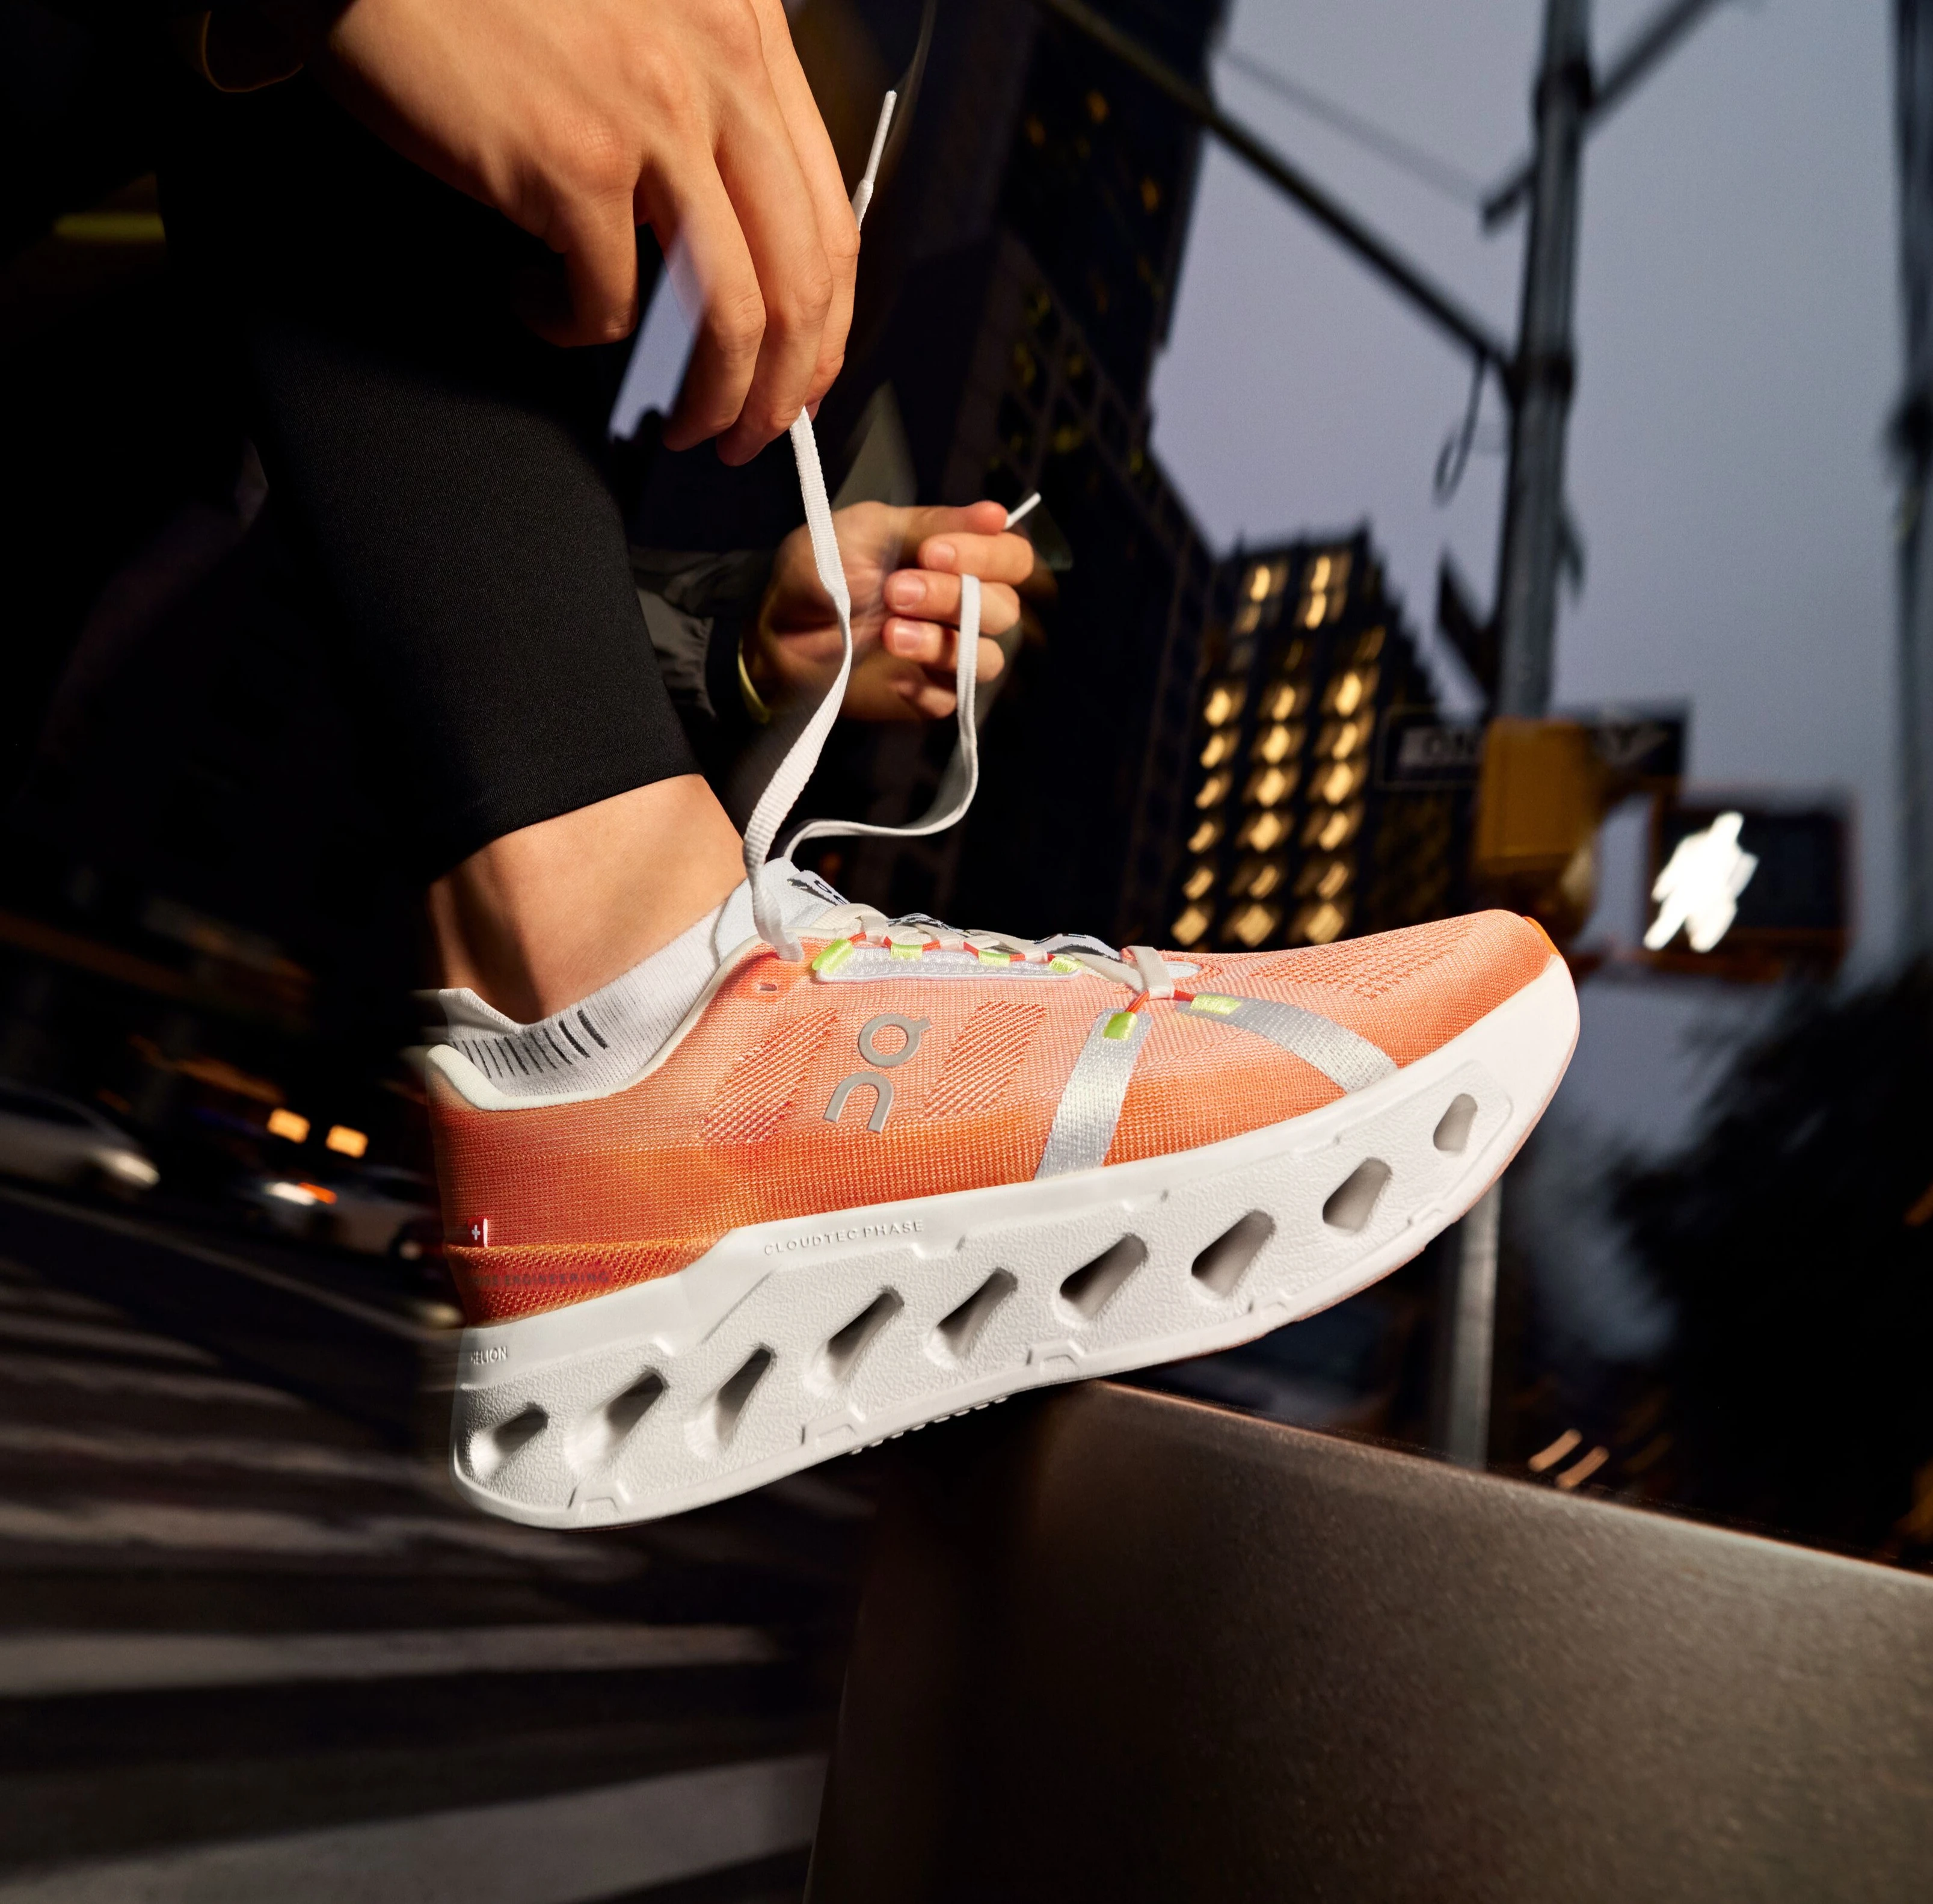
Some people replace standard laces with elastic laces. Elastic laces can make On Cloud shoes easier to slip on and off, especially for travel or daily errands.
To fit elastic laces:
- Lace the shoe through each eyelet.
- Keep the tension even from bottom to top.
- Leave enough stretch for your foot to enter.
- Secure the lace lock or tie the ends.
- Walk indoors to test the fit.
- Adjust the tension before wearing the shoes for long periods.
Elastic laces are convenient, but they may not provide the same control as regular laces during fast running or sharp turns. They work best for casual use, walking, and people who want a quick-entry shoe.
Do not cut the excess lace until you have tested the setup several times. Once cut, the laces may be difficult to replace or adjust.

Common Mistakes When Tying On Cloud Shoes
Even a well-designed shoe can feel uncomfortable when tied poorly. These mistakes are common:
Pulling the top laces too hard
This can cause pressure on the instep, numbness, and discomfort. Tighten each section evenly instead.
Leaving the heel loose
A loose heel can create rubbing and blisters. Use a runner’s loop if the heel moves.
Tying the shoe before seating the heel
Your foot may slide forward after you begin walking. Tap the heel down first.
Wearing the wrong socks
Thick socks can make a correct shoe feel too small. Thin socks can increase movement and rubbing.
Using a knot that comes undone
A loose bow can catch on objects or open during exercise. Try a double knot, but keep the knot flat.
Ignoring pain
Lacing changes can solve mild pressure issues. They should not hide serious pain, numbness, swelling, or repeated blisters.
A practical lesson from fitting many types of athletic footwear is that comfort should be checked in motion. A shoe can feel fine while sitting and still rub after 20 minutes of walking.

How to Stop On Cloud Shoelaces From Coming Undone
If your On Cloud shoelaces keep coming undone, the problem may be the knot rather than the shoe. A secure bow uses balanced loops and even lace tension.
Try these fixes:
• Tie the bow with the opposite loop direction. Some people naturally use a weak version of the knot.
• Use a double knot for running or long walks.
• Keep the loops short so they do not catch on the ground.
• Replace worn or smooth laces.
• Tuck the finished knot under the crossed laces.
• Check the knot after the first few minutes of movement.