
How To Turn Heels Into Boots: Easy DIY Guide
You can turn some heels into boots by adding a fitted shaft around the ankle or lower leg. The most reliable method is to build a leather or fabric shaft, fit it over the shoe, and secure it with stitching, a zipper, or a removable strap system. However, not every pair of heels can handle the change. Shoes with a strong heel, firm counter, and solid sole are the best candidates.
In the United States, a cobbler can often make this conversion more neatly than a home DIY project. A professional is especially helpful when the shoe has a thin sole, a narrow heel, delicate fabric, or a design that needs permanent structural changes.
Decide Which Type of Boot Conversion You Want
The first step is to choose between a removable boot cover and a permanent conversion. These two methods look similar but require very different levels of work.
Option 1: Make removable boot covers
Removable boot covers slide over your heels. They can create the look of ankle boots, mid-calf boots, or even knee-high boots without changing the shoe itself.
This method works well when you:
- Want to protect an expensive pair of heels
- Need a costume or stage look
- Want to change the style for one event
- Do not have leather-working tools
- Want to reverse the project later
Boot covers can use fabric, faux leather, stretch vinyl, or soft leather. Elastic, snaps, hook-and-loop tape, or a zipper can hold the cover in place.
Option 2: Permanently convert the heels
A permanent conversion attaches a new upper section directly to the shoe. The new section may include:
- An ankle shaft
- A side zipper
- A back seam
- Reinforcement around the ankle
- A new lining
- A shaped top edge
- Stitching or adhesive at the shoe’s upper
This creates a more finished result, but it is harder to repair. Poor placement can damage the shoe or make it uncomfortable to wear.
Option 3: Add a decorative shaft
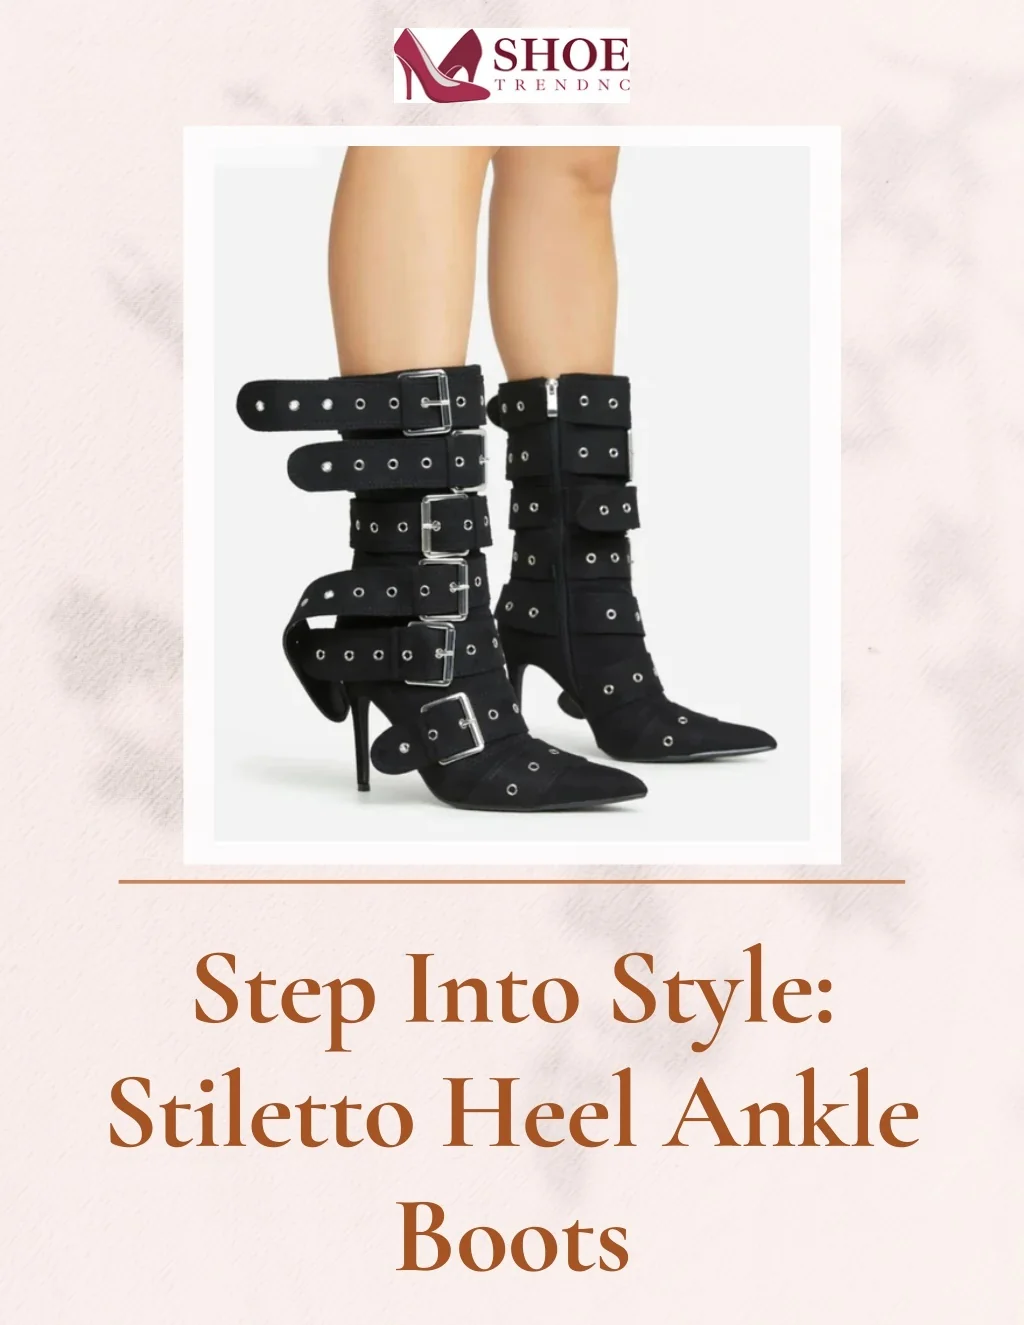
A simpler variation adds a short shaft around the ankle without rebuilding the whole shoe. This can make pumps look like ankle boots.
The shaft may attach with:
- Hidden straps
- Snaps
- Decorative buckles
- Elastic panels
- A wraparound band
- A zipper
This approach is often the best starting point for beginners.
Check Whether Your Heels Can Become Boots
The shoe must support the added material. Examine it before you cut anything.
Good candidates
Heels are more suitable when they have:
- A closed toe
- A stable heel
- A firm heel counter
- A strong upper
- A sole with enough thickness for stitching or adhesive
- A clean ankle area
- A heel that is firmly attached
- Leather, suede, canvas, or another durable material
A block heel or wider stacked heel is usually easier to work with than a very thin stiletto heel. The wider heel gives the finished boot better balance.
Poor candidates
Avoid permanent conversion if the shoe has:
- A very thin stiletto heel
- A soft or collapsing upper
- Fragile satin or fine mesh
- Heavy decorations near the ankle
- A loose heel
- A thin glued sole
- A pointed design that already feels unstable
- Cracks, peeling, or worn structural parts
Adding a boot shaft does not strengthen a weak shoe. It can add weight and place more stress on the upper.
Inspect the heel and sole
Hold the shoe by the heel and gently press the sole. It should not flex apart from the upper. Check for gaps, loose layers, or squeaking.
Do not use a shoe with a loose heel until a qualified shoe repair professional fixes it. A new shaft will not correct that safety problem.

Gather the Materials and Tools
Your materials depend on whether you want a removable cover or a permanent boot.
For a basic DIY project, gather:
- The pair of heels
- Leather, faux leather, suede, or sturdy fabric
- Paper for a pattern
- Measuring tape
- Pencil or tailor’s chalk
- Paper scissors
- Fabric scissors or a rotary cutter
- Clips or sewing pins
- Strong thread
- A leather needle, if using leather
- A zipper, elastic, snaps, or hook-and-loop tape
- Contact cement made for footwear, if needed
- Sandpaper
- Rubbing alcohol for surface cleaning
- A flexible ruler
- A seam ripper
- A shoe last or rolled towel for shaping
Use clips instead of pins when working with leather. Pins leave holes that do not close.
Choose a flexible material for the shaft. Very stiff material can rub your ankle and may pull the heel out of alignment. For a close fit, a lining can make the inside smoother and more comfortable.
Choose the right adhesive
Use an adhesive labeled for leather, footwear, or flexible materials. Standard school glue and many general craft glues become brittle or fail when the shoe bends.
Adhesive needs clean, dry surfaces. It also needs time to cure. Follow the product directions for ventilation, drying time, and skin protection.
Do not use solvent-based adhesive in a closed room. Keep it away from flames and heat.
Measure the Shoe and Your Ankle
Accurate measurements help the boot shaft fit without slipping or cutting into your skin.
Take these measurements:
- Ankle circumference: Measure around the narrowest part of your ankle.
- Shaft height: Measure from the top of the shoe to the point where you want the boot to end.
- Foot opening width: Measure the area around the shoe where the shaft will meet it.
- Heel position: Measure the distance from the back seam of the shoe to the heel.
- Calf circumference: Measure this only if you are making a taller boot.
- Desired ease: Add a small amount of room so the shaft is not tight.
For a snug ankle boot, the shaft should follow the ankle without squeezing it. You should be able to move your foot and bend your ankle without sharp pressure.
Make a paper pattern before cutting your final material. Wrap paper around the shoe and ankle area. Mark the front, back, side seams, zipper location, and top edge.
Use tape to hold the paper in place. Walk around the room for a few minutes. If the paper shifts, wrinkles, or digs into your ankle, the final shaft will likely do the same.
How to Make Removable Boot Covers
Removable covers are the least risky way to turn heels into boots. They also let you test the style before making permanent changes.
Step 1: Create a paper pattern
Wrap paper around the shoe and your ankle. Mark where the cover will start and end.
For an ankle boot cover, the lower edge should sit close to the shoe’s upper. Leave enough space for your foot to enter and exit. Mark a back seam or side opening.
Add seam allowance to the pattern. The correct amount depends on your material and sewing method. A narrow allowance may work for thin fabric, while thicker materials need more room.
Step 2: Transfer the pattern
Place the pattern on the wrong side of the material. Trace it with chalk or a pencil.
Cut two side panels, or cut one piece with a back seam. A two-panel design often fits the ankle better because it allows shaping.
If the material has a visible grain, nap, or print, keep the direction consistent on both sides.
Step 3: Sew the shaft
Sew the back or side seam first. Use a strong, even stitch. If the material stretches, use elastic thread or add a stretch panel.
Test the shaft on the shoe before finishing the top edge. It should sit close to the ankle but should not press against the heel or restrict movement.
Finish the top edge with:
- Folded material
- Bias tape
- A narrow leather strip
- Binding
- A clean hem for fabric
Step 4: Add the closure
A zipper gives the most secure fit. Place it along the back or inside of the ankle.
Elastic works well for stretch covers. Snaps can make the cover easy to remove. Hook-and-loop tape is simple, but it may catch on clothing and can look bulky.
Step 5: Secure the cover to the shoe
Use straps or snaps to prevent the cover from sliding upward. Place the attachment points near the sides and back of the shoe.
Do not attach a cover only at the front. It may twist as you walk.
A removable cover should stay in place without pulling on the heel. Test it indoors on a clean floor before wearing it outside.

How to Permanently Turn Heels Into Boots
A permanent conversion needs more care because the shaft becomes part of the shoe.
Step 1: Remove only what you can replace
Do not cut the shoe until you know where the shaft will attach. Some shoes have hidden stiffeners, padding, or support pieces under the lining.
If you must remove trim, photograph the shoe first. Mark the original position of each part.
Avoid cutting into the heel counter. This is the firm structure at the back of many shoes. It helps hold the heel in place and supports your foot.
Step 2: Make and test a full-size pattern
Create the boot shaft pattern with paper or inexpensive fabric. Tape it to the shoe and try it on.
Check the following:
- The shaft does not rub the ankle
- The zipper does not sit over a bend point
- The heel remains centered
- The shoe opens wide enough for your foot
- The shaft does not pull the upper upward
- The top edge stays level
- You can walk without the shaft twisting
Make several paper versions if needed. Pattern changes are much easier before you cut leather.
Step 3: Cut the outer material and lining
Cut the outer shaft and lining separately. Match the pieces before sewing.
Use soft lining fabric where the boot touches your ankle. A lining can reduce friction and hide raw seams.
If you use leather, keep the thickness consistent. A heavy shaft attached to a light pump can distort the shoe.
Step 4: Sew the shaft
Sew the shaft into a tube or shaped panel. Add the zipper before closing the final seam when the design requires it.
Use a leather needle and strong thread for leather. Stitch slowly. A home sewing machine may struggle with thick layers.