How Do You Customize Shoes: Best Ways To Personalize
You can customize shoes by changing their color, materials, laces, artwork, fit, or finish with the right methods.
Learning how to customize shoes is part design, part craft, and part careful planning. Whether you want custom sneakers, painted leather shoes, or a simple lace swap, the best results come from matching the method to the shoe material. This guide explains how to customize shoes safely, creatively, and with a finish that lasts.
What Does It Mean to Customize Shoes?
To customize shoes means changing their look, feel, or function to suit your taste. You can make small changes, such as adding new laces, or complete a full redesign with paint, fabric, patches, and custom logos.
Many people customize shoes for self-expression. Others create matching footwear for a team, event, brand, or outfit. Some artists also customize shoes as a paid service.
Common shoe customization options include:
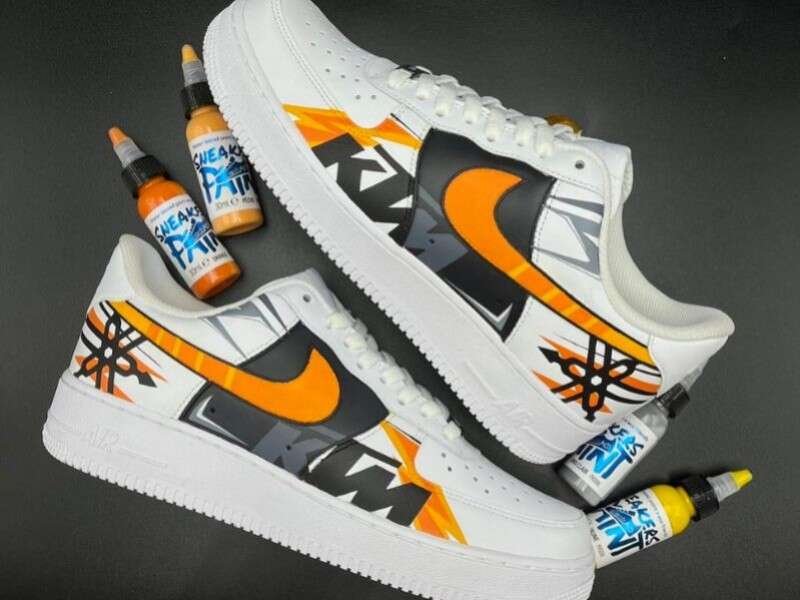
• Painting panels with leather or fabric paint
• Replacing laces, soles, or hardware
• Adding embroidery, patches, beads, or charms
• Changing the color with dye or a professional finish
• Creating custom graphics, names, or numbers
• Adding reflective details or glow effects
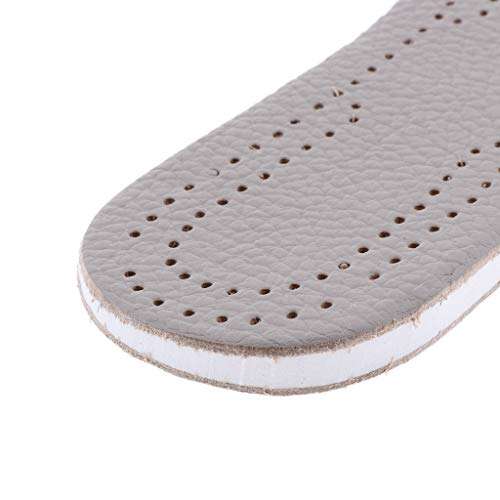
• Improving comfort with insoles or heel cushions
The shoe itself matters. Smooth leather, suede, canvas, mesh, synthetic leather, and rubber all react in different ways. A product that works well on canvas may crack, stain, or peel on leather.
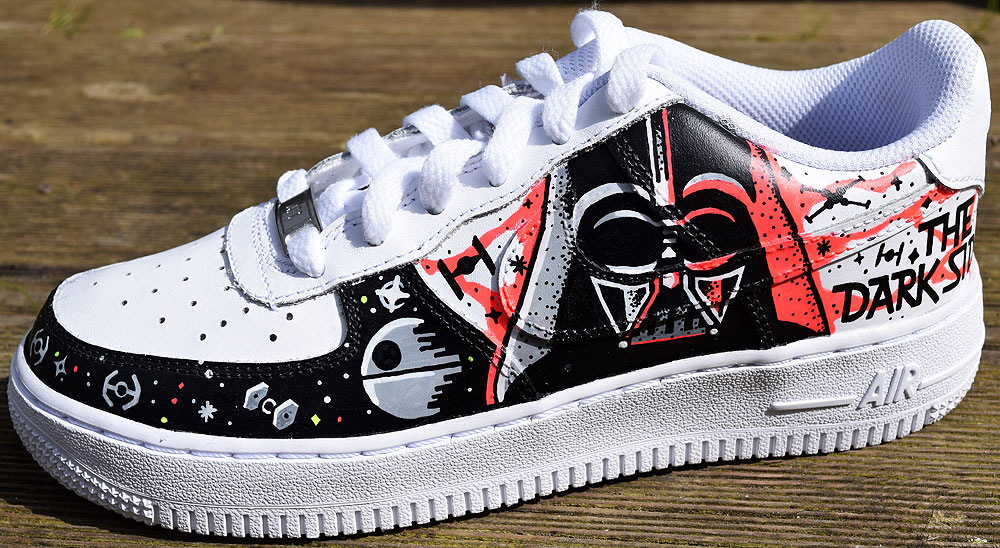
How Do You Customize Shoes at Home?
The safest way to customize shoes at home is to start with a clean pair, plan the design, and use products made for the shoe’s material. Do not rush into painting. Good preparation often matters more than artistic skill.
Step 1: Choose the Right Shoes
Start with shoes that are clean, strong, and comfortable. Old shoes can work well, but avoid pairs with cracked soles, weak stitching, or damaged inner lining.
White leather sneakers and canvas shoes are popular because they offer a clear base. Dark shoes can also look great, but they may need a light base coat before bright colors show clearly.
Step 2: Plan Your Design
Sketch your idea on paper or take a photo of the shoes and draw over it digitally. Mark the areas you want to change, such as the toe box, heel panel, side panel, tongue, or midsole.
Think about balance. A busy design on every panel can look messy, while one strong detail can look polished. Your design should also work with the shoe’s natural seams and curves.
Step 3: Gather Your Supplies
Basic shoe customization supplies may include:
• Mild soap and clean water
• Soft brushes and microfiber cloths
• Rubbing alcohol for suitable leather surfaces
• Painter’s tape
• Leather paint or fabric paint
• Fine detail brushes
• Acrylic finisher or protective spray
• Gloves and a well-ventilated work area
• Paper, shoe trees, or old towels for support
Always read the product label before use. Some paints and sealers require ventilation, gloves, or a test patch.
Step 4: Clean and Prepare the Surface
Remove laces and brush away loose dirt. Use a small amount of mild soap and water for canvas or fabric. For finished leather, a suitable leather cleaner is usually safer than strong household chemicals.
A small amount of rubbing alcohol may remove surface coatings from some leather shoes. Test it on a hidden area first. Never assume that every synthetic material can handle alcohol, acetone, or strong solvents.
Step 5: Protect Areas You Do Not Want to Change
Use painter’s tape around the outsole, logos, eyelets, and inside edges. Press the tape down firmly so paint cannot seep underneath.
Stuff the shoes with paper or insert shoe trees. This keeps the shape stable and gives you a firmer surface while you work.
Step 6: Apply Thin Layers
Apply several thin coats instead of one thick coat. Thick paint may crack when the shoe bends. Allow each layer to dry before adding the next one.
For detailed artwork, begin with large shapes. Add outlines, shadows, highlights, and small details last. This is similar to building a picture from the background forward.
Step 7: Seal the Design
When the paint is fully dry, apply a compatible finisher. A matte finish creates a soft, low-shine look. A satin or glossy finish makes colors appear brighter but may show more surface marks.
Use light coats and follow the drying time on the label. Let the shoes cure fully before wearing them outdoors.

How Do You Customize Shoes by Material?
The best answer to how do you customize shoes depends on what the shoes are made of. Material changes affect cleaning, paint choice, drying time, and durability.
Leather Shoes
Leather is one of the easiest materials to paint when it has a smooth finish. Clean it first, then remove excess surface oils if the product instructions allow it. Use flexible leather paint rather than ordinary craft paint.
Keep paint away from areas that bend sharply when possible. Thin layers help the design move with the shoe instead of splitting.
Canvas Shoes
Canvas absorbs color well and works with many fabric paints. Wash or clean the fabric first, then let it dry completely. Place cardboard inside the shoe to prevent paint from soaking through to the lining.
Fabric paint may leave the material slightly stiffer. Use light coats to keep the shoe comfortable.
Suede and Nubuck
Suede and nubuck are difficult to paint because their raised texture can become flat or rough. Dye, suede color renovator, or professional airbrushing may produce better results than standard paint.
Avoid heavy water use. Water can create dark spots and change the texture. For valuable suede shoes, professional service is the safer choice.
Mesh and Knit
Mesh and knit shoes need flexible products. Heavy paint can block airflow, stiffen the fabric, or make the surface crack. Small designs, fabric markers, and carefully placed color accents often work better.
Test a hidden spot before starting. Some markers spread along fabric threads like ink on wet paper.
Rubber and Foam
Rubber midsoles and foam soles flex often and collect dirt. Paint may wear away quickly, especially on the tread. If you paint a midsole, clean it well and use a product designed for flexible surfaces.
Avoid painting the bottom of the outsole. It can become slippery and wear off fast.
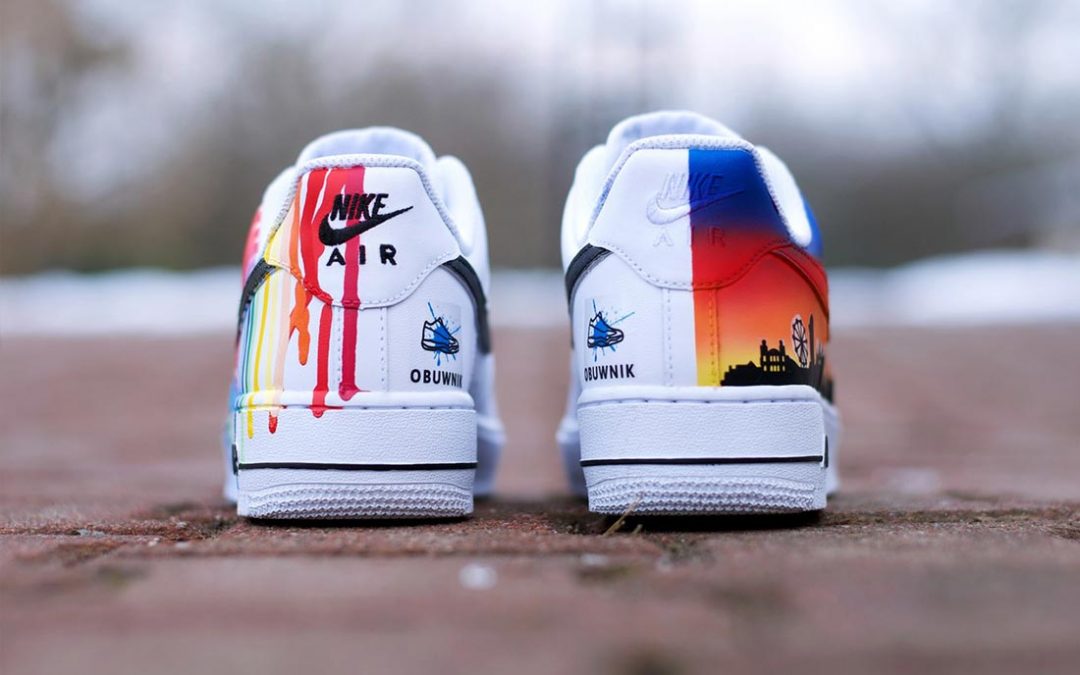
How Do You Customize Shoes With Paint?
Painting is one of the most popular answers to how do you customize shoes because it offers almost unlimited design choices. You can create simple color blocks or detailed art, but the paint must bond to the surface and remain flexible.
Use the right paint for each material:
• Leather paint for smooth leather and some synthetic leather
• Fabric paint for canvas and fabric panels
• Suede dye or renovator for suede
• Flexible surface paint for selected rubber areas
• Paint markers for small details and clean lines
Start with a color test. Paint a hidden area and let it dry for at least several hours. Check for cracking, bleeding, stickiness, or color change.
For clean lines, use painter’s tape and a fine brush. For smooth color, use multiple thin coats. If you make a mistake, let the area dry before correcting it. Trying to wipe wet paint can spread the mark.
A common mistake is using regular wall or craft paint. It may look good for one day but can crack when the shoe flexes. Flexibility is one of the main differences between a lasting custom shoe and a short-term art project.

How Do You Customize Shoes Without Painting?
You do not need paint to create custom shoes. Non-painted changes can be faster, easier to reverse, and gentler on the original shoe.
Try these ideas:
• Replace standard laces with patterned, reflective, elastic, or ribbon laces
• Add removable shoe charms to the laces
• Use clip-on chains or decorative hardware
• Add small fabric patches to canvas shoes
• Change the insoles for more support or color
• Use custom tags or lace locks
• Add embroidery through a professional service
• Apply removable decals made for footwear
• Match the shoes to a sports team, wedding, concert, or uniform
Lace changes are a good first project. They can make a plain pair feel new without changing the upper. They also let you test a color idea before committing to paint or dye.
Be careful with glued decorations. Large beads, metal pieces, and hard charms can create pressure points or fall off during walking. Keep comfort and safety in mind, especially for children’s shoes or footwear used for sports.
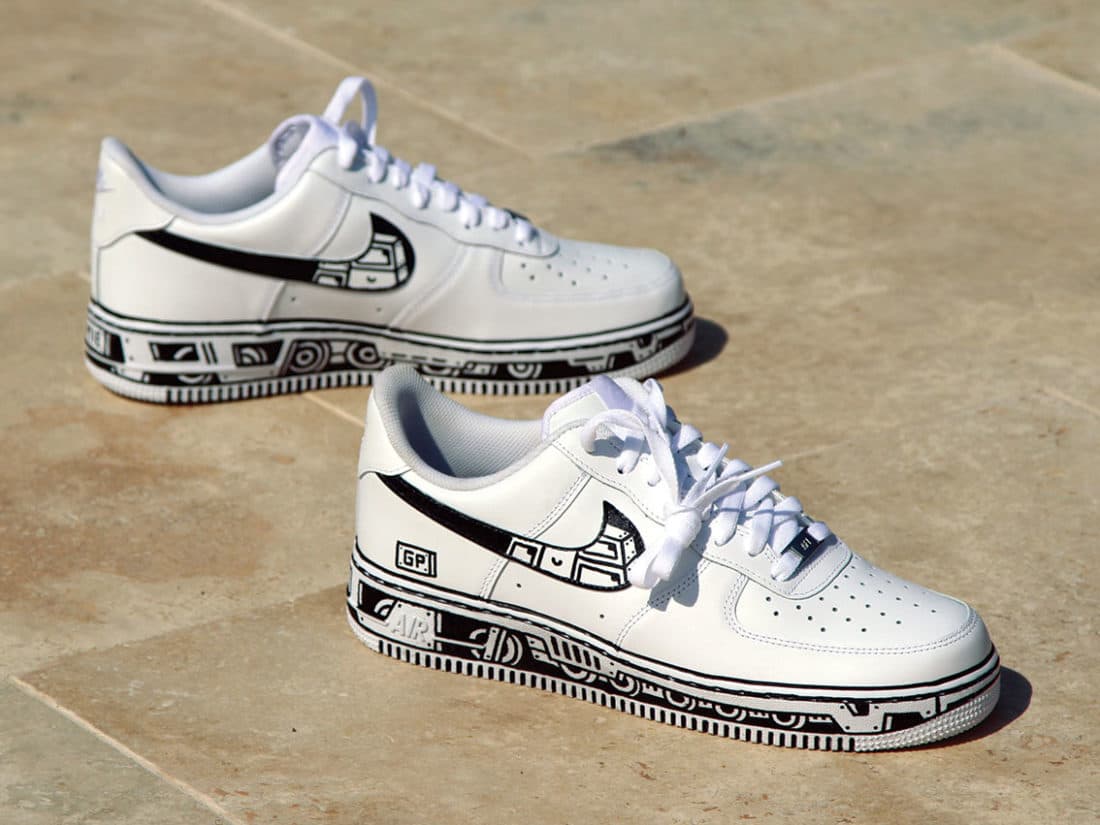
How Do You Customize Shoes Professionally?
Professional shoe customization is useful when you want complex artwork, rare materials, or a high level of durability. A skilled customizer may use cleaning, deglazing, airbrushing, hand painting, dyeing, stitching, and protective finishing.
Before hiring someone, review clear photos of completed work. Look for designs on the same material as your shoes. A person who paints leather may not have experience with suede, mesh, or high-performance athletic fabric.
Ask practical questions:
• What products will you use?
• How will you prepare the material?
• Will the design remain flexible?
• How long will the work take?
• What care does the finished shoe need?
• What happens if the design cracks or peels?
Price depends on the design, materials, labor, and condition of the shoes. A simple color change costs less than detailed artwork or structural changes.
In my experience, the strongest custom shoes are not always the most complex. Clean lines, good color choices, and careful finishing often look better than adding too many details.

How Do You Customize Shoes for Comfort and Fit?
Customization should not make shoes less comfortable. Before adding thick materials, check where your foot bends and where your toes need space.
You can improve comfort with:
• Cushioned or supportive insoles
• Heel grips for mild slipping
• Soft tongue pads
• No-tie laces for easier entry
• Moisture-wicking socks
• Smooth edge guards around irritating seams