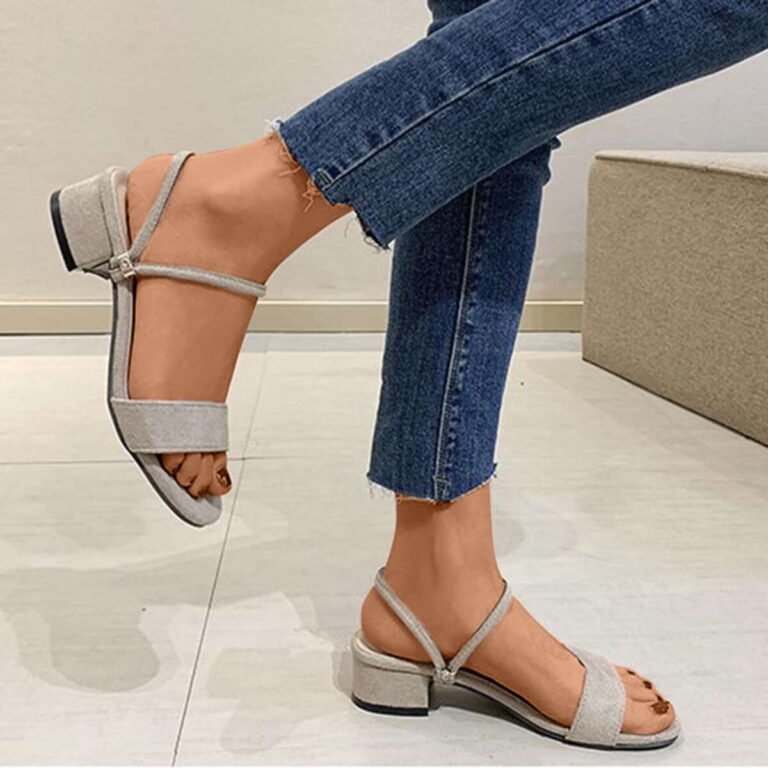

Can You Wear Orthotics With Sandals: Best Tips For Comfort
Yes, you can wear orthotics with some sandals—but not with every pair. The sandal must hold the orthotic in place, provide enough depth, and support your foot without squeezing your toes.
The easiest options are sandals made for orthotic inserts. These often have a removable footbed, a firm sole, adjustable straps, and a heel strap. Flip-flops, very flat sandals, and loose slides usually do not work well with standard orthotics.
This guide explains which sandals work, how to fit them, common mistakes, and when to ask a podiatrist or orthotist for help.

Which Sandals Work With Orthotics?
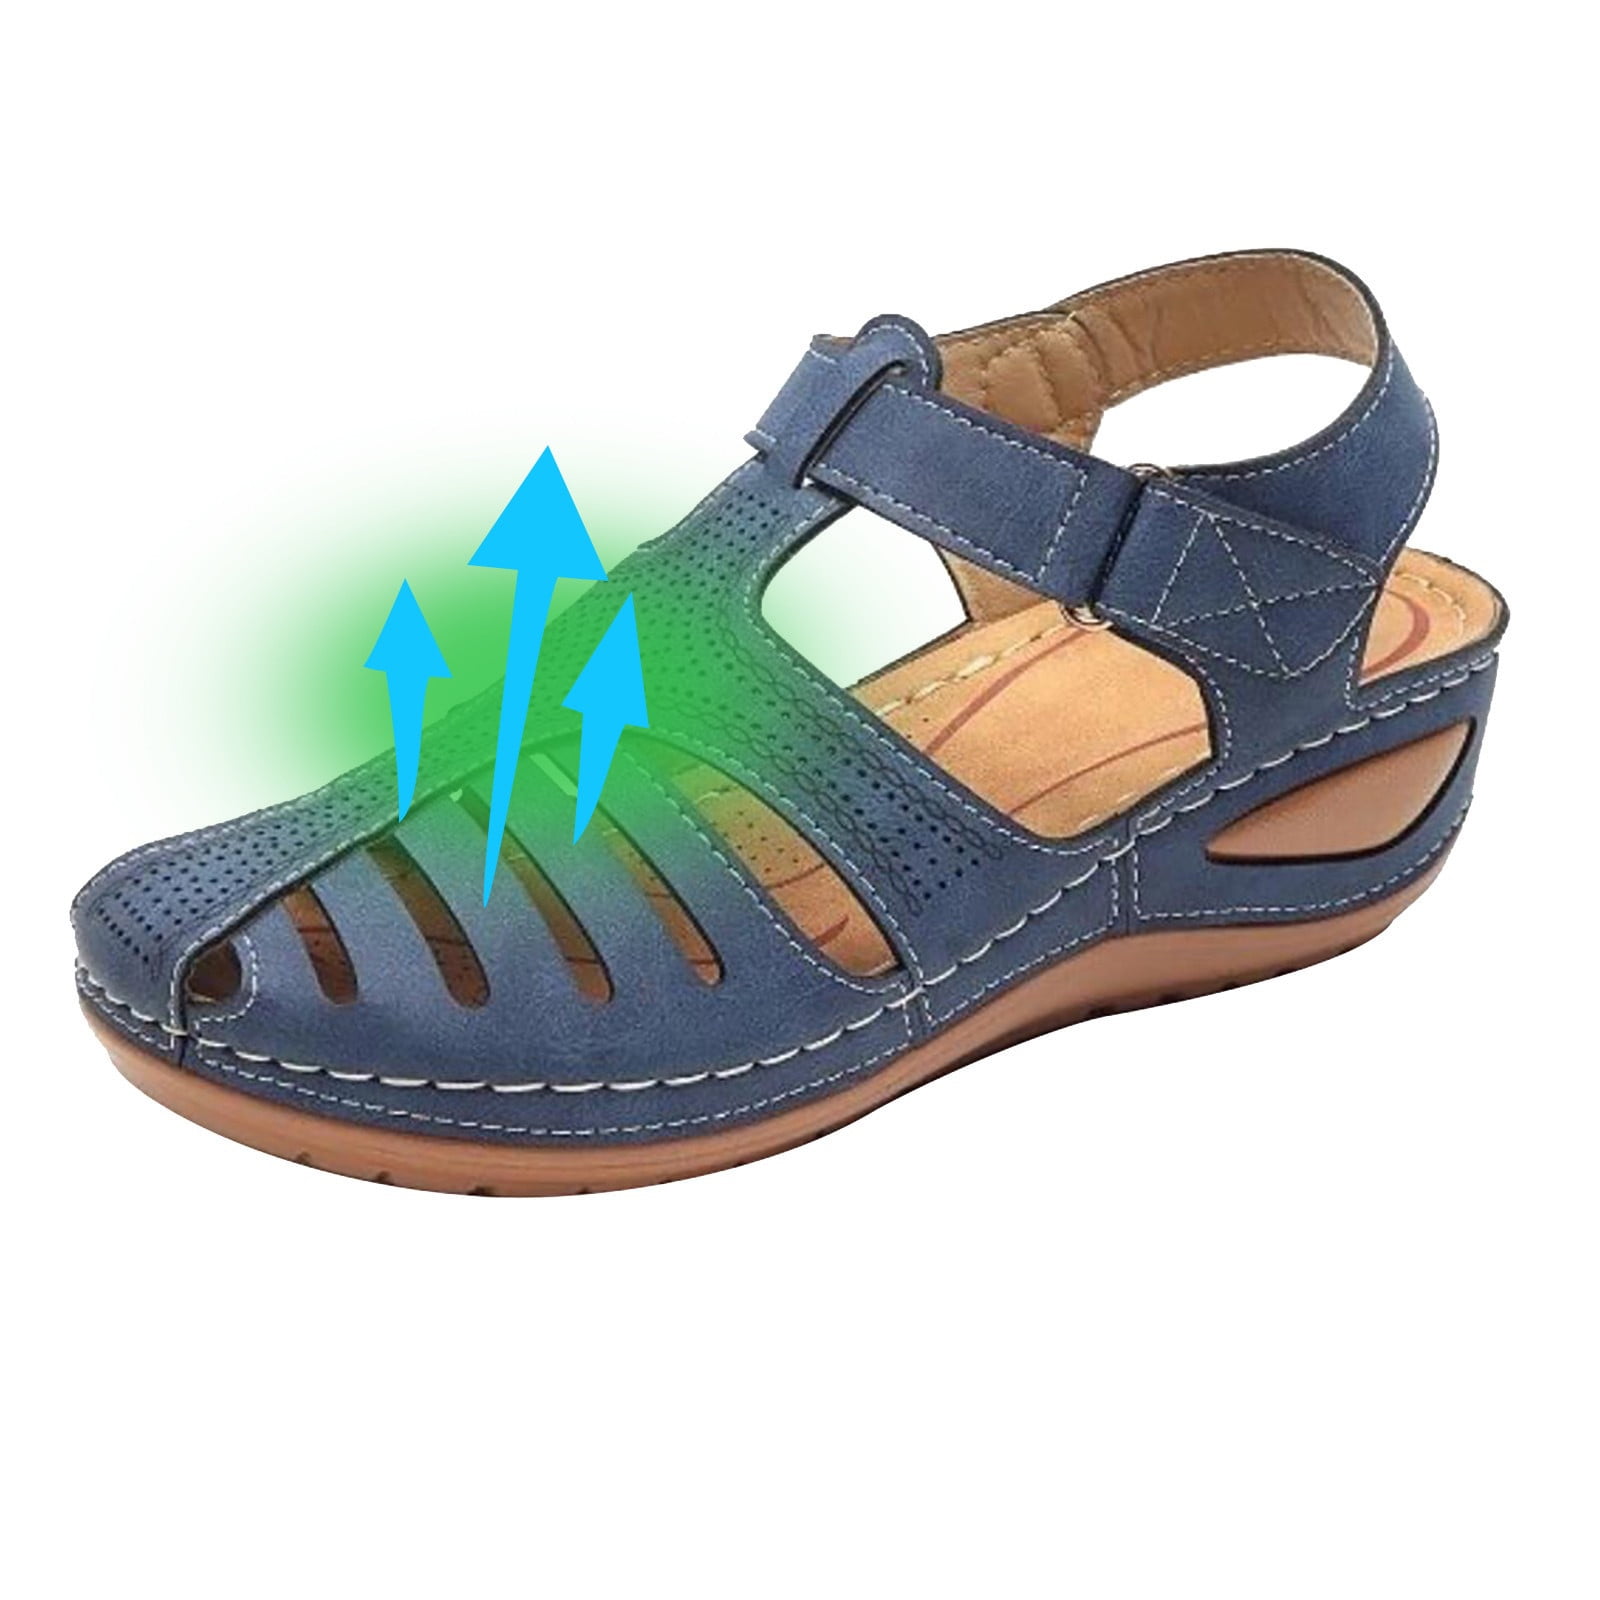
Sandals work best when they have a removable footbed or a built-in space for an orthotic. A stable sole and secure straps also help keep your foot and the insert in the right position.
Look for these features:
- Removable footbed: This creates room for the orthotic.
- Adjustable straps: Straps can hold the foot in place and reduce sliding.
- Heel strap: A back strap helps stop the sandal from moving under your foot.
- Firm sole: A sole that bends only near the toes gives the orthotic a steadier base.
- Wide toe area: Your toes should not press against the straps.
- Enough depth: The footbed must fit the orthotic without raising your foot too high.
- Secure fasteners: Hook-and-loop straps, buckles, or laces usually work better than loose slip-on designs.
A sandal made for orthotics may have a footbed that lifts out. You can then place the orthotic in the same space. Some models use a footbed that stays attached but has a pocket or channel for an insert.
A sandal that simply has a soft, contoured footbed is not automatically orthotic-friendly. If you place an orthotic on top of that footbed, the extra height may make the sandal unstable.
Which Sandals Usually Do Not Work?
Thin flip-flops and loose slides are poor matches for most orthotics. They do not hold the heel or midfoot well, so the insert may shift as you walk.
Use caution with:
- Flip-flops with a thin sole
- Flat fashion sandals
- Backless slides
- Sandals with a fixed footbed
- Narrow sandals
- Very soft, flexible soles
- Shoes with a high platform or unstable wedge
- Sandals with straps that cross over the orthotic edge
These styles may still work for some people with a specially made orthotic. However, a standard full-length orthotic often needs more support than these sandals provide.
Avoid placing an orthotic on top of a thick, shaped footbed unless a foot-care professional confirms that the combination is safe. The raised heel can change your balance and alter how your ankle, knee, hip, and back move.

How to Fit Orthotics Into Sandals
Fit the orthotic before wearing the sandals outdoors. A short indoor test can reveal pressure, slipping, or balance problems.
1. Check the sandal
Remove the sandal’s footbed if possible. Look for tears, deep wear, or a soft sole that twists easily.
Place the sandal on a flat surface. It should sit level and should not rock from side to side.
2. Compare the shape
Set the orthotic over the sandal’s footbed. Check the heel, arch, and toe area.
The orthotic should not:
- Extend past the front edge
- Hang over the sides
- Cover the strap attachment points
- Push your heel out of the sandal
- Force your toes against a strap
A small difference in shape may be acceptable. A large mismatch usually means the sandal is not suitable.
3. Remove only what the design allows
If the sandal has a removable footbed, take it out. Do not cut or grind a custom orthotic unless the professional who made it tells you to do so.
Some orthotics have a top cover that can be adjusted. That work should be done by a qualified orthotist, podiatrist, or the original device maker.
4. Secure the orthotic
The insert should sit flat. It should not slide when you move your foot.
Some sandals use a hook-and-loop attachment or a textured base. If the sandal maker allows it, an appropriate fastener may help. Do not use a thick pad that changes the orthotic’s angle.
5. Adjust the straps
Fasten the straps so your foot feels secure but not tight. Your toes should have room to move.
The strap should hold the foot over the orthotic. It should not press hard on a bunion, hammertoe, sore spot, or surgical area.
6. Test indoors
Wear the sandals for 10 to 15 minutes at home. Walk on a clean, level surface.
Check for:
- Heel lifting
- Foot sliding forward
- New pressure under the arch
- Redness that lasts after removal
- Numbness or tingling
- An unstable feeling
- Pain in the foot, ankle, knee, hip, or back
If the sandals feel wrong indoors, do not use them for a long walk.
How to Tell if the Fit Is Safe
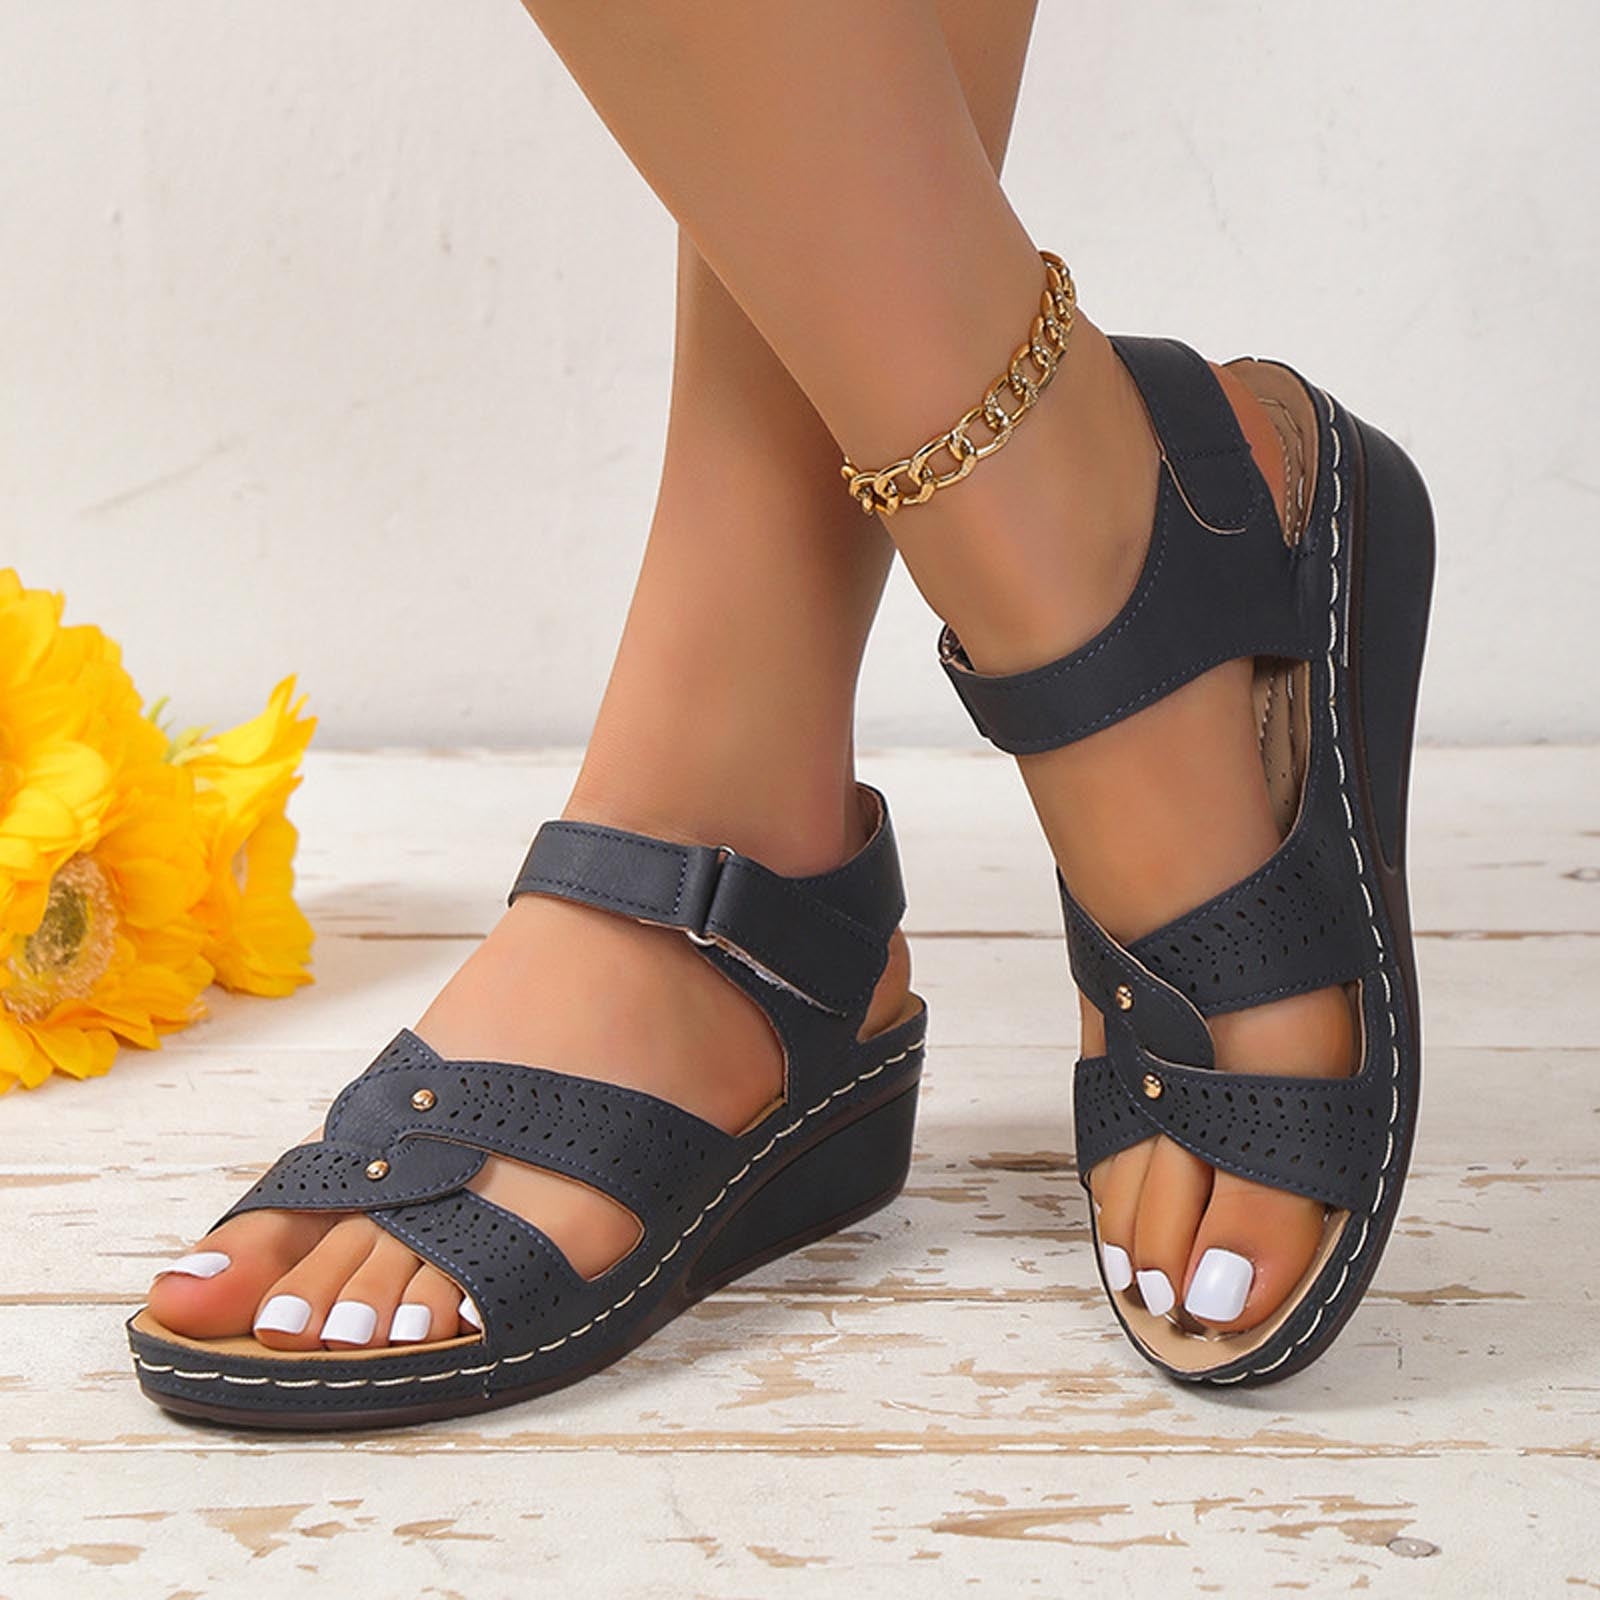
A good fit keeps the sandal, foot, and orthotic moving as one unit. Your heel should stay near the back of the sandal, and your foot should not slide over the edge.
After removing the sandals, inspect your skin. Mild marks that fade quickly may come from normal strap contact. Redness that remains, blisters, broken skin, swelling, or pain signals a fit problem.
People with diabetes, reduced sensation, poor circulation, or a history of foot ulcers should take extra care. They may not feel harmful pressure right away. The American Diabetes Association recommends regular foot checks and professional care for foot problems.
Stop using the sandals and seek medical advice if you notice:
- A sore that does not heal
- Skin breakdown
- Significant swelling
- New numbness
- Burning pain
- Loss of balance
- Pain that worsens with each use
The American College of Foot and Ankle Surgeons also advises evaluation for persistent foot pain rather than relying on footwear changes alone.
Custom Orthotics vs. Over-the-Counter Inserts
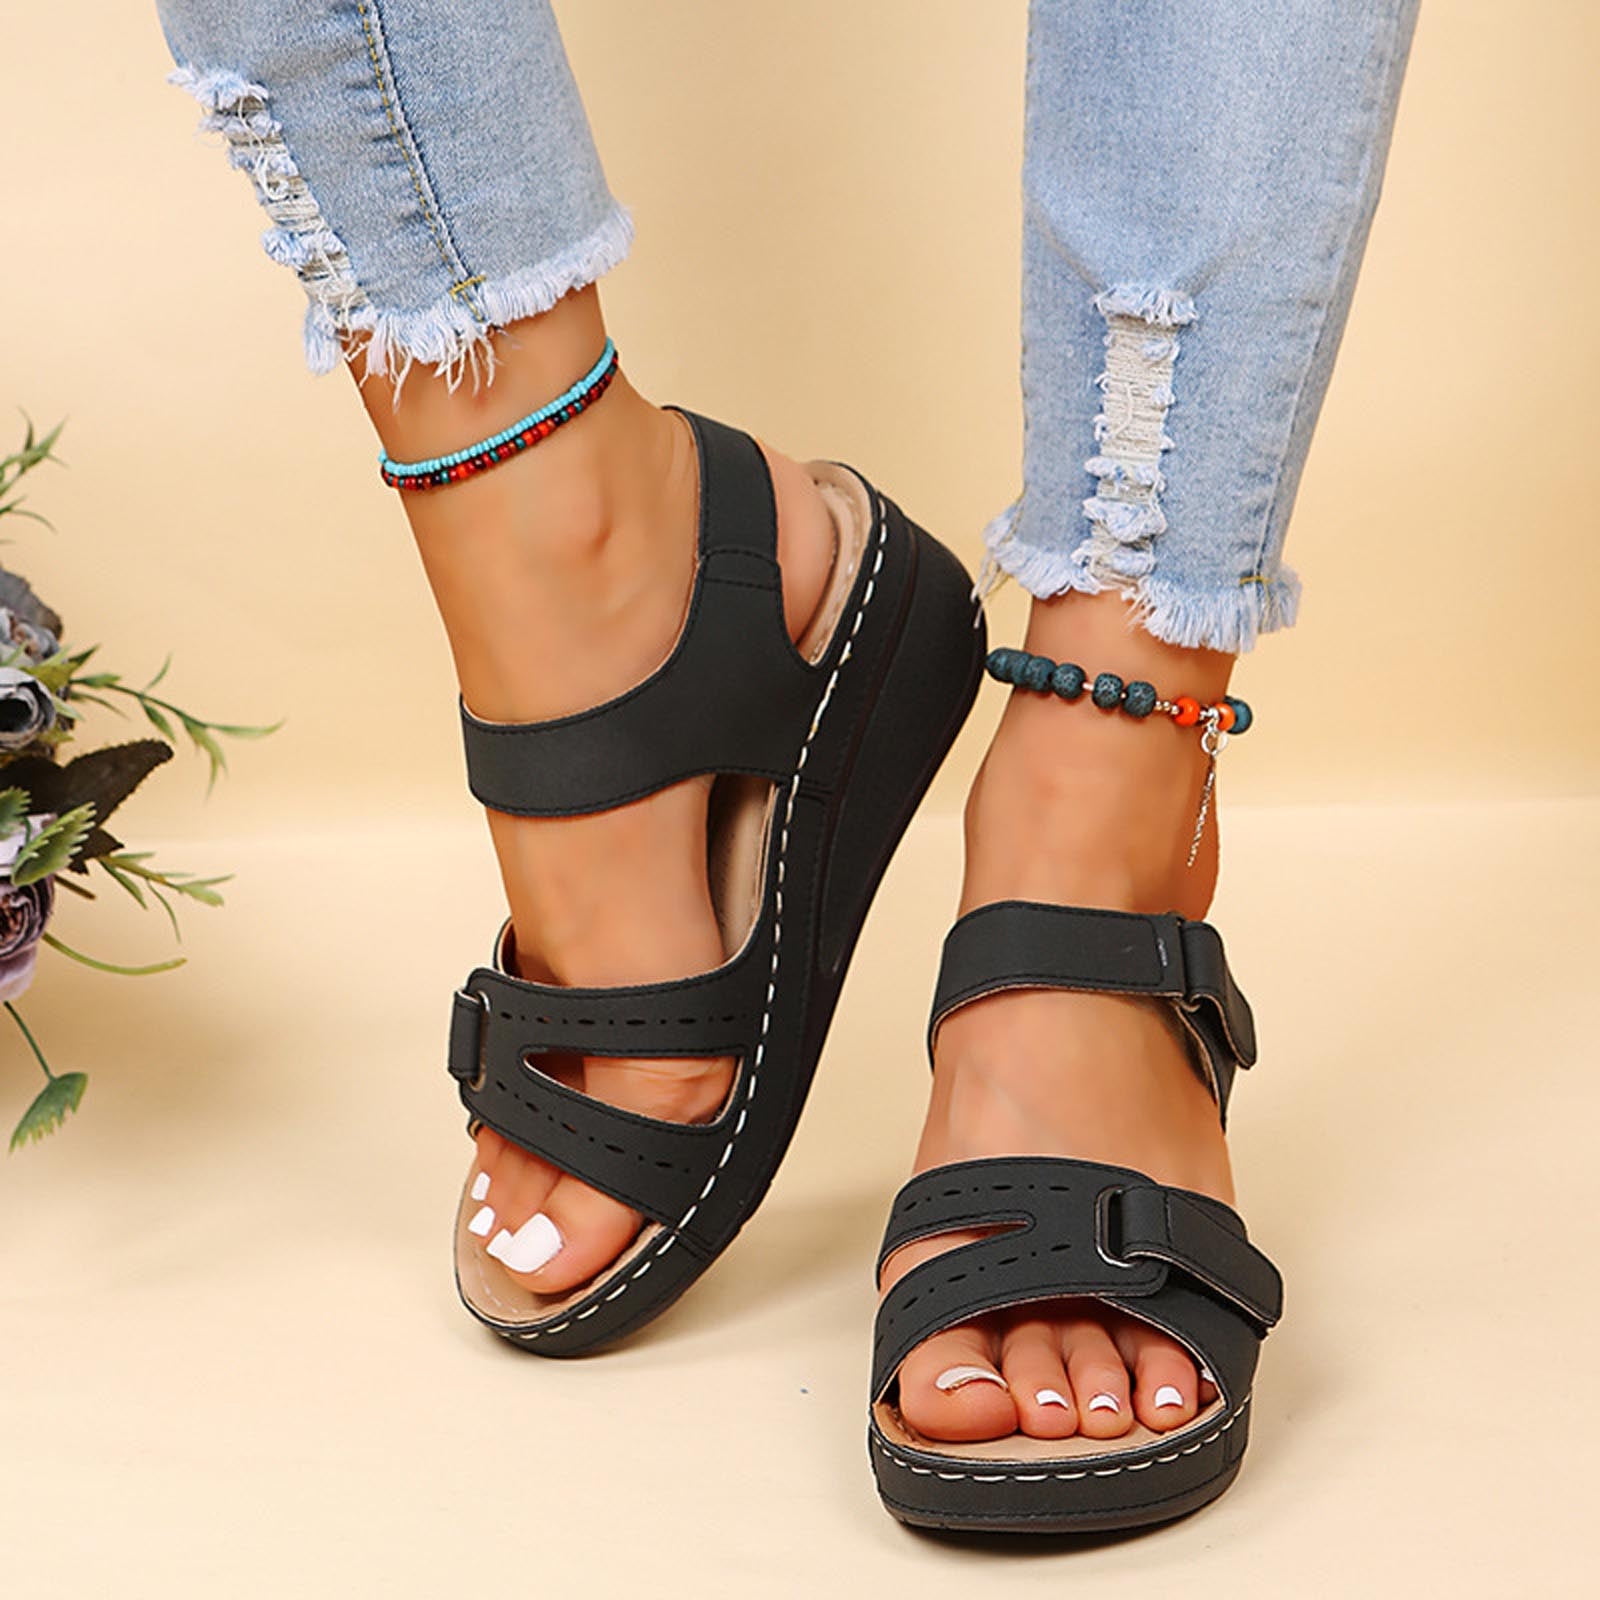
The type of orthotic changes which sandals may work.
| Orthotic type | Sandal fit considerations |
|---|---|
| Full-length custom orthotic | Usually needs a deep, removable footbed |
| Three-quarter custom orthotic | May fit more sandals, but still needs secure support |
| Custom orthotic made for sandals | Often has a sandal-specific shape or attachment |
| Over-the-counter insert | May fit if the sandal has enough depth and a removable footbed |
| Heel cup or small support | May work in some sandals, but can still cause slipping |
Custom orthotics are shaped for a person’s foot and treatment goal. A sandal-specific device may use a shorter length, thinner design, or attachment system.
Do not assume that a custom orthotic can move from athletic shoes to sandals without changes. The shoe shape, heel height, sole stiffness, and strap position all affect the device.
Ask the prescribing clinician or orthotic provider whether the device can be used in sandals. They can decide if it needs a new shell, a thinner cover, or a different design.
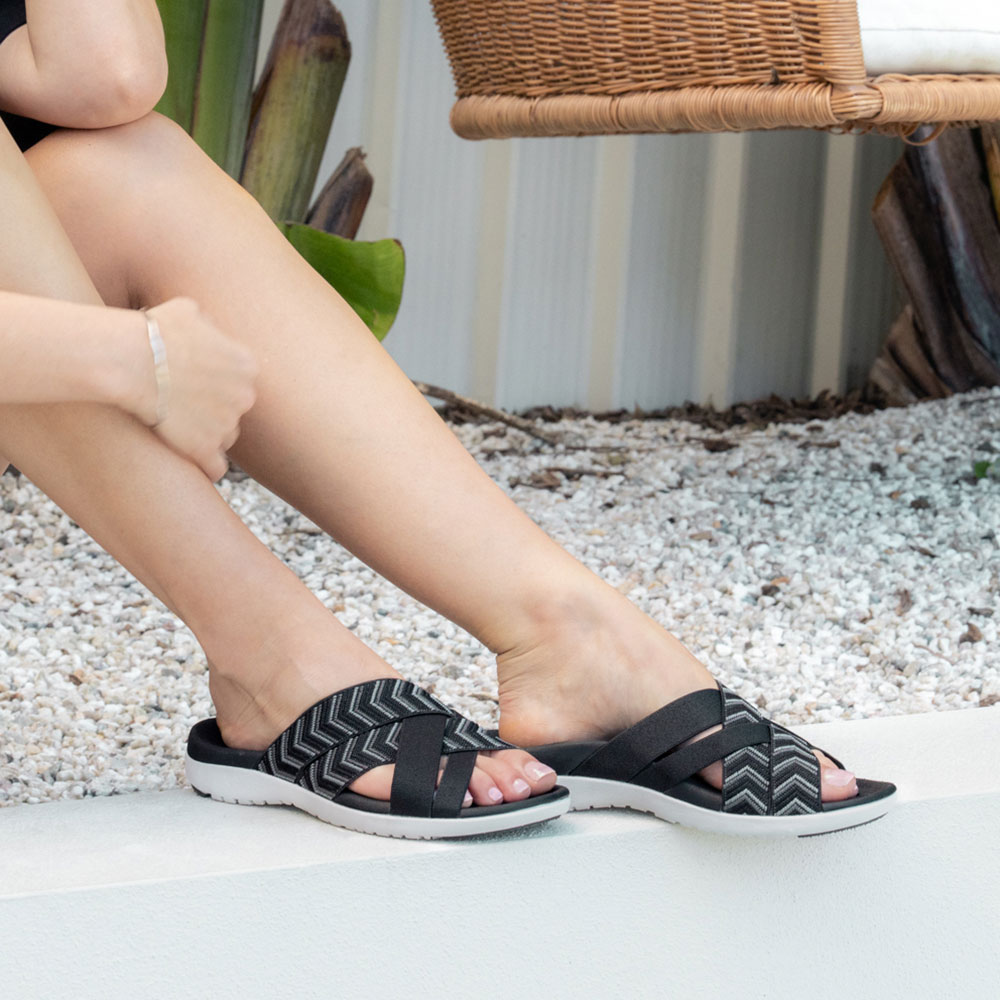
Can You Wear Orthotics With Open-Toe Sandals?
Yes, but open toes are not the main issue. The key questions are whether the orthotic stays in place and whether the sandal supports your foot.
An open-toe sandal may work if:
- The orthotic has the right length
- The front edge does not bother your toes
- The straps hold the foot securely
- Your foot does not slide forward
- The sandal has a stable sole
Some people prefer a three-quarter-length orthotic in open-toe sandals. This can leave more room at the front. It may not provide the same support as a full-length device, though.
Never shorten an orthotic on your own to make it fit an open sandal. Removing part of the device can change its shape and function.

Can You Wear Orthotics With Flip-Flops?
Most standard orthotics do not work well with flip-flops. Flip-flops usually lack a heel strap and depend on the toes to grip the sole. That gripping action can increase strain and make the orthotic move.
A few flip-flops are designed with built-in arch support. These are not the same as wearing your own prescription orthotic. They may feel comfortable, but comfort alone does not show that they correct your specific foot problem.
If you need orthotic support in a flip-flop-style sandal, ask about a device designed for that sandal. Some models use a toe post, a strap, or an attachment point to keep the support in place.
Do not force a regular orthotic into a flip-flop. If the insert shifts or your toes curl to keep the sandal on, choose a more secure design.

How to Break In Orthotic Sandals
Start with short periods. Do not wear new orthotics all day on the first try.
A simple break-in plan is:
- Wear the sandals indoors for 10 to 15 minutes.
- Remove them and check your skin.
- Repeat once or twice daily if there is no pain or lasting redness.
- Add about 10 to 15 minutes at a time.
- Use them for short errands before long walks.
- Stop if symptoms increase.
Some mild awareness of the arch can occur when you begin using an orthotic. Sharp pain, numbness, blistering, or worsening symptoms are not signs that you should “push through.”
If discomfort continues after several short sessions, contact the clinician or provider who supplied the orthotic. The device may need adjustment, or the sandal may not be compatible.

Common Mistakes to Avoid
The most common mistake is treating any sandal with arch support as an orthotic sandal. A built-in arch shape may not match your prescription device.
Avoid these errors:
- Placing the orthotic on top of a thick footbed
- Wearing a loose sandal with a full-length insert
- Cutting a custom device without approval
- Ignoring redness or pressure
- Wearing new orthotics for a full day
- Using worn-out sandals
- Choosing a soft sole that bends in the middle
- Assuming pain is normal because the device is new
- Wearing sandals outdoors before testing them indoors
A worn sandal can also reduce the benefit of an orthotic. Replace the sandal if the sole is uneven, the straps no longer hold your foot, or the base has lost its shape.