What Is The Best Glue For Shoe Sole Repair: Best Options
The best glue for shoe sole repair is flexible polyurethane adhesive made for leather, rubber, and heavy wear.
Choosing what is the best glue for shoe sole repair depends on the sole material, the size of the damage, and how much flex the shoe needs. A strong adhesive is only part of the fix; clean surfaces, thin glue layers, firm pressure, and enough curing time often decide whether the repair lasts for one walk or many months.
What Is the Best Glue for Shoe Sole Repair?
For most shoes, the best choice is a flexible polyurethane shoe adhesive. These glues bond well to rubber, leather, canvas, and many synthetic materials. They also bend with the sole instead of becoming hard and cracking.
A contact cement made for footwear can also work well. It creates a fast, strong bond when both surfaces are coated and pressed together. However, it may be less forgiving if you place the parts incorrectly.
The best glue for shoe sole repair usually has these features:
- Flexible after it cures
- Water resistant or waterproof
- Made for rubber, leather, or shoe materials
- Resistant to heat and daily wear
- Strong enough for repeated bending
- Clear or color matched when appearance matters
Avoid ordinary school glue, hot glue, and most household super glues. They may hold a small edge for a short time, but they often become brittle. A shoe sole bends thousands of times, so the adhesive must act more like a rubber band than a piece of glass.
Best Types of Glue for Different Shoe Repairs
Different shoe problems need different adhesive formulas. A loose heel, a split rubber sole, and a peeling sneaker edge may look similar, but they do not place the same demands on glue.
Flexible polyurethane adhesive
Polyurethane adhesive is often the best all-purpose option for shoe sole repair. It stays flexible and forms a tough bond on many common shoe materials.
It works well for:
- Separating rubber soles
- Loose sneaker edges
- Small gaps between the upper and sole
- Work boots and hiking shoes
- Leather and synthetic shoe repairs
Many polyurethane products need several hours to set and up to 24 hours or more to fully cure. Read the product label because temperature, humidity, and bond thickness affect drying time.
Shoe repair cement
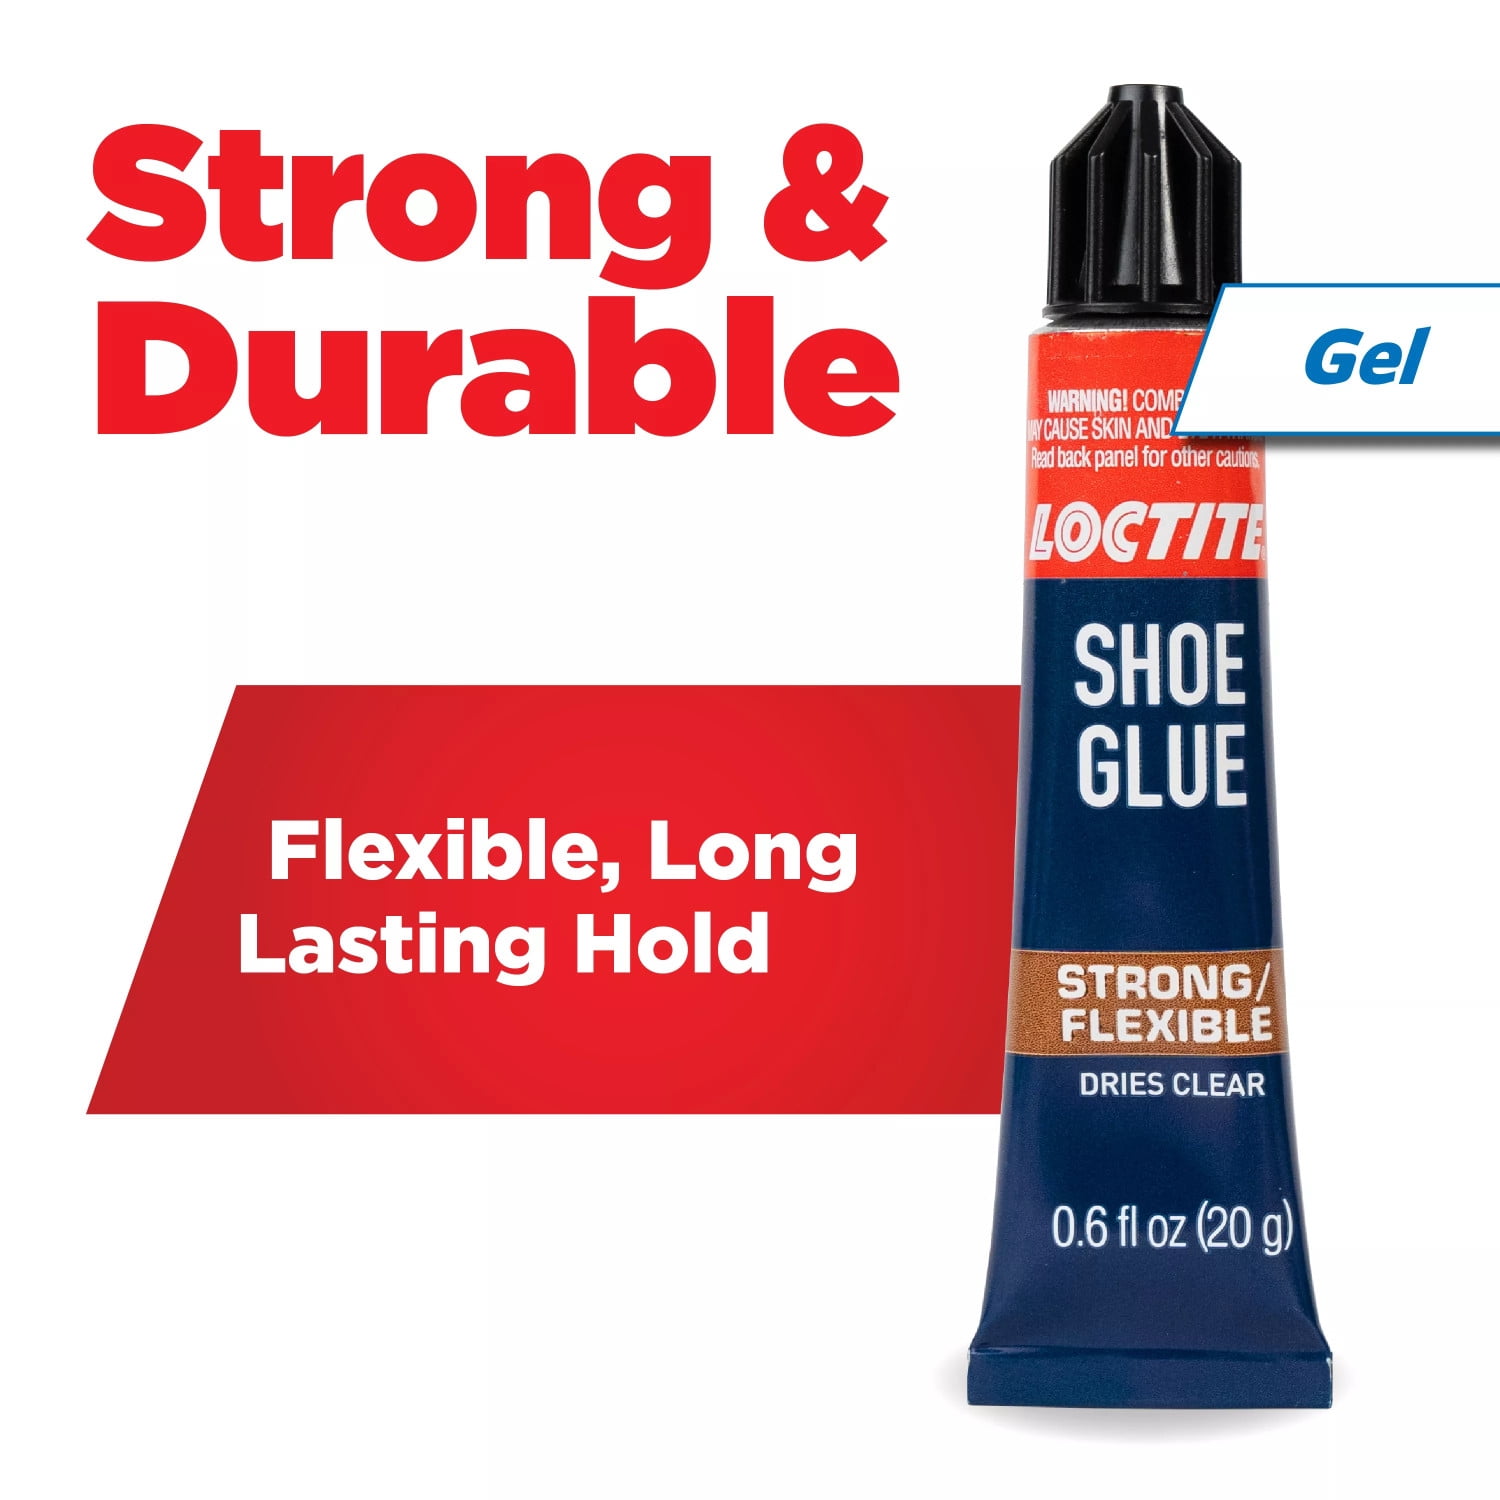
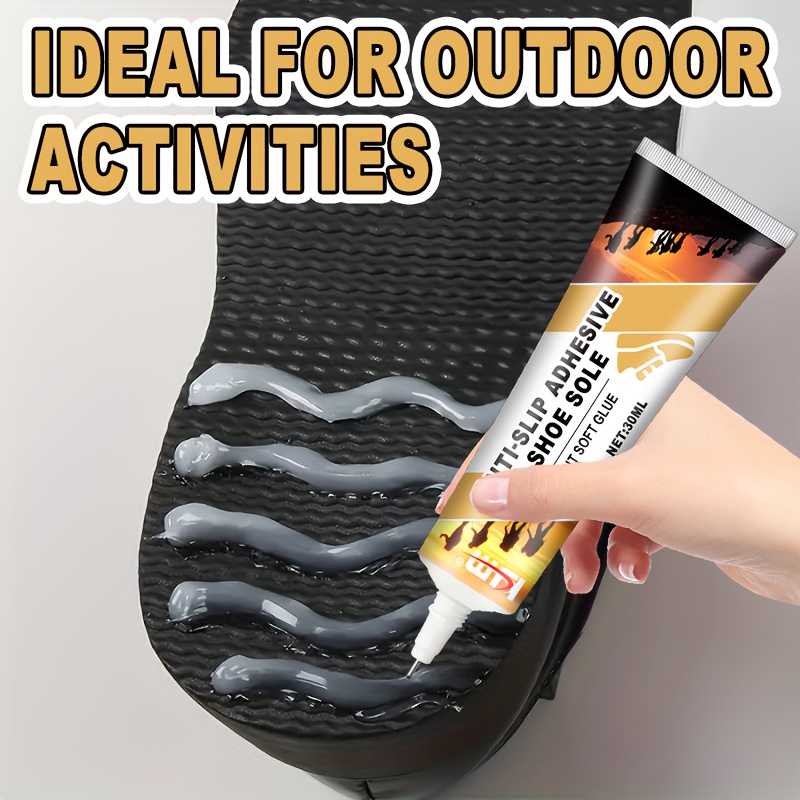
Shoe repair cement is designed for footwear and is often easy to apply. It may come in a tube with a brush or narrow nozzle, which helps with small repairs.
This type of glue is useful for:
- Peeling sole edges
- Loose insoles
- Small heel caps
- Minor cracks and separations
Some shoe cements are solvent based. Use them in a well-ventilated area and keep them away from flames. Wear gloves if the label recommends them.
Contact cement
Contact cement bonds when you apply it to both surfaces, allow it to become tacky, and then press the parts together. The bond can be very strong, but you usually get only one proper chance to align the pieces.
Contact cement is a good choice when:
- Both surfaces are fairly flat
- The sole has large contact areas
- You can align the parts with care
- You need a fast initial bond
It is not always ideal for deep gaps. It also may not fill space as well as a thicker polyurethane adhesive.
Cyanoacrylate or super glue
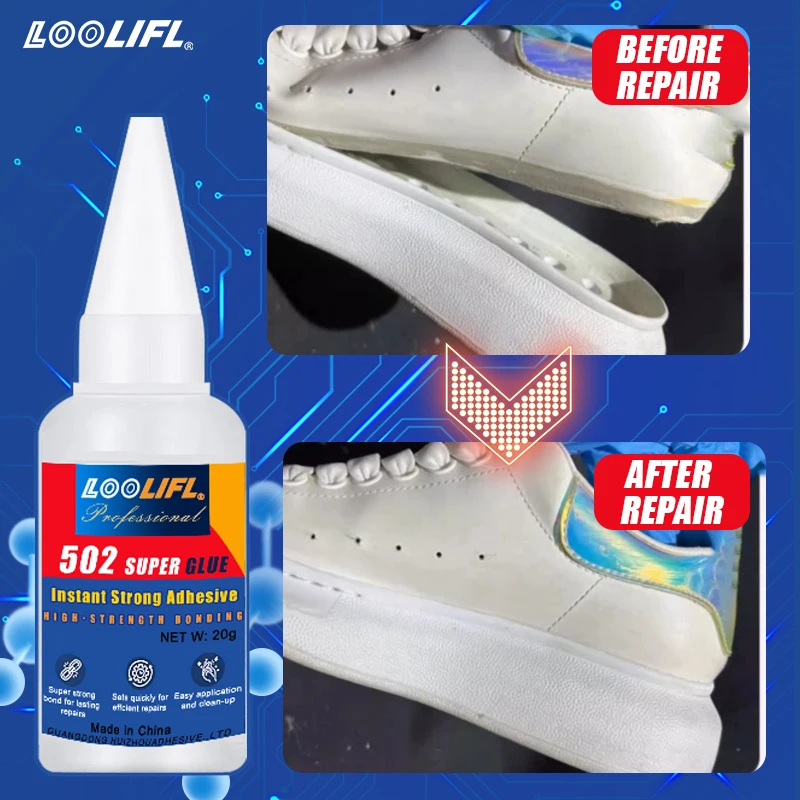
Super glue has a place in shoe repair, but it is not usually the best glue for shoe sole repair. It works best on tiny, hard, nonflexing parts, such as a small plastic trim piece.
It can fail on a sole because cured cyanoacrylate is stiff. Walking bends the shoe, and that movement can cause the glue to crack or release.
Epoxy
Two part epoxy can bond some shoe materials, but it cures hard. It may work for a rigid heel component or a broken plastic part, but it is usually a poor choice for a flexible sole.
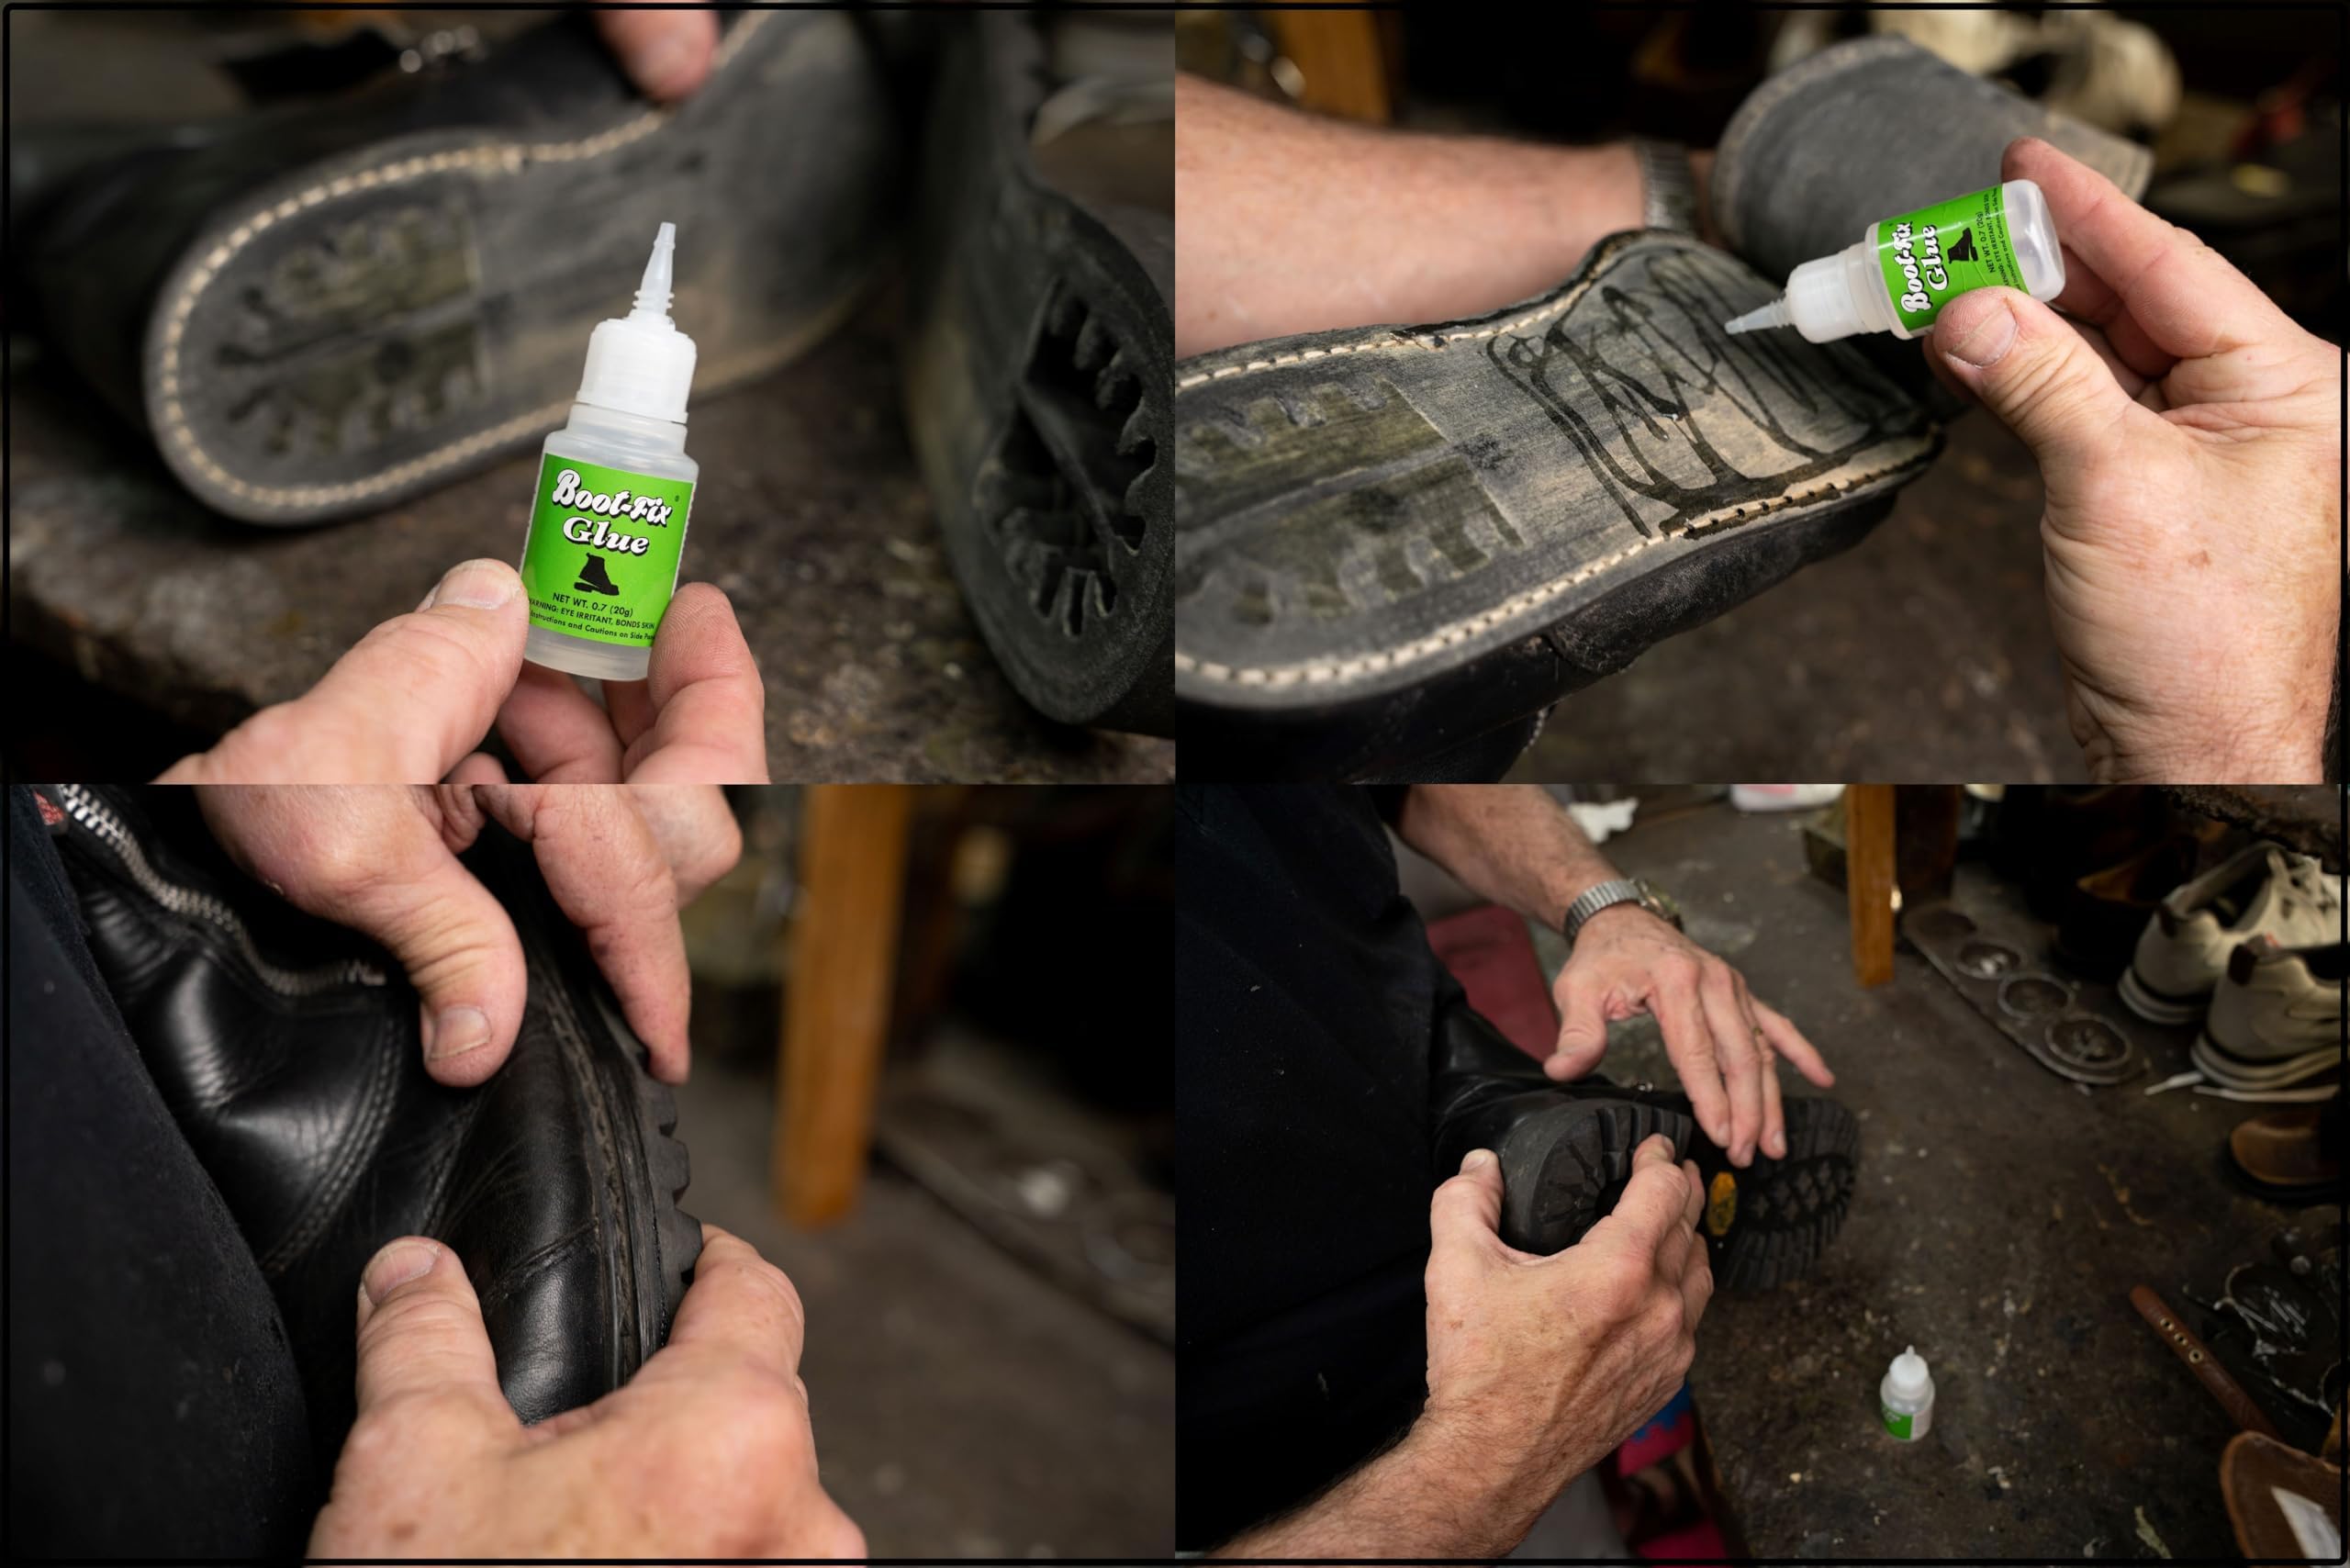
How to Choose the Right Shoe Sole Adhesive
Before buying glue, inspect the repair. The right product depends on more than the brand name.
Check the sole material
Rubber, leather, EVA foam, thermoplastic rubber, and polyurethane soles can behave differently. Look for an adhesive label that lists the materials you need to bond.
If the sole is made from EVA foam, use a product that specifically mentions foam compatibility. Some strong solvent based glues can damage or melt certain foams.
Consider the location of the damage
A small edge peel needs a different approach from a sole that has split across the forefoot.
Use a flexible shoe adhesive for:
- Toe caps
- Sole edges
- Heel separation
- Long cracks
- Areas that bend during walking
Use a more specialized repair method when:
- The midsole is crumbling
- The rubber has become hard and powdery
- The shoe has structural damage
- The sole is badly worn through
- The upper has torn apart
Glue cannot restore material that has already broken down. In those cases, a cobbler may need to replace part or all of the sole.
Think about water and heat
Boots, work shoes, and outdoor footwear face rain, mud, sweat, and temperature changes. Choose a waterproof or water resistant adhesive if the repair will face wet conditions.
Do not assume that “waterproof” means the bond is ready for water right away. Most products need full curing before they reach their best resistance.
Check the color and finish
Clear glue is useful for visible repairs. Black adhesive can blend well with dark rubber soles. Some products remain slightly glossy, so apply a neat, thin layer to avoid a messy edge.
The best glue for shoe sole repair should solve the damage without creating a new cosmetic problem.
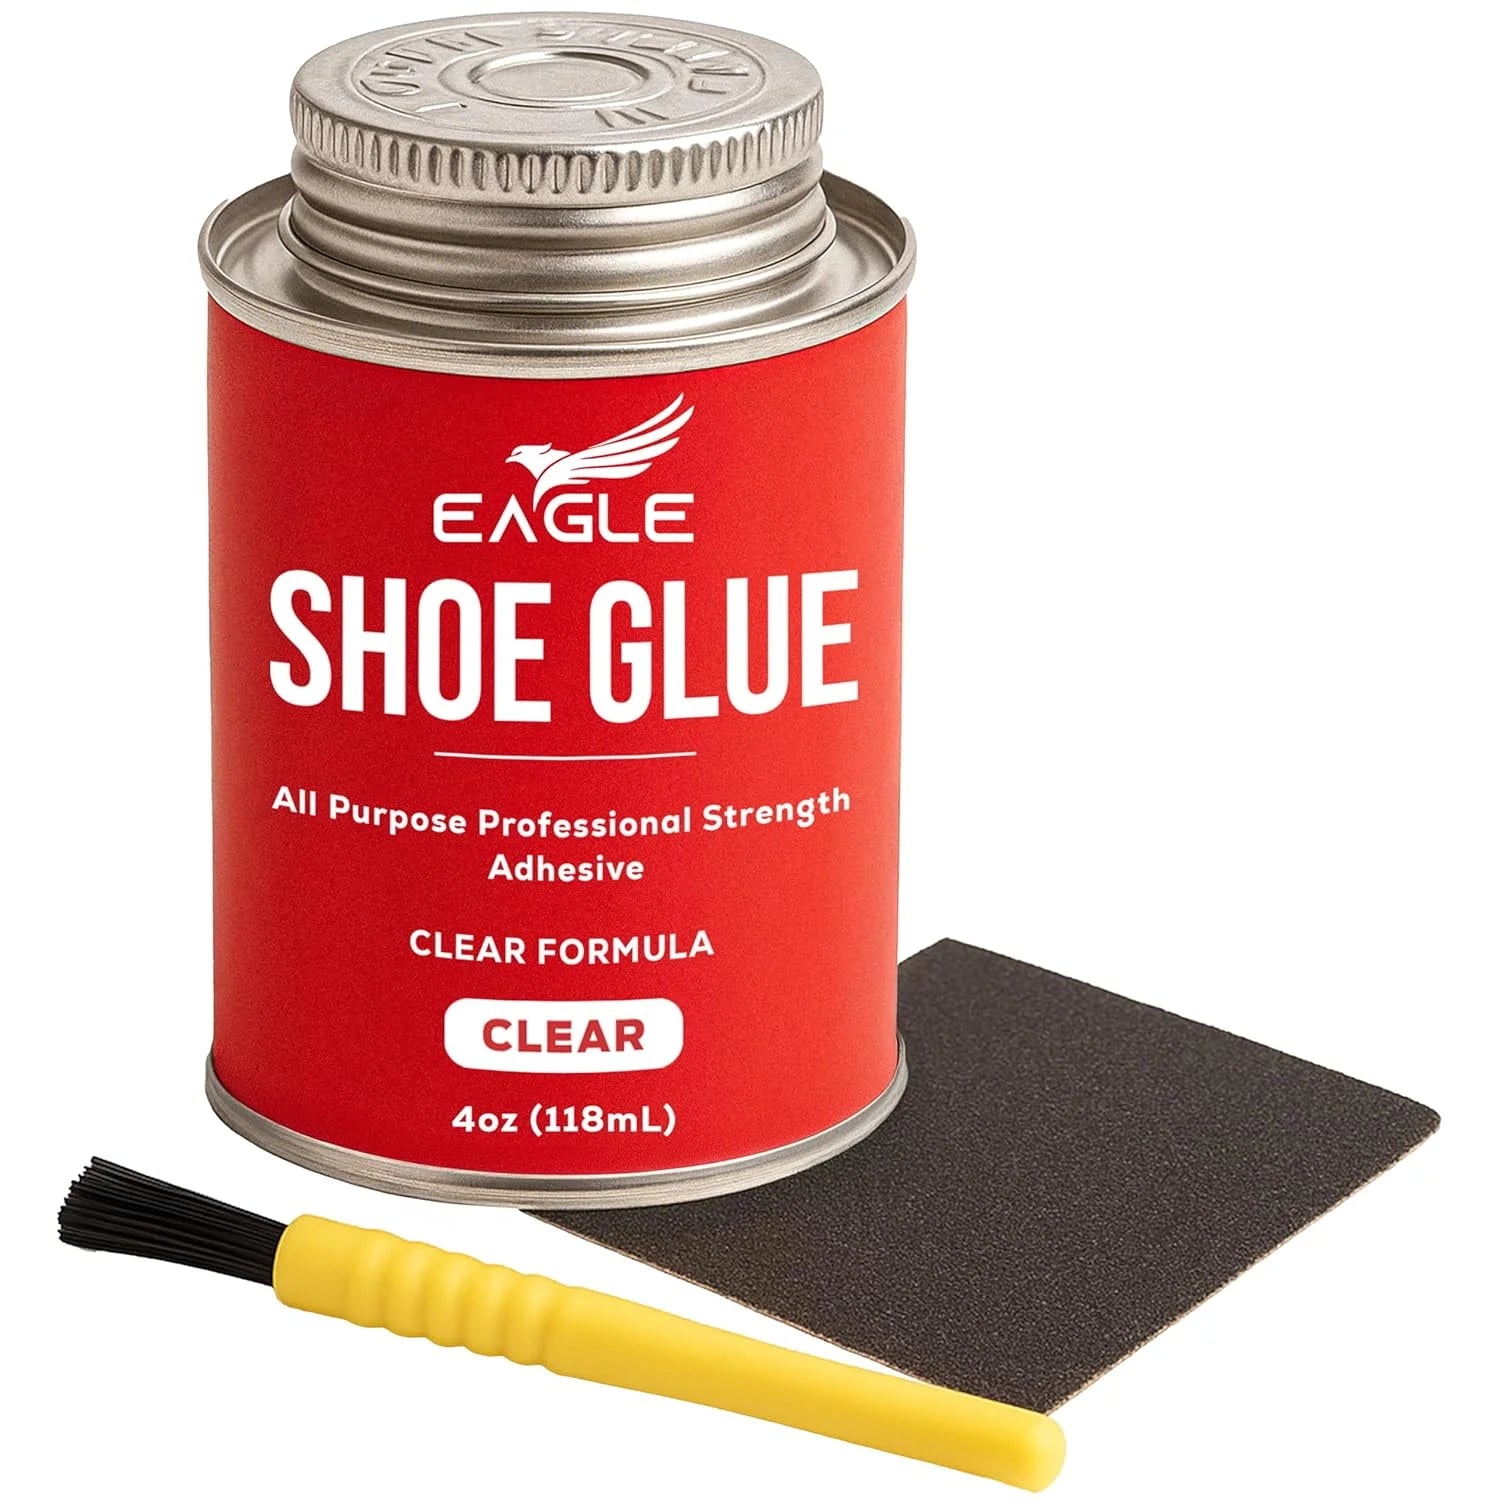
How to Repair a Shoe Sole With Glue
Good preparation matters as much as the adhesive. Follow these steps for a cleaner and stronger repair.
1. Clean the shoe
Remove dirt, oil, wax, and old glue. Use a stiff brush for dry dirt. A small amount of rubbing alcohol can help clean some surfaces, but test it first in a hidden area.
Allow the shoe to dry fully. Moisture trapped between the sole and adhesive can weaken the bond.
2. Remove loose material
Pull away flaking rubber, old adhesive, and debris. Do not force apart areas that are still firmly attached.
If the sole edge is uneven, carefully trim only loose strands or damaged pieces. A clean, stable surface gives the adhesive more area to grip.
3. Roughen smooth surfaces
Lightly sand glossy rubber or plastic with medium grit sandpaper. This creates a slightly textured surface that can improve mechanical grip.
Do not sand deeply into thin leather, foam, or decorative material. The goal is to dull the shine, not remove the sole.
4. Test the fit
Press the pieces together without glue. Check whether the edges meet and whether the sole sits in its original position.
This step prevents a common mistake: applying glue before realizing that the sole has shifted or curled. Adhesive is not a substitute for proper alignment.
5. Apply a thin, even layer
Use a small brush, toothpick, or the tip of the adhesive nozzle. Apply enough glue to cover both surfaces, but avoid large lumps.
Too much glue can slow curing and create a soft layer between the shoe and sole. A thin coat usually provides a cleaner and stronger repair.
6. Press the parts together
Align the sole carefully, then apply firm, even pressure. Use clamps, strong rubber bands, painter’s tape, or heavy books protected by plastic.
Do not place a clamp directly on a soft or finished surface. Add a clean cloth or flat piece of cardboard to spread pressure.
7. Allow full curing
Leave the shoe undisturbed for the time listed on the label. Many repairs need at least 12 to 24 hours, while thick applications may need longer.
Do not test the bond by pulling at it every few minutes. That can break a bond that is still developing.
8. Trim excess adhesive
Once the glue has cured, remove visible excess with a careful knife or your fingers if the product allows it. Avoid cutting into the sole or upper.
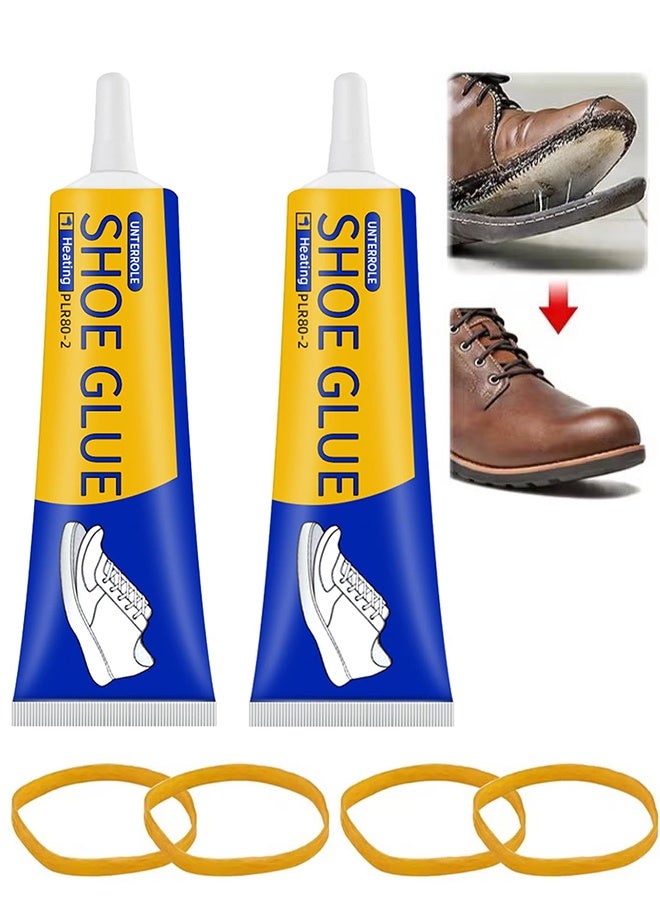
Common Mistakes That Make Shoe Glue Fail
Even high quality adhesive can fail when the repair method is poor. These mistakes are easy to avoid.
- Gluing over dirt or oil: Contamination stops the adhesive from making close contact.
- Using too much glue: A thick layer may remain soft or cure unevenly.
- Skipping the fit test: Misalignment can leave pressure points and open gaps.
- Walking too soon: Early movement can weaken the bond before full cure.
- Using super glue on a flexing sole: Rigid glue often cracks under repeated bending.
- Applying glue to wet material: Moisture can reduce adhesion.
- Ignoring old glue: Flaking adhesive creates a weak layer under the new repair.
- Using heat without checking the label: Heat may damage leather, foam, or synthetic uppers.
- Repairing a crumbling sole: Glue cannot rebuild degraded material.
In my experience with shoe repairs, the most avoidable failure is rushing the cure time. A repair may feel firm after an hour but still be weak inside. Giving it a full night to cure is often the difference between a lasting fix and a repeat repair.
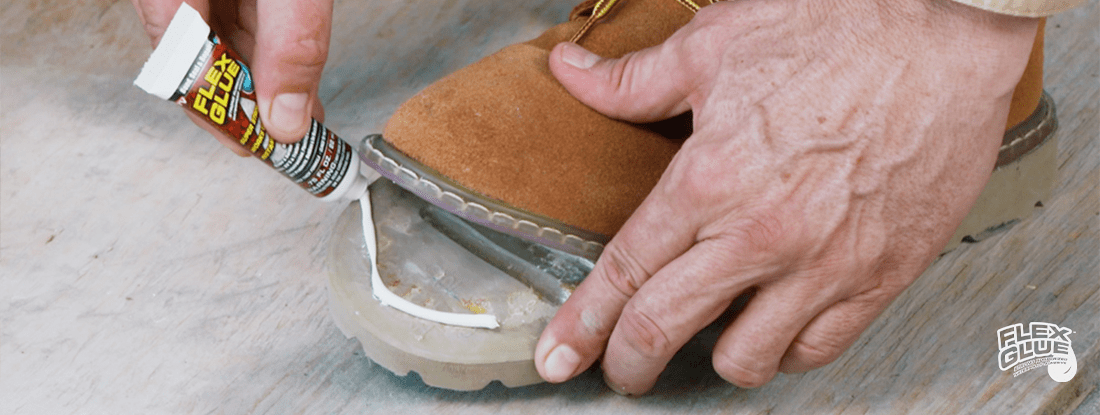
How Long Does Shoe Sole Glue Last?
A glued sole repair may last weeks, months, or years. The result depends on the adhesive, surface preparation, walking conditions, and the condition of the shoe.
A small indoor repair on a clean rubber sole may last a long time. A hiking boot used on rocks, water, and steep trails faces much greater stress.
The repair may last longer when you:
- Store the shoe in a cool, dry place
- Keep the sole clean
- Avoid soaking it soon after repair
- Use the correct adhesive for the material
- Repair small separations before they spread
- Replace shoes with severely worn or crumbling soles
Adhesive is not a permanent replacement for a new sole. It is best for extending the life of a shoe that still has a sound upper and usable tread.

Professional Shoe Repair or DIY Glue Repair?
A do-it-yourself repair makes sense when the damage is small and the shoe is otherwise healthy. It can save money and prevent a favorite pair from going straight to the trash.
Consider a cobbler when:
- The sole has separated across most of the shoe
- The midsole is crumbling
- The heel is unstable
- The upper is torn near a load bearing area
- The shoe is expensive or safety critical
- You need a waterproof, long term repair
A professional can use presses, specialized cements, roughing tools, and replacement parts. Work boots, climbing shoes, and safety footwear deserve extra care because adhesive failure can affect protection and balance.
For a casual sneaker or lightly worn boot, the best glue for shoe sole repair can provide a practical and affordable fix. For safety footwear or major structural damage, professional repair is the safer choice.
Safety Tips for Using Shoe Adhesive
Read the label before opening the tube. Adhesive formulas vary, and some contain strong solvents.
Follow these basic precautions:
- Work in a well ventilated space.
- Keep glue away from children and pets.
- Wear nitrile gloves when recommended.
- Protect your work surface with cardboard or plastic.
- Keep adhesive away from eyes and skin.
- Do not smoke or use an open flame near solvent based products.
- Store the container tightly closed.
- Follow the label for disposal.
If adhesive gets in your eye, follow the product safety directions and seek medical help promptly. Do not use an unknown solvent to clean it from skin.

Product Features Worth Looking For
You do not need the most expensive glue. You need a product that matches the repair.
Look for these label terms:
- Flexible bond
- Shoe and boot repair
- Rubber and leather compatible
- Waterproof or water resistant
- Gap filling
- Abrasion resistant
- Clear, black, or flexible finish
- Suitable for outdoor use
Be cautious with broad claims such as “bonds everything.” A product may bond many materials but still perform poorly on a flexible, wet, or heavily stressed shoe sole.
The best glue for shoe sole repair is the one that matches the material and movement of the damaged area. Product instructions are more reliable than a generic ranking because formulas change and shoe materials vary.
Frequently Asked Questions About What Is the Best Glue for Shoe Sole Repair
What is the best glue for shoe sole repair?
A flexible polyurethane adhesive or shoe repair cement is usually the best choice. These products can bond common sole materials while allowing the shoe to flex during walking.
Can I use super glue to repair a shoe sole?
Super glue may work for a tiny, rigid trim piece, but it is not usually the best glue for shoe sole repair. It dries hard and can crack when the sole bends.
How long should shoe sole glue dry before wearing the shoes?
Many products need 12 to 24 hours before light use, while some need longer for full curing. Always follow the adhesive label, and wait longer if the glue layer is thick or the weather is cold.
Is shoe glue waterproof?
Some shoe adhesives are waterproof or water resistant after they fully cure. Check the label because water resistance varies, and no adhesive should be exposed to heavy moisture before curing.
Should I sand a shoe sole before gluing?
Lightly sanding a smooth surface can improve grip by removing the glossy finish. Use care on thin leather, foam, and delicate uppers so you do not cause further damage.
Can glue repair a cracked rubber sole?
Glue can repair a small crack or separation if the rubber is still strong and stable. If the rubber is crumbling, hardened, or badly worn, replacing the sole is usually a better option.
Is epoxy good for shoe sole repair?
Epoxy can bond rigid shoe parts, but it often becomes too hard for a flexible sole. A flexible polyurethane adhesive is normally a better option for areas that bend while walking.
Conclusion
The best glue for shoe sole repair is usually a flexible polyurethane adhesive or a purpose made shoe cement. Choose one that matches the sole material, prepare both surfaces carefully, apply a thin layer, press the repair evenly, and allow full curing before wearing the shoes.
Small repairs are worth doing early. They are simpler, cleaner, and more likely to last than repairs made after the sole has fully separated. Check the adhesive label, work safely, and share your own shoe repair experience in the comments.

Michael Smith is the Content Strategist behind The Style Hub, where fashion meets function. With a keen eye for trends and a passion for everyday style, he curates content that helps readers make smarter, more stylish choices—from the perfect pair of sneakers to must-have accessories. Michael specializes in breaking down fashion into practical, wearable insights, making style accessible for everyone. When he’s not researching the latest trends, he’s exploring how comfort, innovation, and timeless design come together in modern fashion.